The Truth About Renovation Timelines
If you’ve been following along, this is Part 3 of our little renovation + flipping series. In Part 1: Diamond in the Rough: What to Look for When Walking a Fixer, we shared our checklist for spotting potential in a home before you buy. Then in Part 2: Budgeting for a Flip: What People Always Forget to Include, we got into the nitty-gritty of hidden costs and how to actually protect your bottom line.

Today we’re talking about timelines—something everyone underestimates at least once. Renovations never move as quickly as the HGTV version would have you believe. Between permits, inspections, contractor schedules, supply chain delays, and all the “surprises” hiding behind walls, things can stretch out longer than you’d expect.
I want to walk you through what’s realistic when you’re planning a project and where you can build in buffer time. And, how to manage expectations so you don’t lose steam when your six-month project suddenly turns into nine or twelve! Of course, since we’re in the middle of a big transition ourselves—moving to Tennessee (!!) and diving into our first property there—I’ll also be sharing how we’re approaching timelines for our upcoming projects.
Because if there’s one thing I’ve learned, it’s this: the calendar is just as important as the budget.
Why Everything Takes Longer Than You Think
Renovation time ≠ task time. What stretches a schedule isn’t usually the work itself—it’s the dependencies around the work.
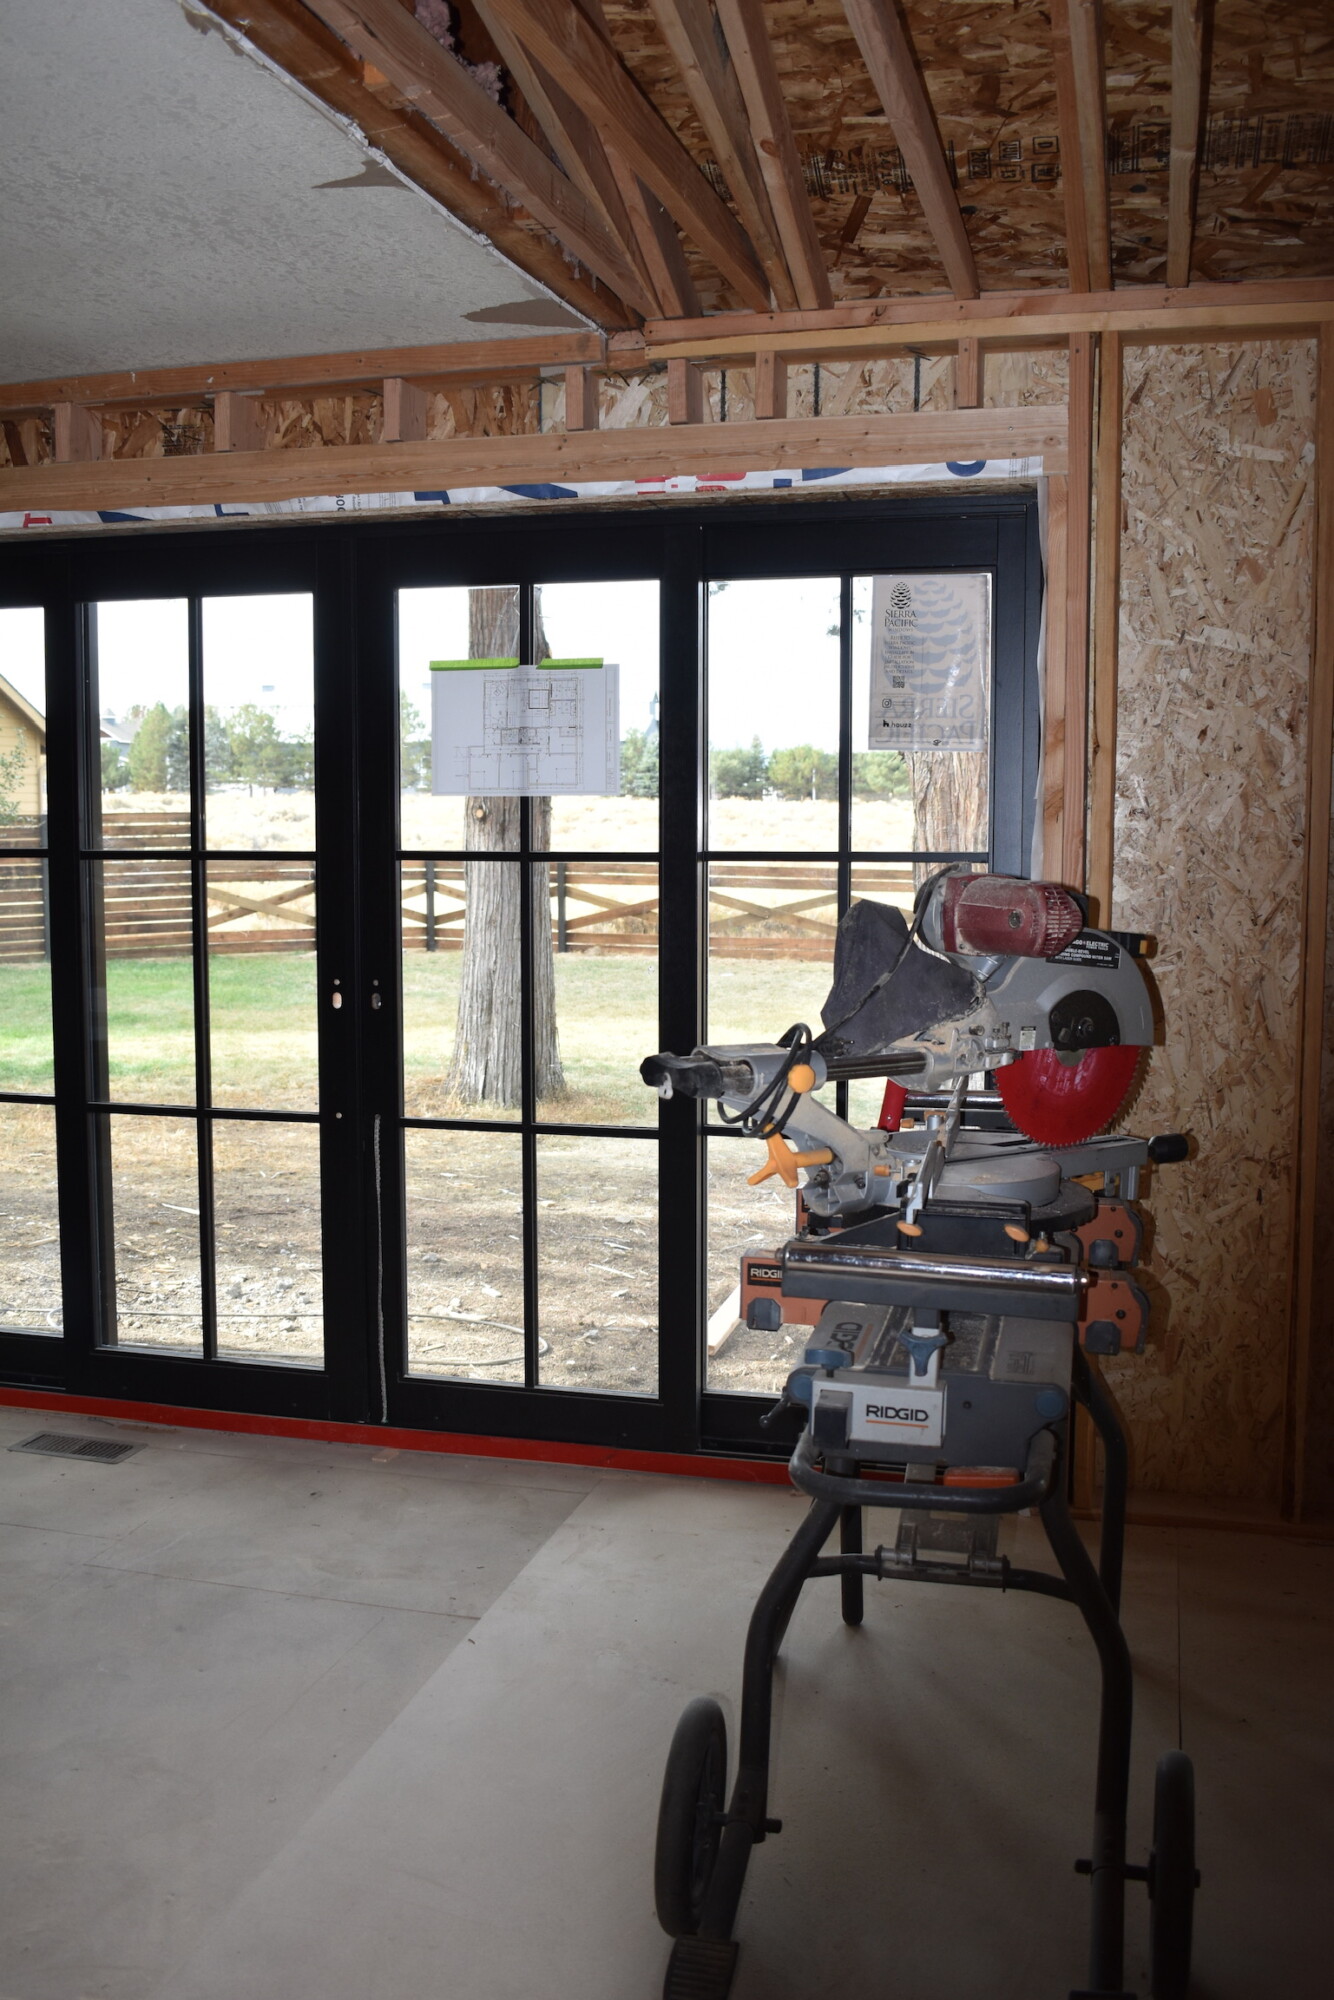
- Permits & approvals. Even “simple” projects can require permits or historical review. Plan for: application prep (drawings, scope, product cut sheets), review time, possible corrections, and booking inspections.
- Trades scheduling. Good trades are busy. If your plumber can start Tuesday, but the framer is 2 weeks out, plumbing waits—and risk plumber taking on another job that he can start immediately (which now you are waiting on plumber… you get the idea)
- Inspections (and re-inspections). You can’t close a wall until it passes. One missed nail plate or wiring mishap = a day or two to correct + a new inspection window.
- Material lead times.
- Windows/doors: often 6–14 weeks.
- Custom cabinetry: 8–12 weeks.
Stone tops: template after cabinets set, then 1–3 weeks to fabricate. - Shower glass: measure after tile, then 1–2 weeks to install.
- Lighting/plumbing: “in stock” still ships and can arrive incomplete or damaged.
- Curing & acclimation (the silent time sinks).
- Hardwood acclimation: 3–7 days.
- Floor finish cure: 24–72 hours before furniture.
- Tile mud/thinset/grout: staggered dry times.
- Paint: touch-safe ≠ fully cured.
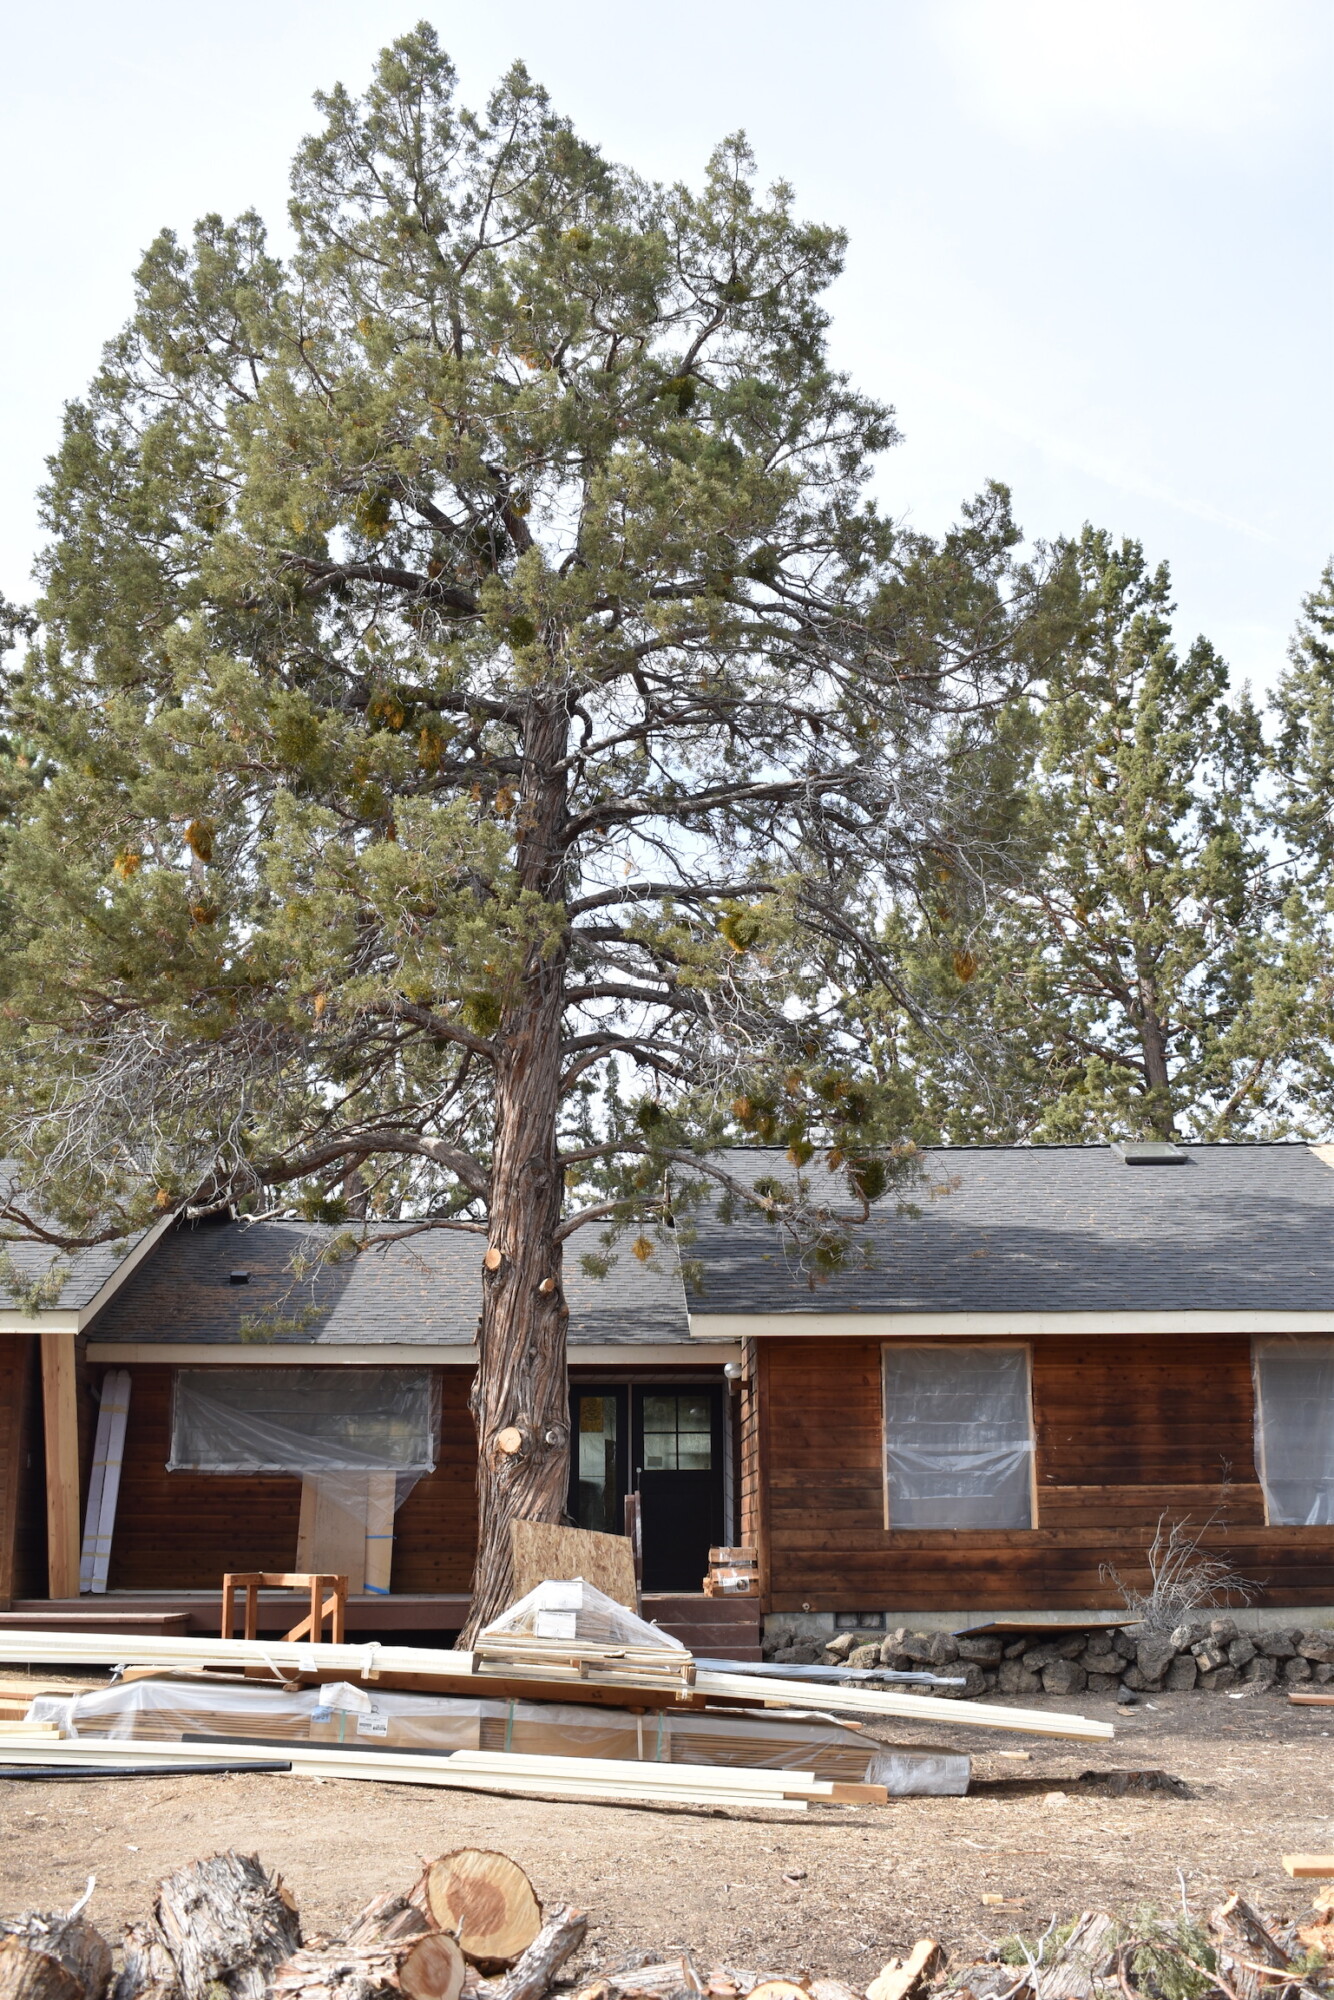
- Scope creep + surprises. Open a wall, find old knob-and-tube electrical that was never replaced. Move a doorway, now the HVAC trunk needs rerouting. (Been there; our “quick” bath once gained an electrical panel upgrade and hardwired smokes.)
- Utility coordination & site logistics. Power shut-offs, dumpsters, porta-john service, utilities locator, deliveries that miss their window—none of this is glamorous, all of it eats days.
- Decision bottlenecks. Waiting to choose a vanity sconce because you’re not “in love” can stall electrical rough-in. The schedule is only as fast as the next decision.
Where to Build in Buffer Time (for Non-Pros)
I plan time the way I plan money: add a cushion on purpose. That starts before any demo. We make a simple “shopping list” (every faucet, light, tile, etc., with links) and order the slow items early (windows, cabinets, special lighting). That way the job isn’t stuck waiting on a box.
Next is permitting, which is just the city giving you a thumbs-up to do the work. A complete packet (drawings + product info) goes through faster than piecemeal emails. I also ask our contractor, “Will this project trigger any safety/code upgrades?” (Example: moving a wall can require extra smoke detectors or outlet changes.) Knowing that now prevents mid-project surprises.
When walls open, expect inspections. Think of them like checkpoints: framing, plumbing, electrical, heating/cooling all get looked at before we close the walls again. If something small needs fixing, you book a re-check—and yes, that adds days. I always add a little time here for “surprises in the walls.”
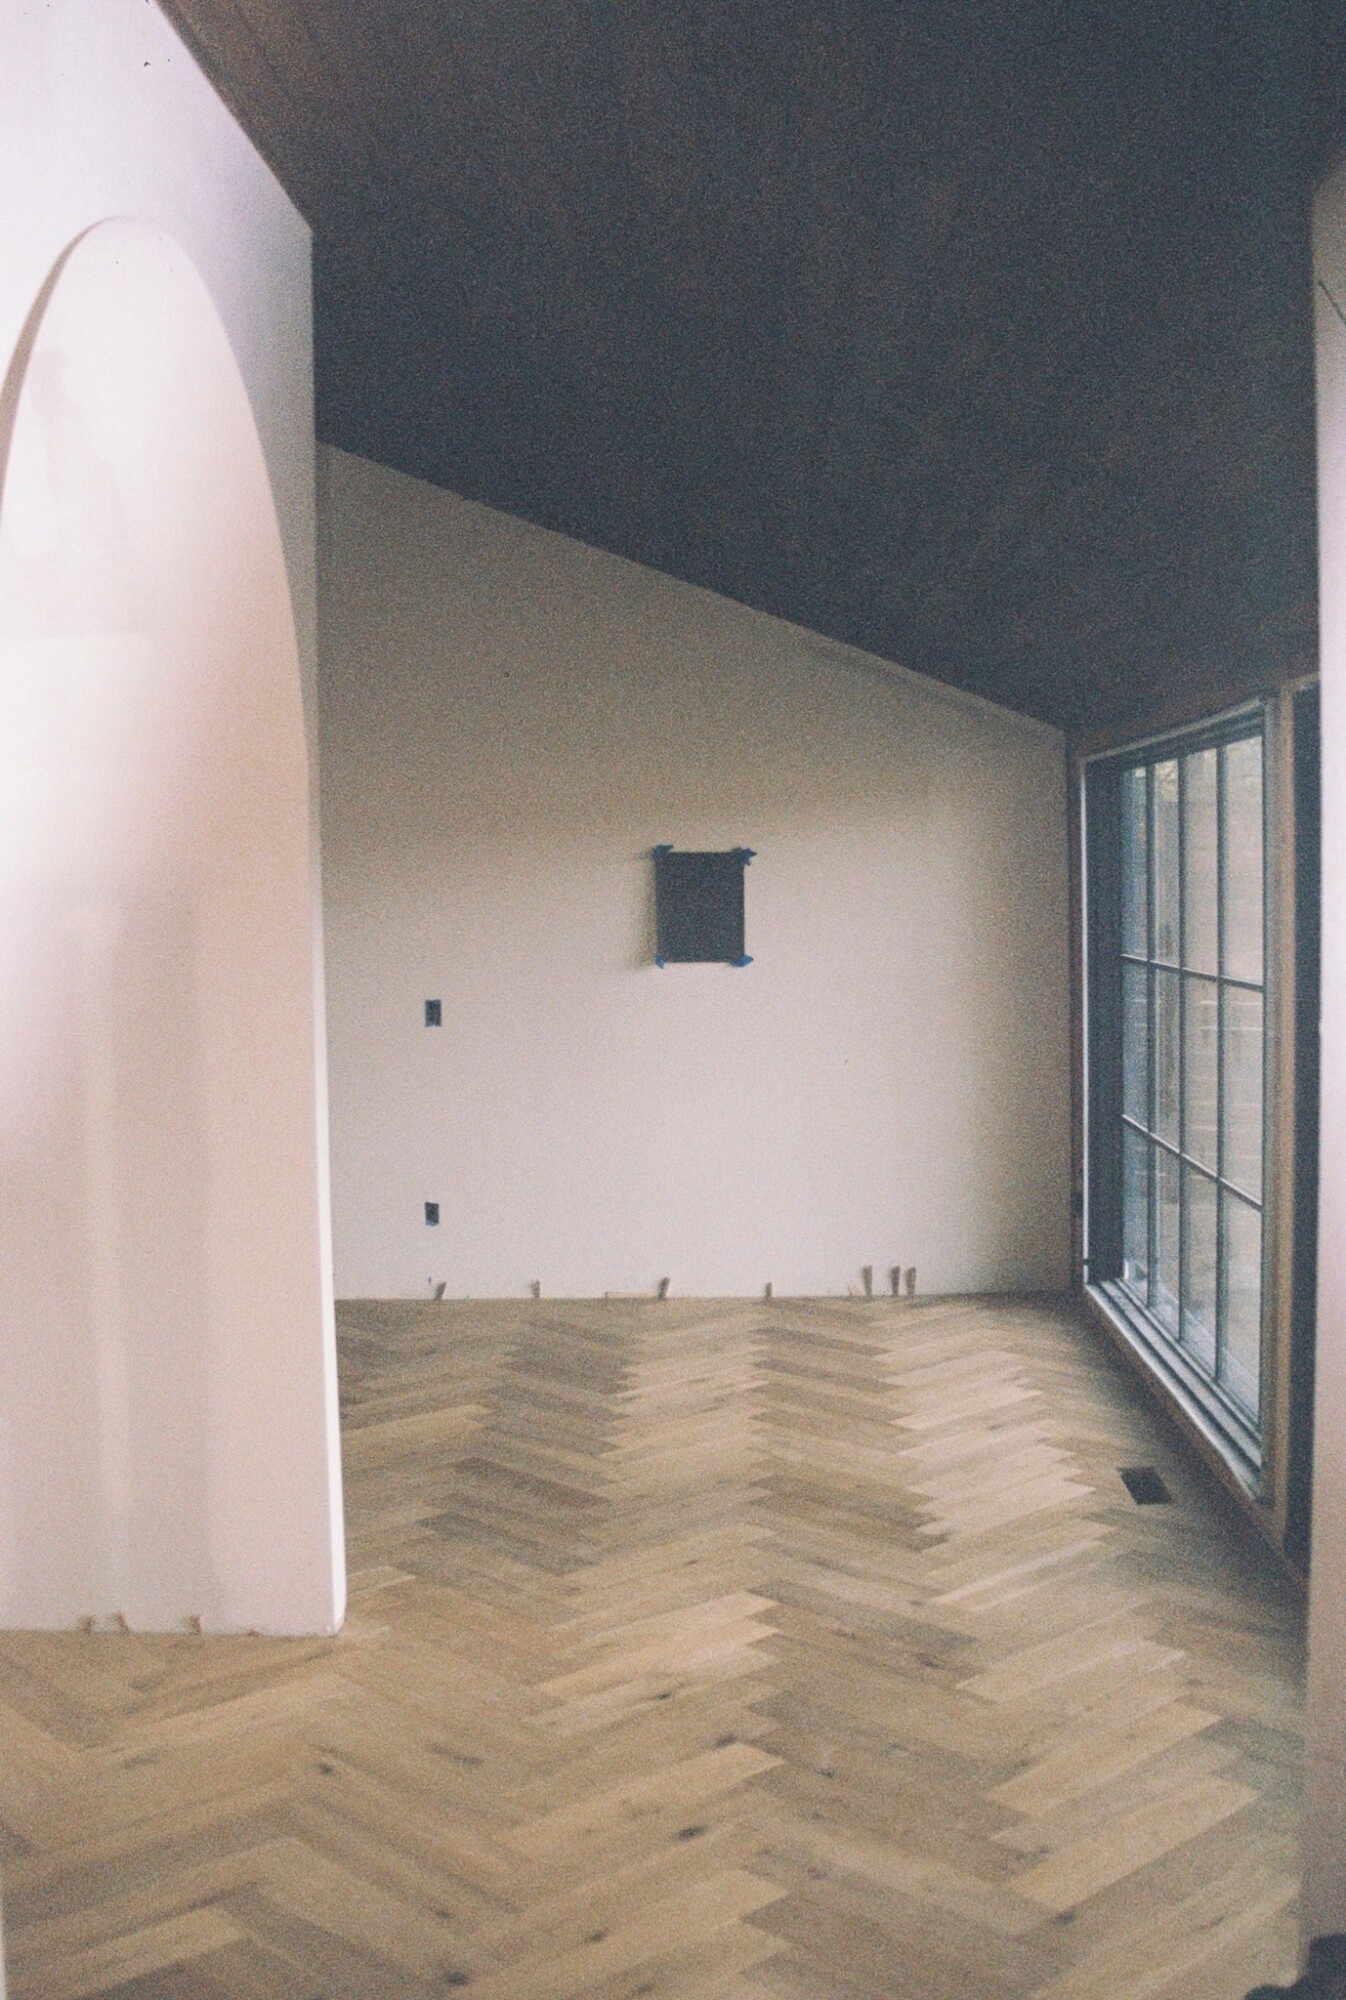
Finishing work has its own hidden clock. Wood floors need a a week or more to acclimate before install (sit in the house so they don’t warp). Tile needs layout and drying time. Some things are “measure-after” (countertops, shower glass, mirrors): you can’t even order them until the step before is perfectly installed, so I add a short buffer there too.
At the end comes punch and close-out. A “punch list” is just the final to-do list: paint touch-ups, hardware, doorstops, deep clean, staging, and photos. It looks minor, but lots of tiny tasks = real time. Skipping this is how projects feel “almost done” forever.
Rule of thumb: take your best-case timeline and add 20–30%. If you think 12 weeks, plan for 15–16 (older homes: closer to 30%).
To protect that cushion, we keep a simple weekly rhythm anyone can copy:
- Monday: quick check-in—what’s blocking progress?
- Wednesday: order status check—what’s still not purchased or shipped?
- Friday: short walkthrough—make next week’s mini punch list.
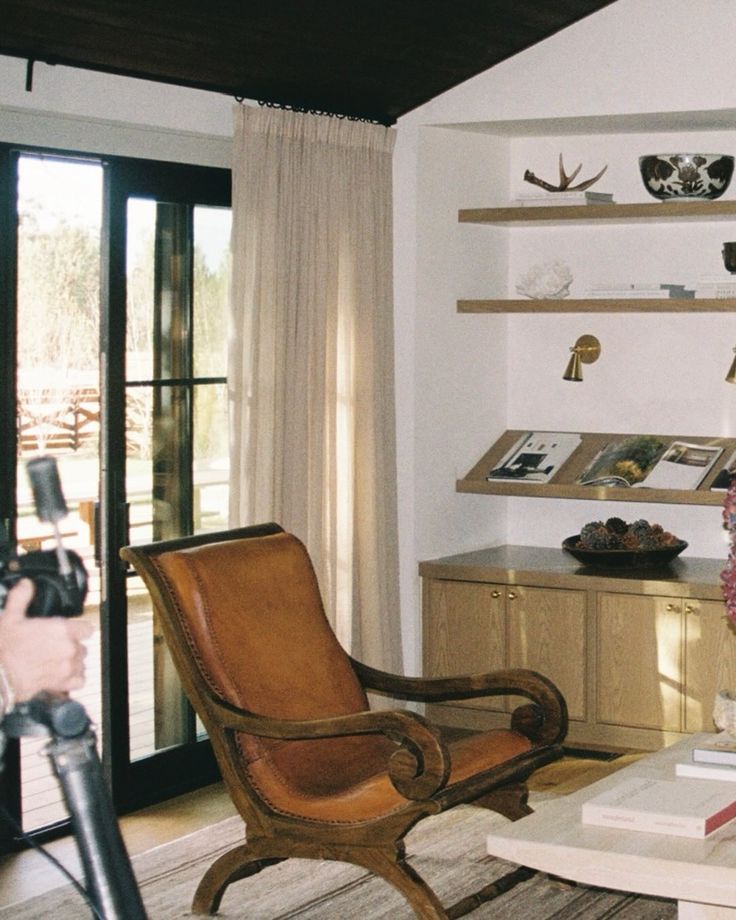
Finally, decide early on anything inside the walls (appliance location, shower valves, lighting layout, gas lines), because those choices drive wiring, plumbing and framing (if applicable). Save the flexible stuff (pillows, art, accent paint) for later so the bones of the project keep moving.
***
Need a little more direction?

Are you struggling to define your style or figure out how to pull your space together? That’s exactly why we created our Clouz Houz Design Guides. They’ll help you design a space that feels cohesive, elevated, and personal … without hiring a designer.
Click here to explore the five curated styles, complete with inspiration boards, designer tips, and product links that make sourcing simple. Download for free and get started designing your dream home today!

Not sure which one’s for you? Take our free quiz to discover which aesthetic best suits your space.
We’re here to help you move forward with confidence, and create a home that truly feels like yours.
P.S. Are you new to Clouz Houz? If you’d like to be in the know on all things home and lifestyle, subscribe now so you never miss a post! As a bonus, you’ll receive our exclusive 42-page ‘Paint Guide.’ This Guide will help you select the perfect shades for your home. And, you’ll also receive our weekly newsletter, including special finds that are not on the blog — they’re only for subscribers. 
Life is short. Make it beautiful!

