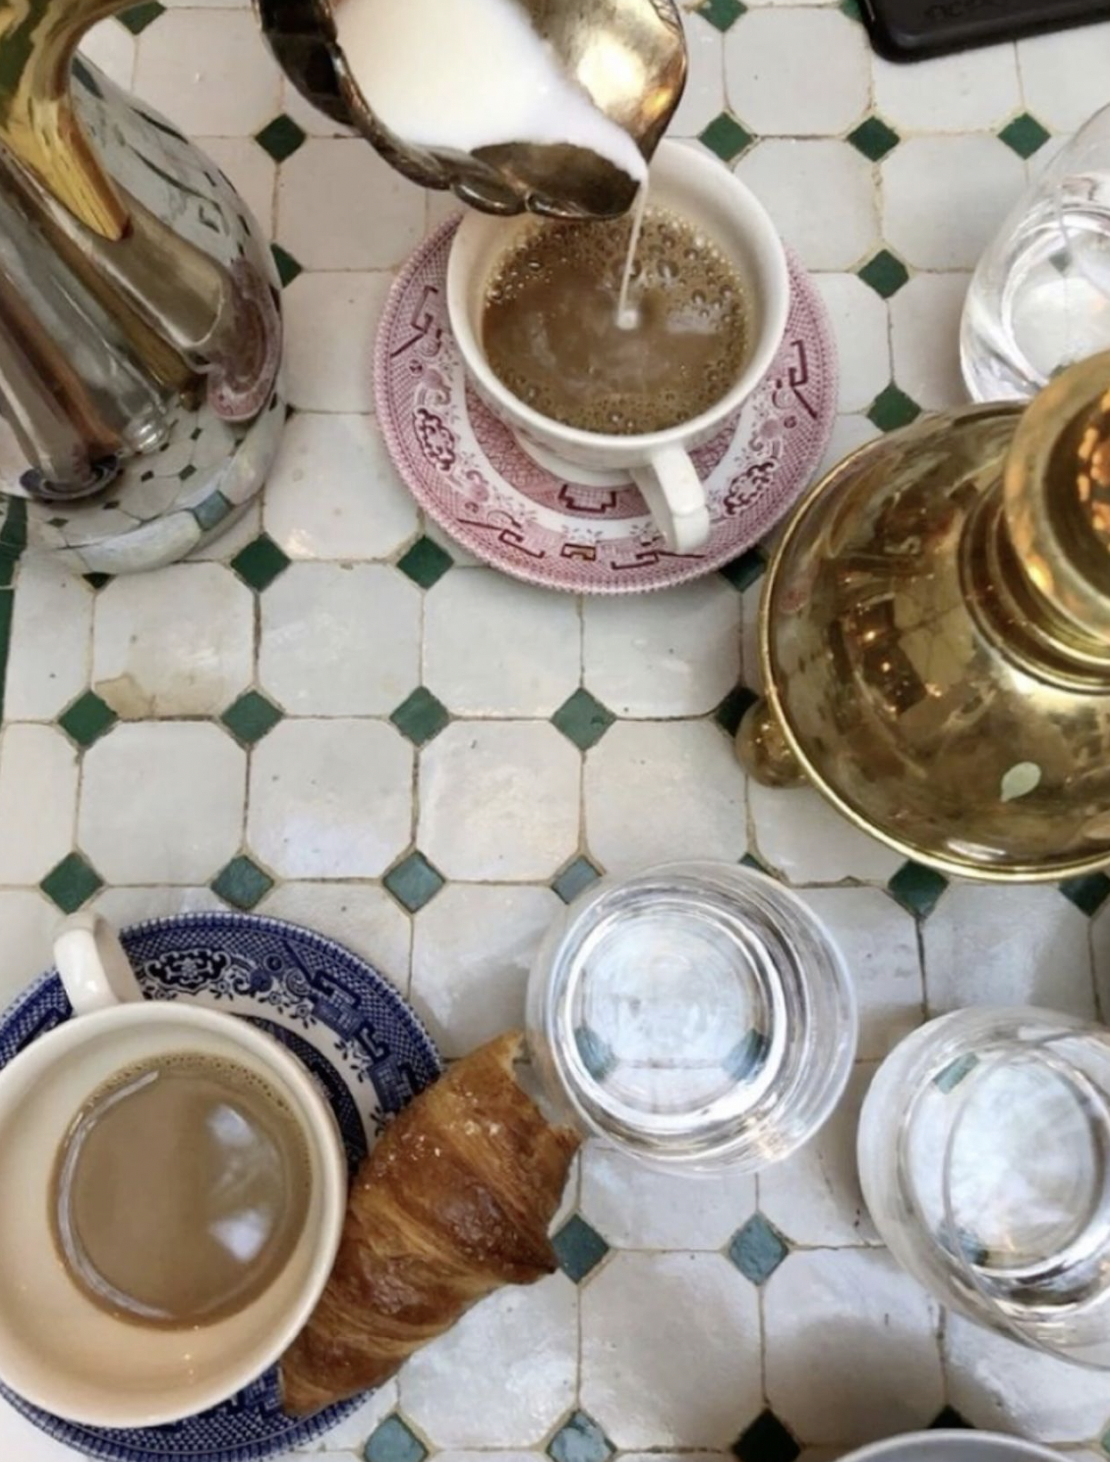
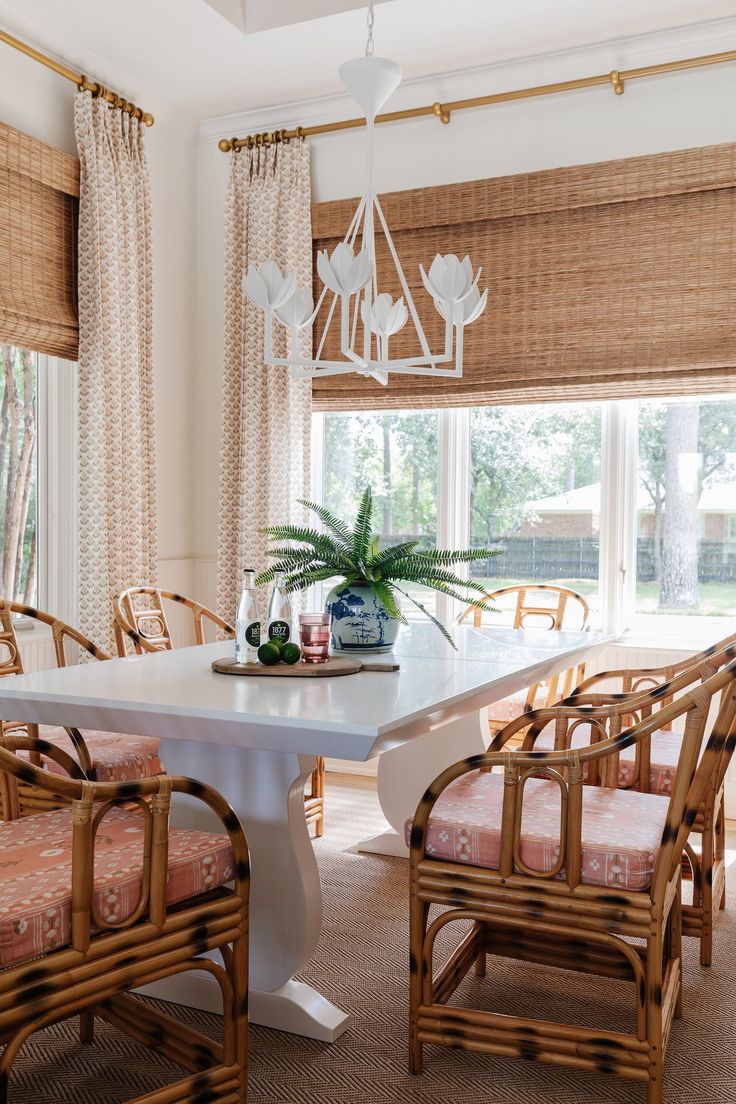
I cherish the opportunity to spend Mother’s Day with my family, savoring every precious moment of togetherness. As the years pass and our children grow older, these occasions become increasingly rare. Whether it’s brunch, lunch or dinner, the simple act of gathering around the table to share a meal fills my heart with joy.
My mother lives in Portland, and while distance separates us physically, our bond remains as strong as ever. She’s not just my mother though; she’s my confidante, my mentor and my role model. The simple pleasure of getting to see each other in person every now and then really makes me happy. I often miss her, but our daily conversations keep us connected, and her unwavering support and guidance continue to shape my world.
And, with her endless creativity and knack for hospitality, she could give Martha Stewart a run for her money! People always ask me where I get my passion for entertaining … now you know 🤍
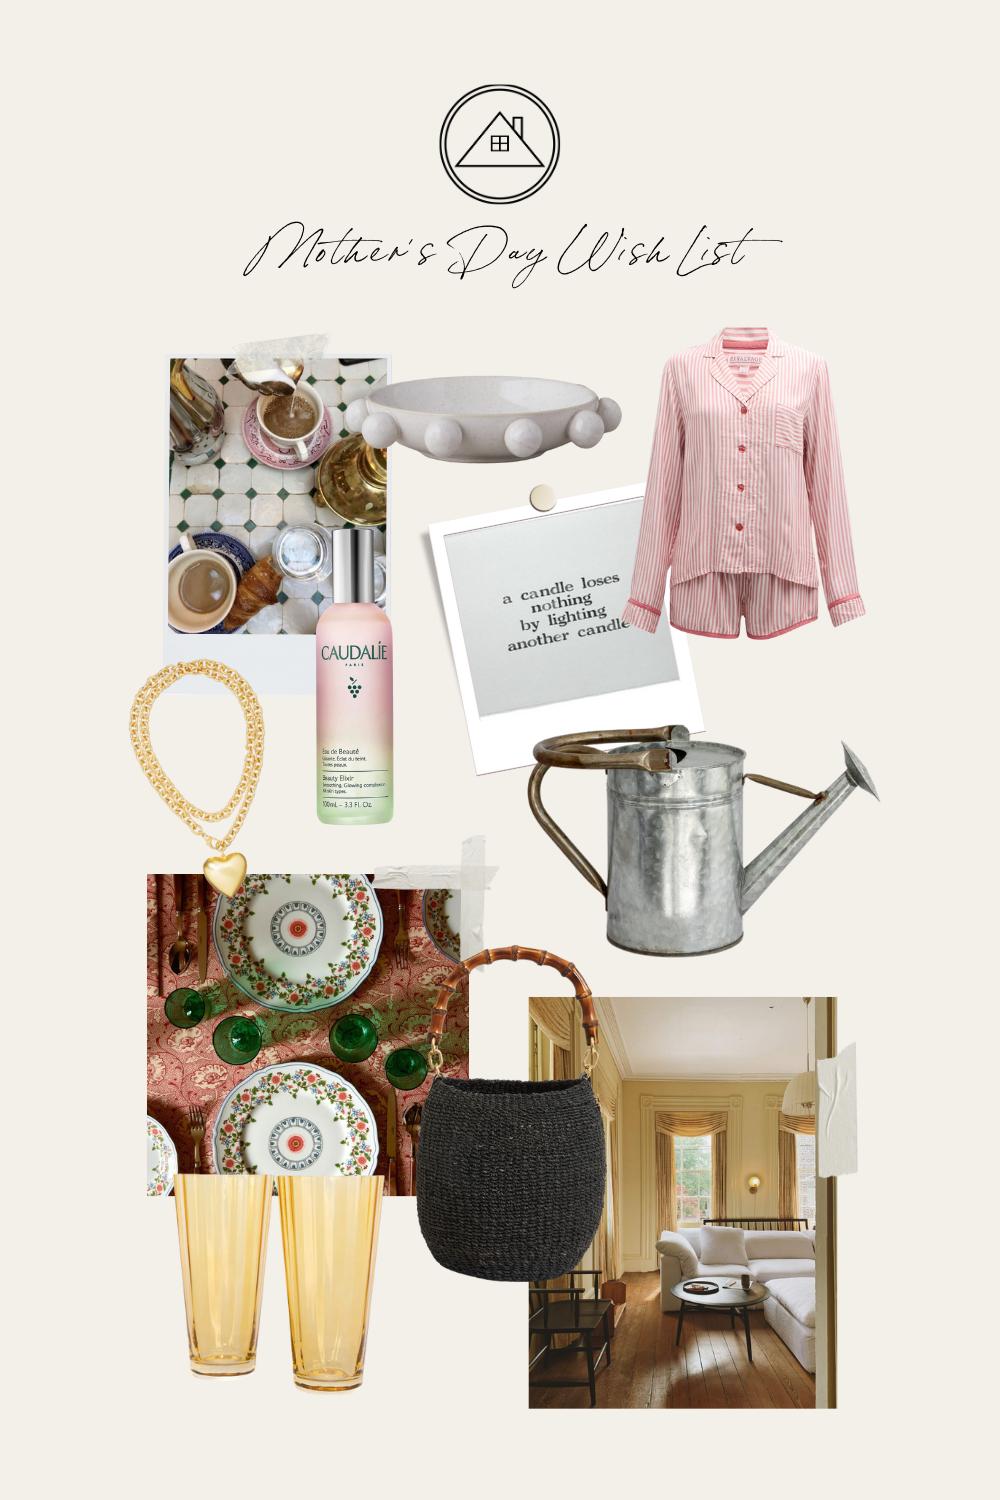
As a mom myself, I’ve put together a list of items that I know I’d absolutely love to receive on Mother’s Day. Sure … a little gift to show your love is never turned down 😉 Derrick, if you happen to be reading this, consider your Mother’s Day shopping a breeze!
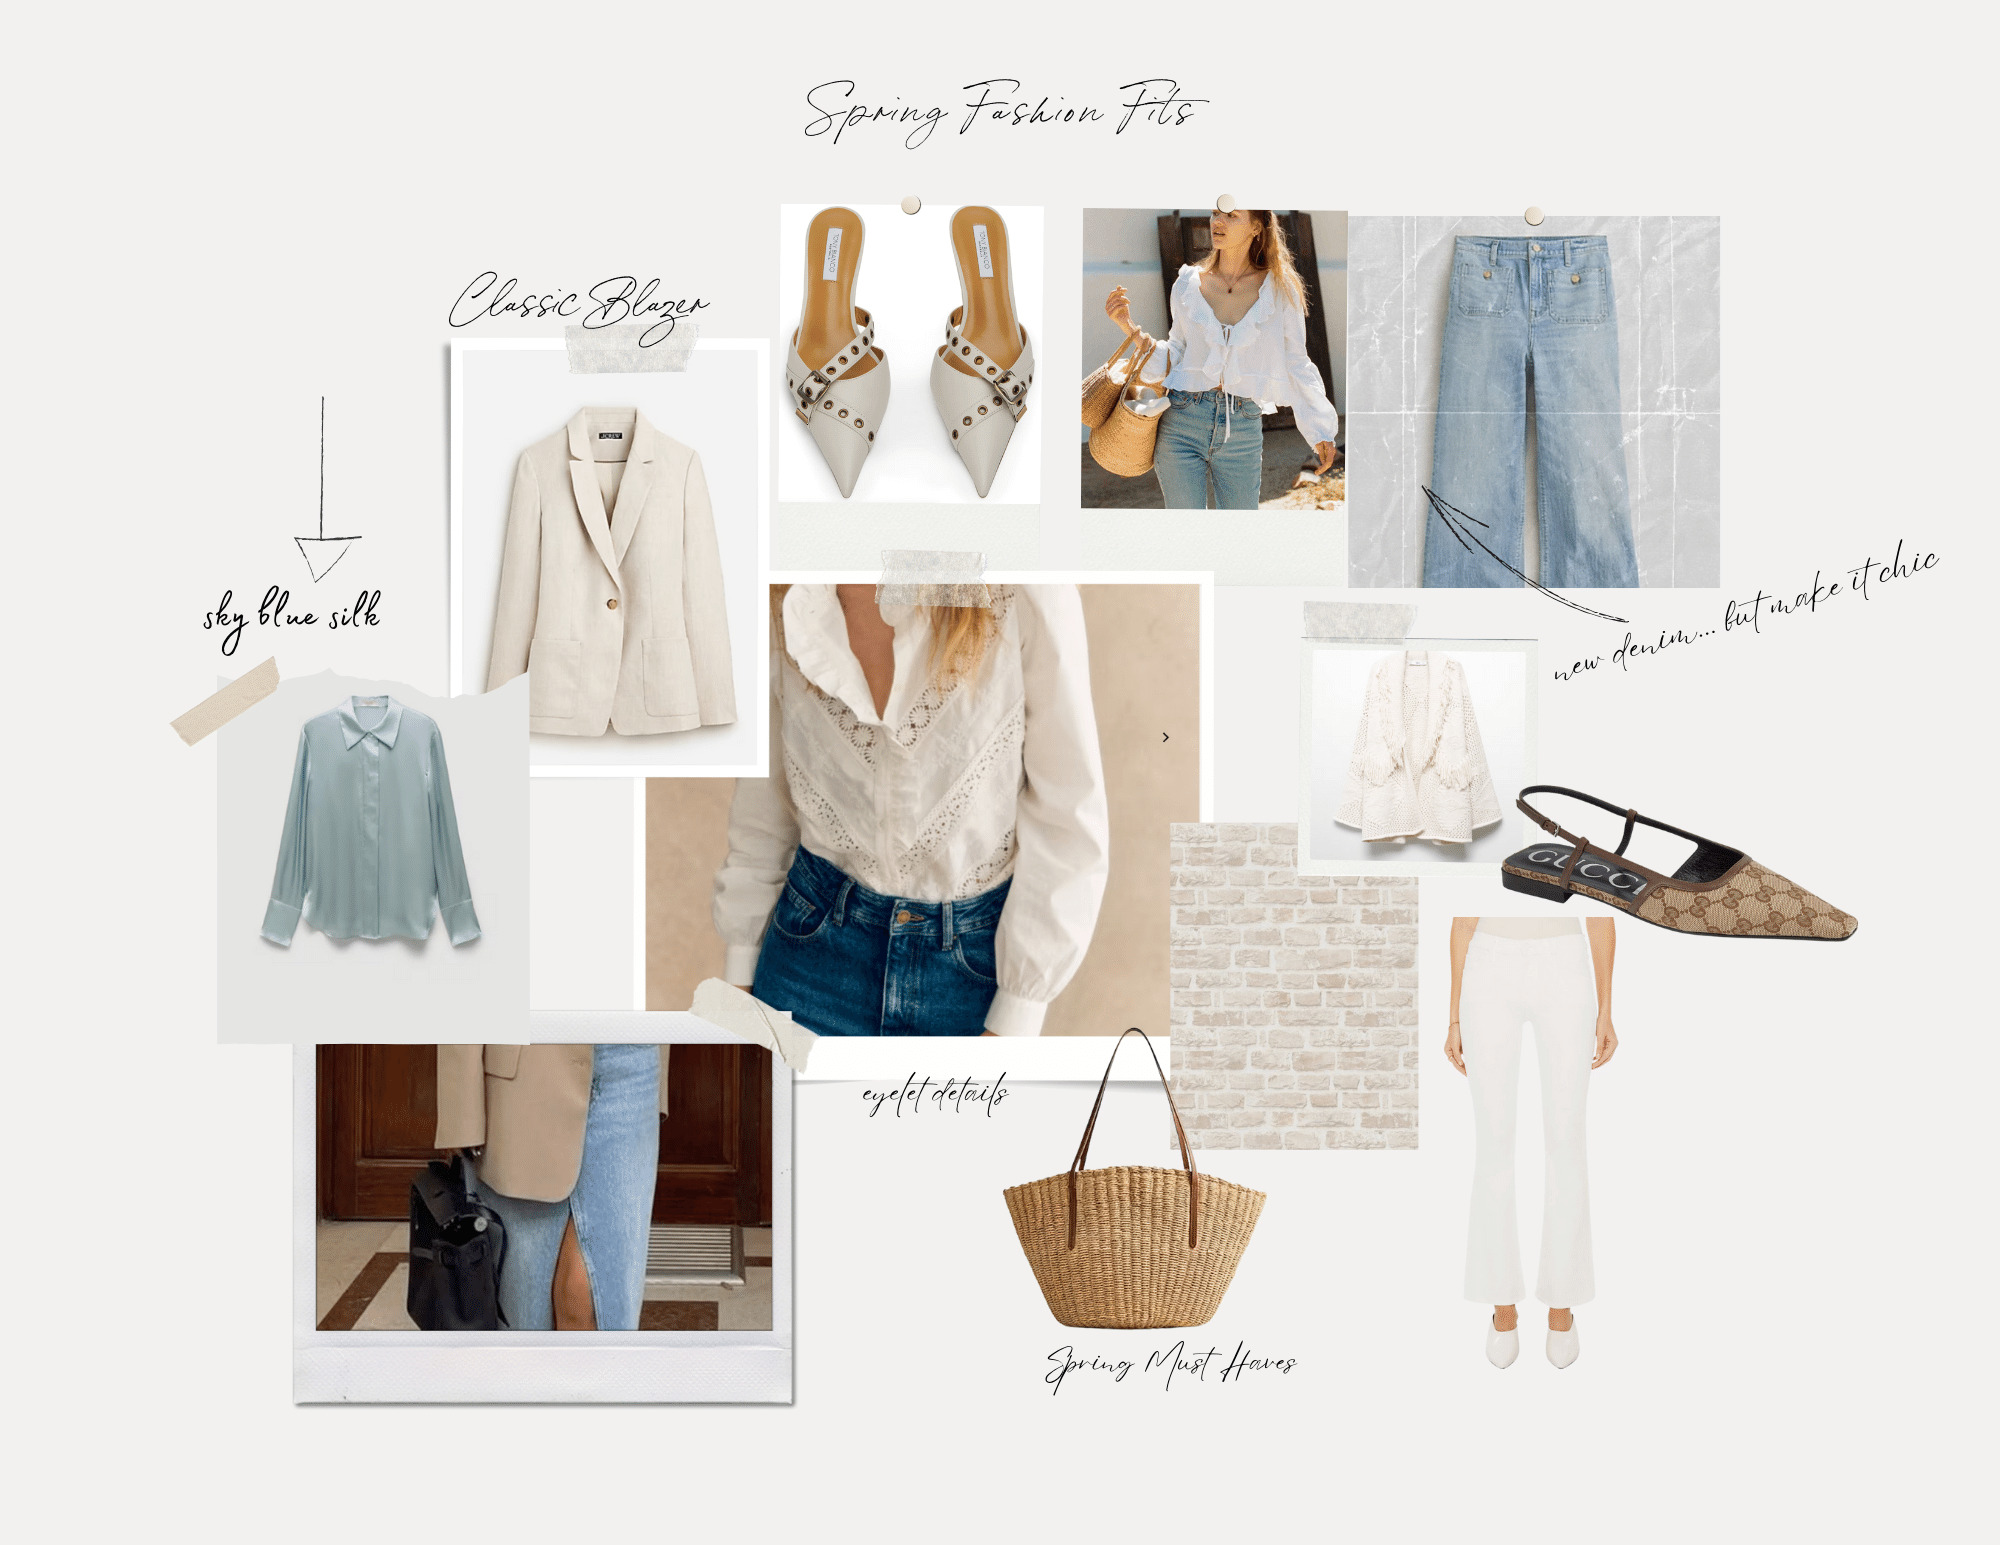
1. Sweet Spring Ensembles
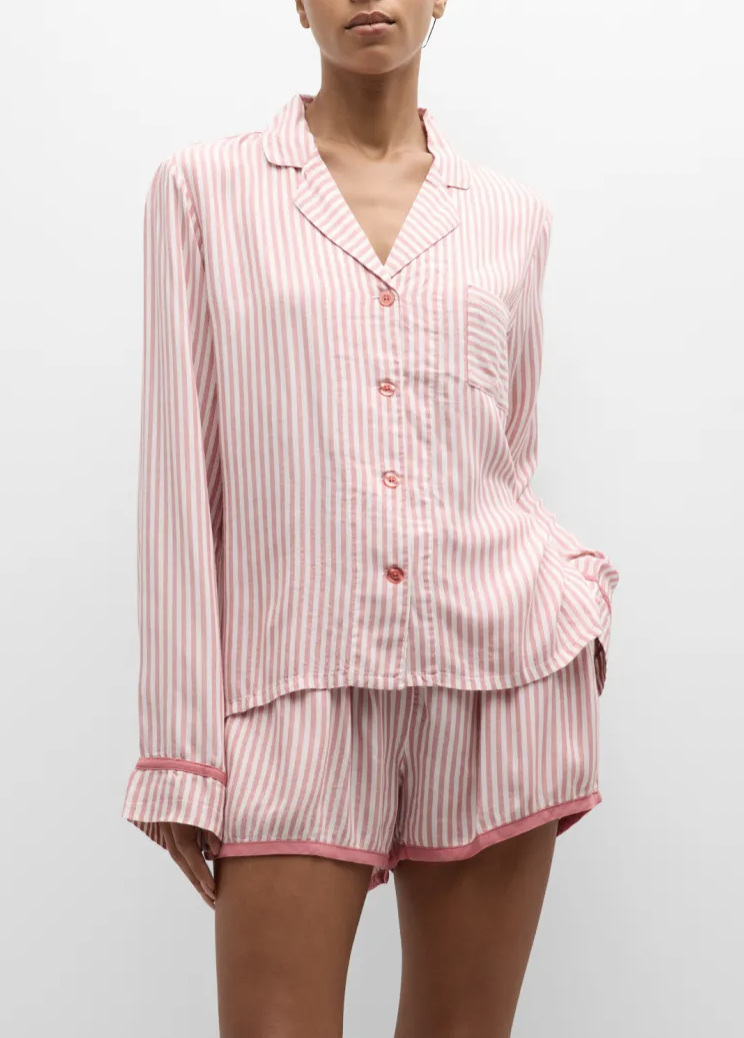
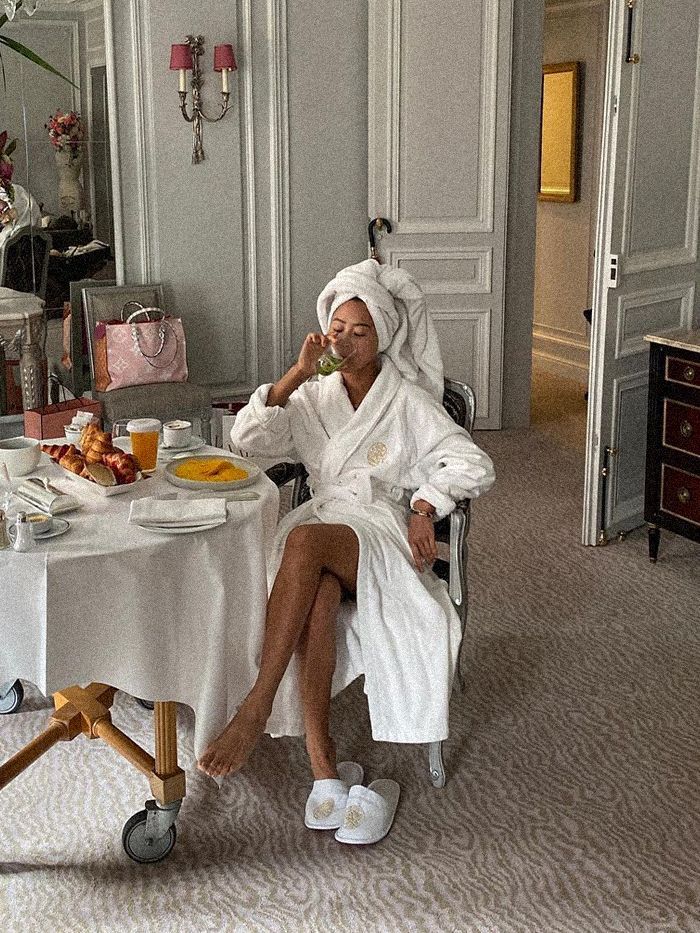
Let’s talk pajamas! Is there anything better than slipping into a fresh pair of PJs at the end of a long day? For me, receiving a new set of pajamas is always a treat, especially as we transition into the warmer months. I’m all about lighter weight fabrics and fun, playful prints that add a touch of whimsy to my bedtime routine. If you like a short option, these pink and white striped pajamas look soft and cozy. A fun printed pair really helps get my morning off to a great start, relaxing on the back patio with coffee in hand.
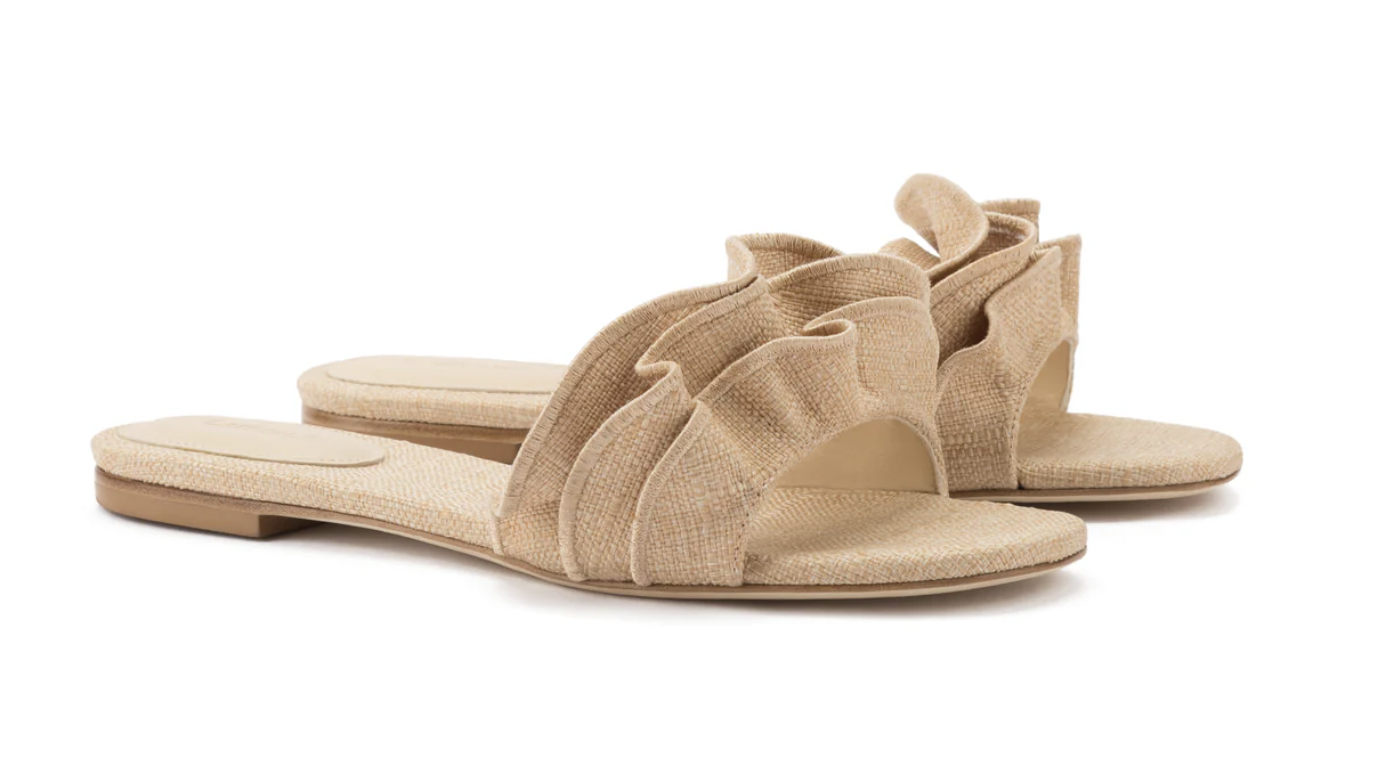
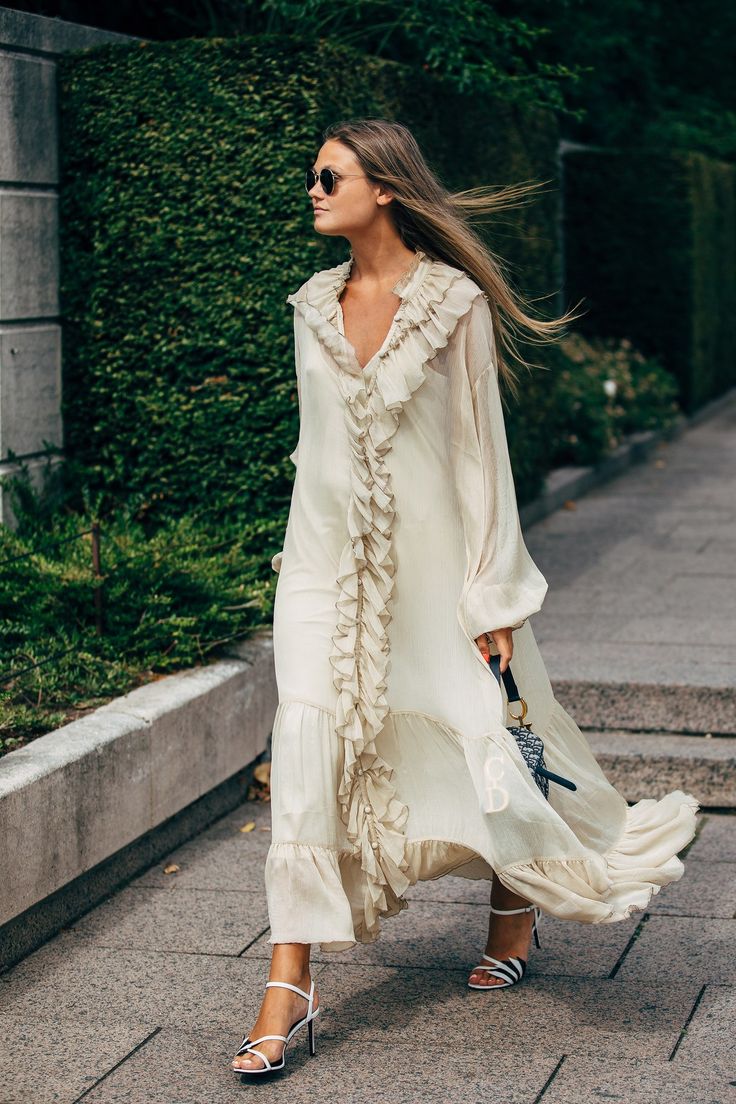
What’s a fabulous outfit without the perfect finishing touches? First up, we have these flat mules in beige raffia – a must-have for elevating her spring style. Gift her these cuties the morning of and she’s sure to put together an outfit just in time for brunch or that shopping spree you promised her!
2. Accessorize with flair
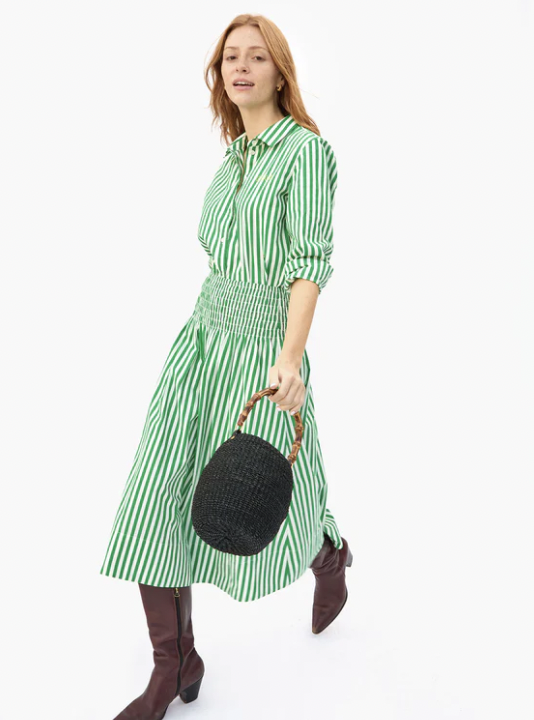
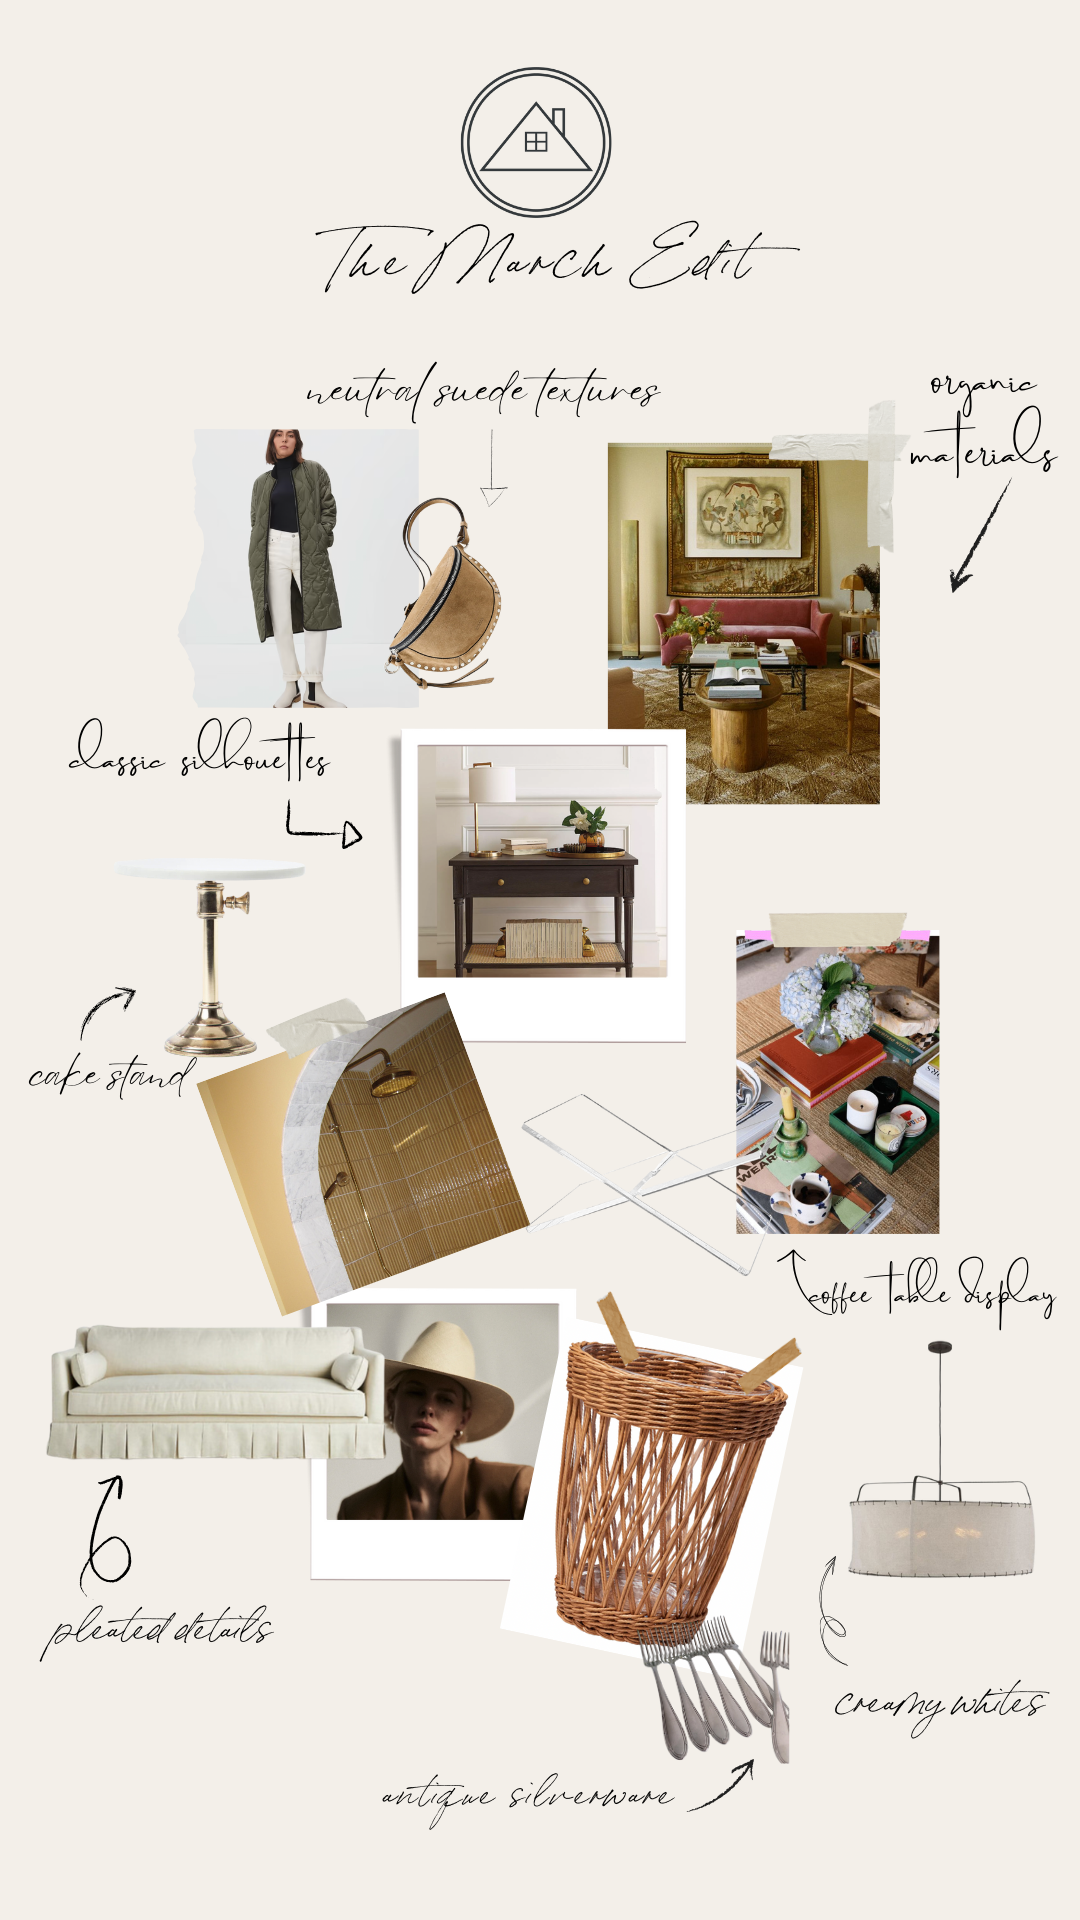
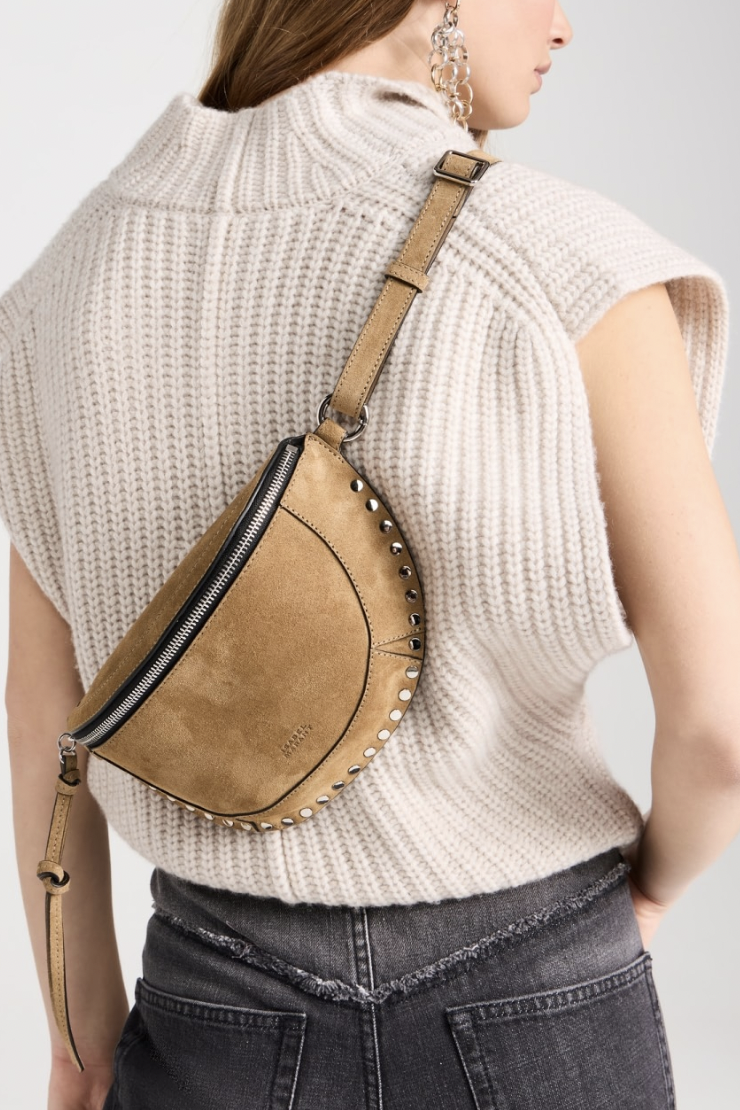
I’ve been raving about this Clare V bag lately, and for good reason. Not only is it an absolute showstopper, but its versatility knows no bounds. You can switch out the handles to suit any look, and it’s the ultimate summer accessory that’s sure to turn heads. Trust me, I’ve never received so many compliments on a bag before – it’s truly a game-changer!
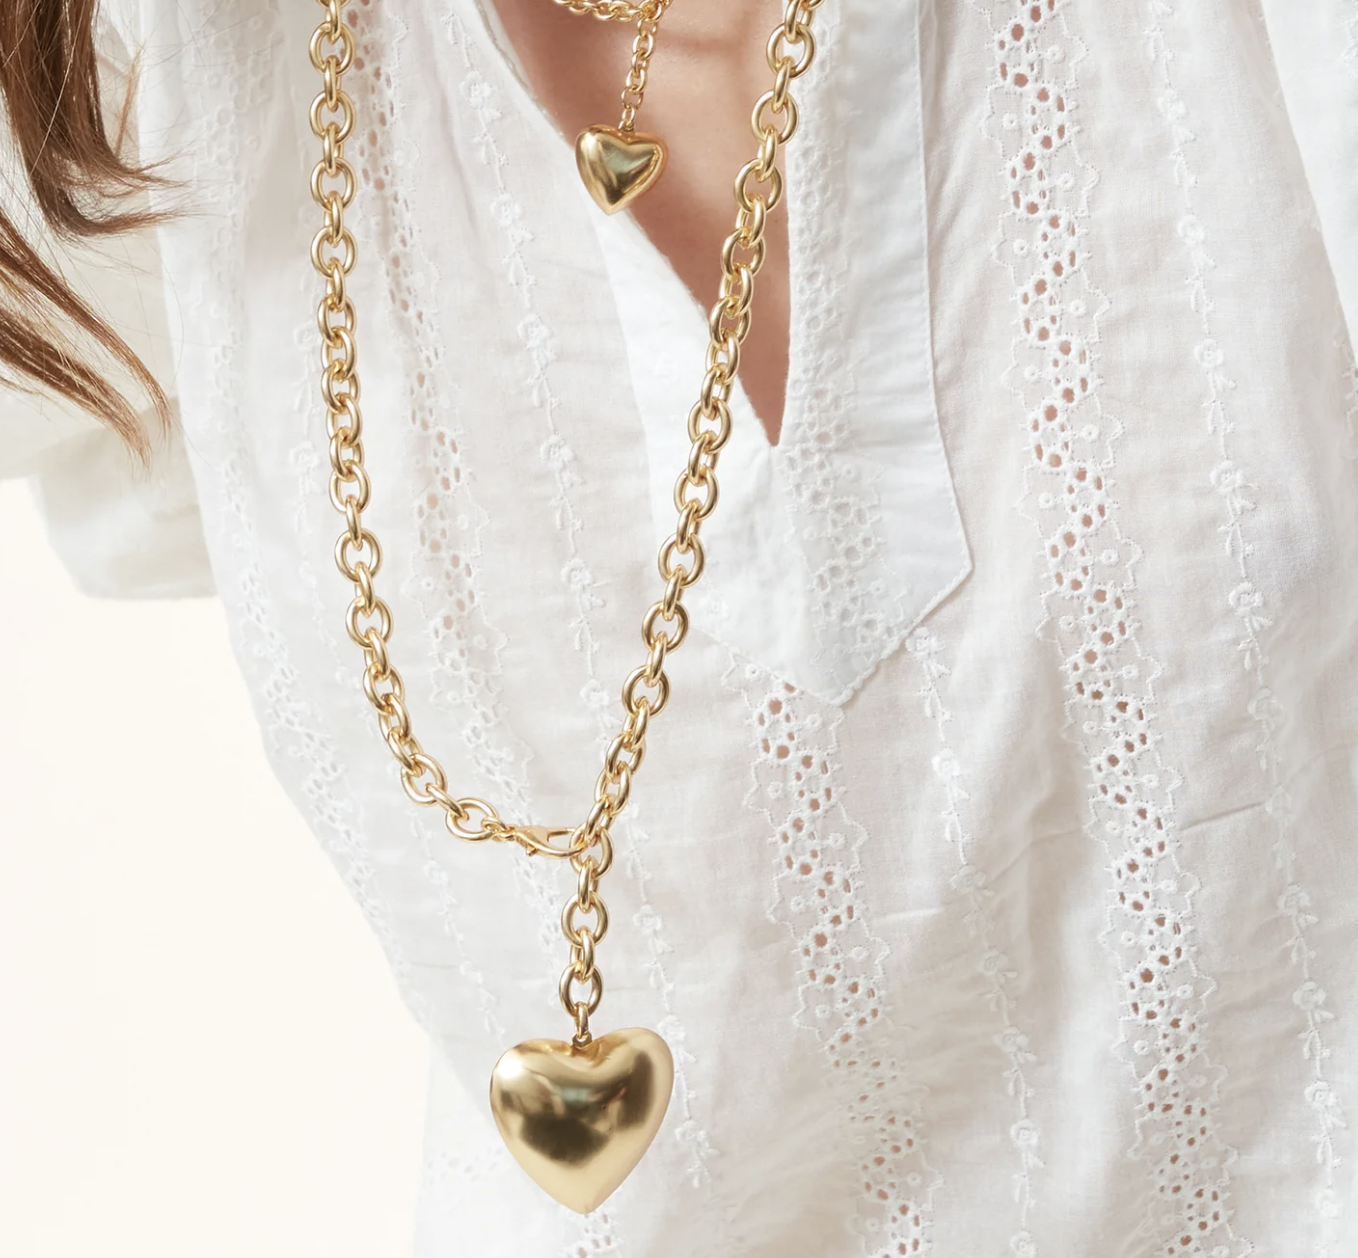
This heart pendant necklace adds a touch of whimsy and romance to any outfit, making it the perfect accessory for any mom looking to add a little extra charm to her look this Mother’s Day.
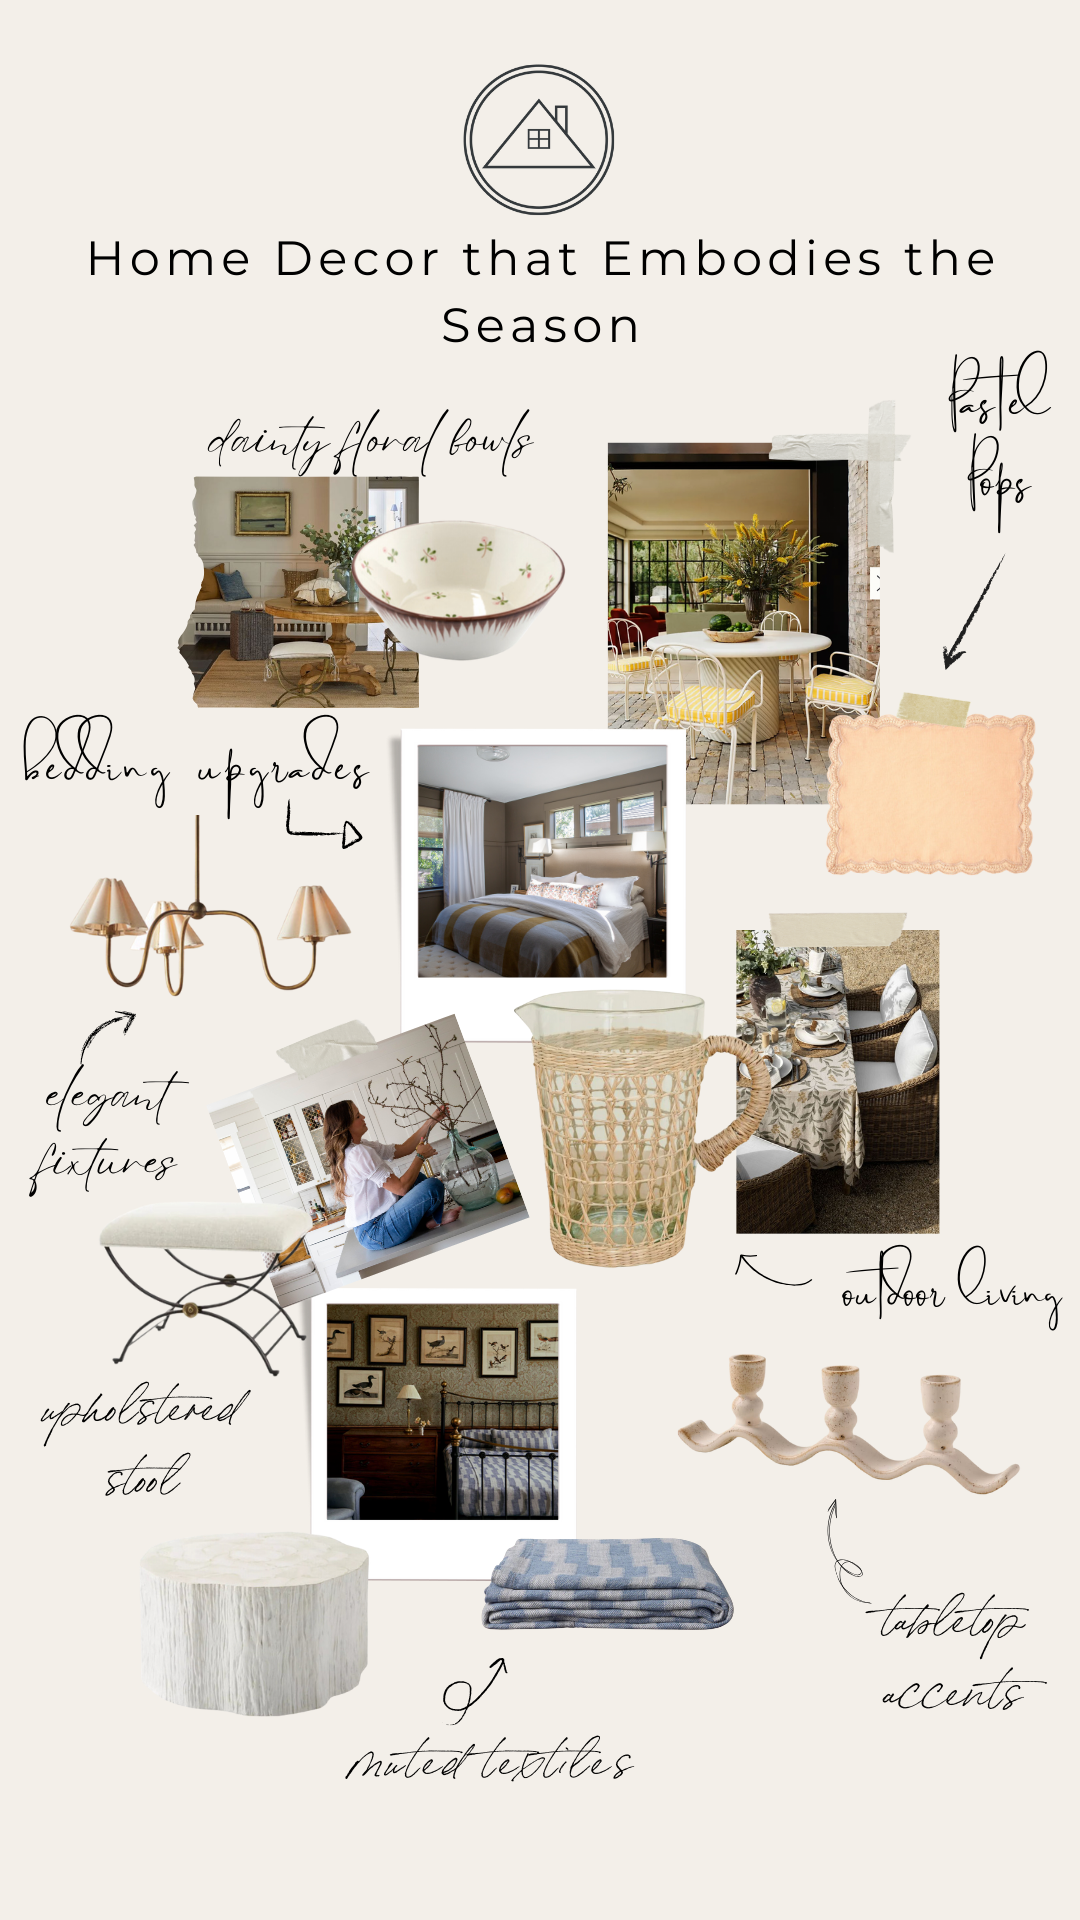
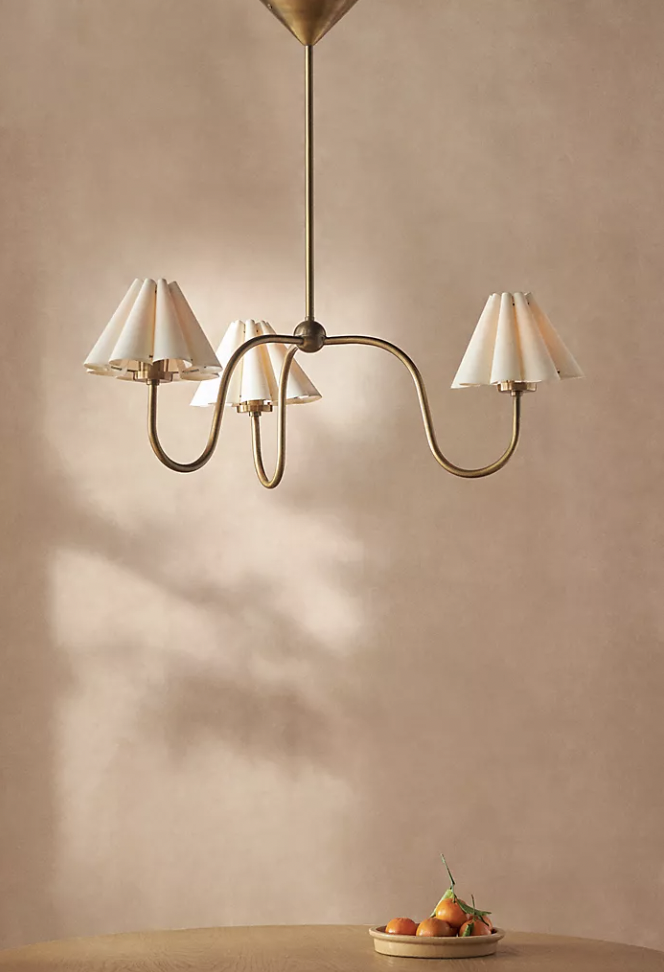
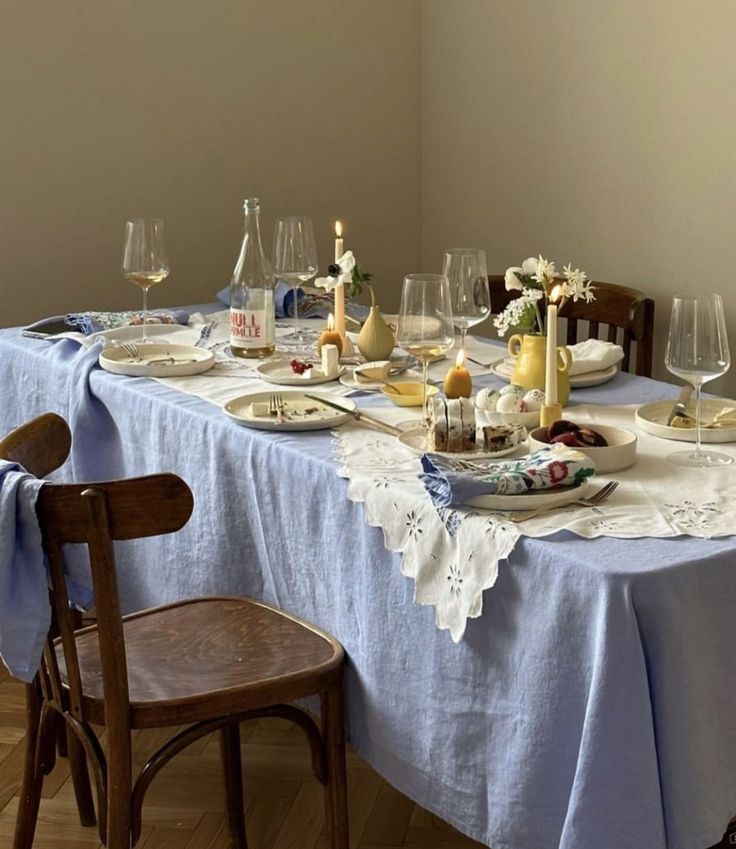
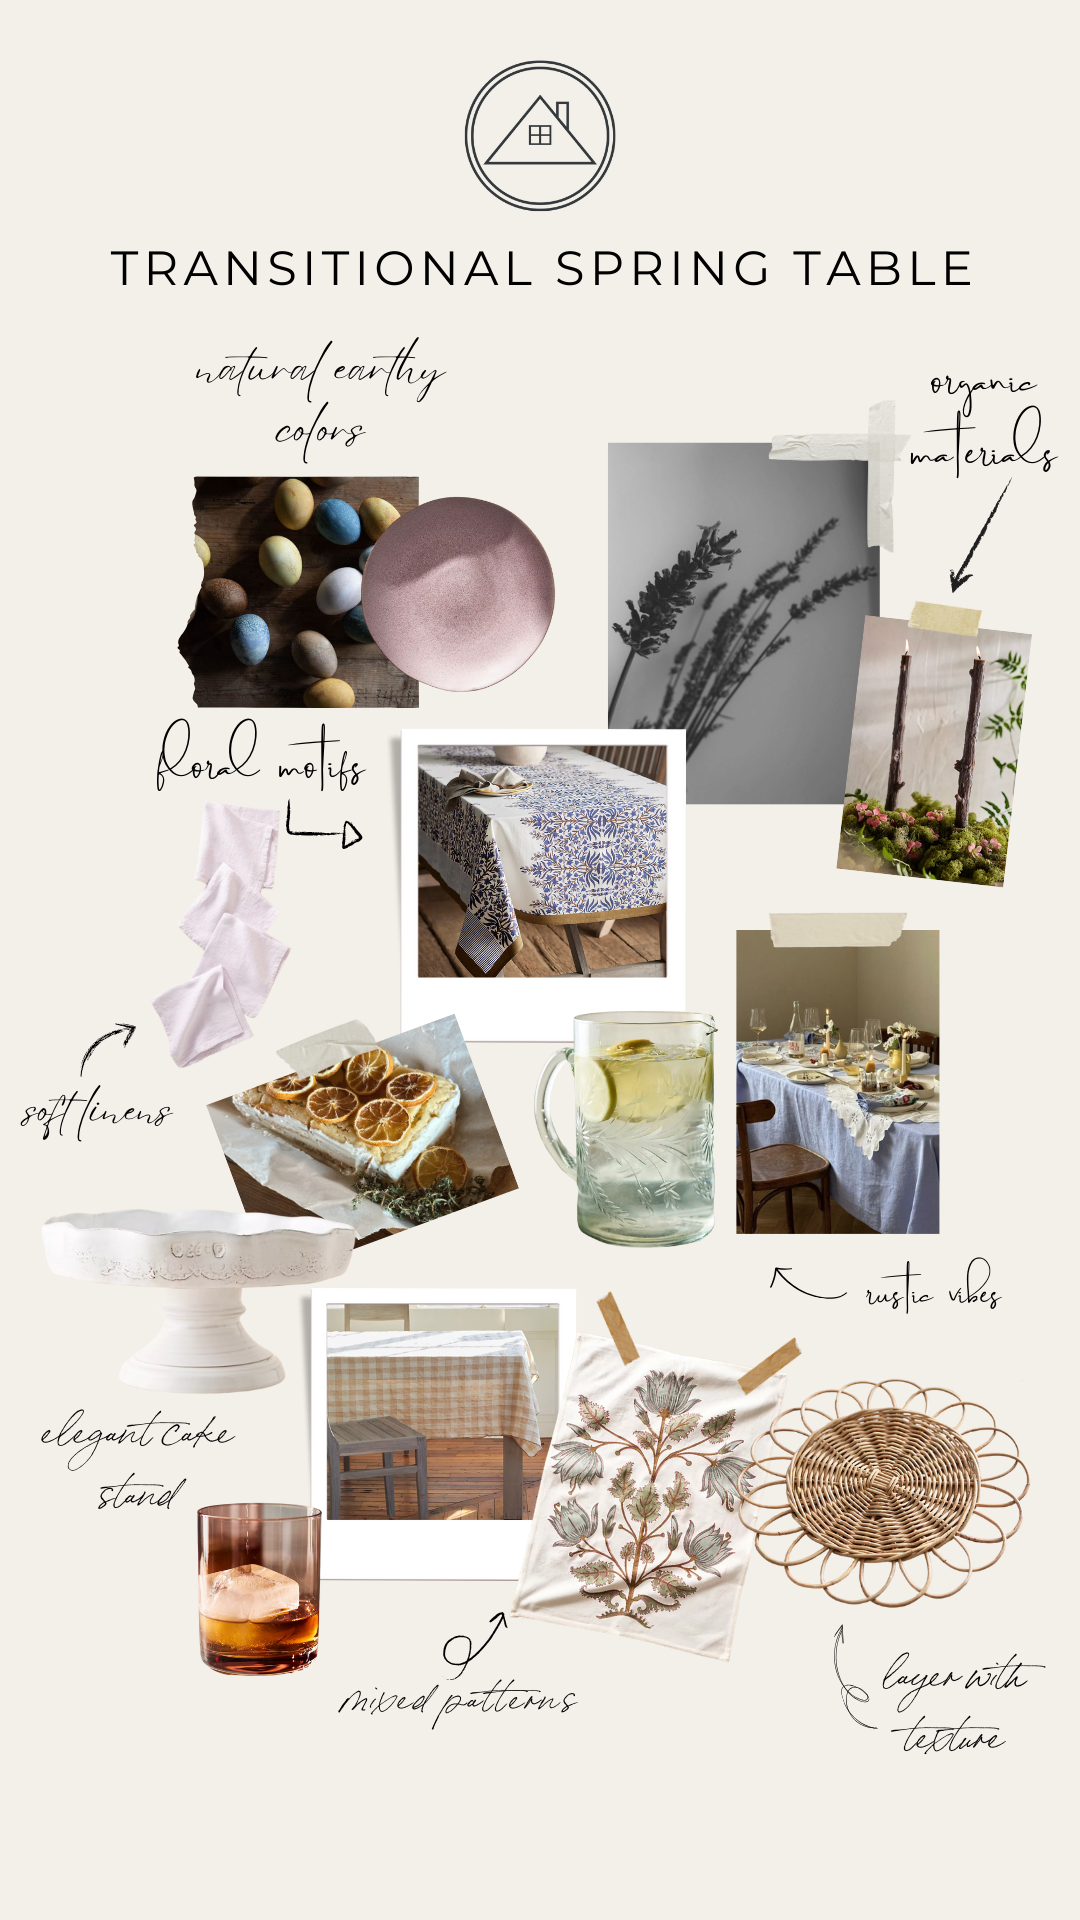
3. Home Goodies for Mother’s Day celebrations
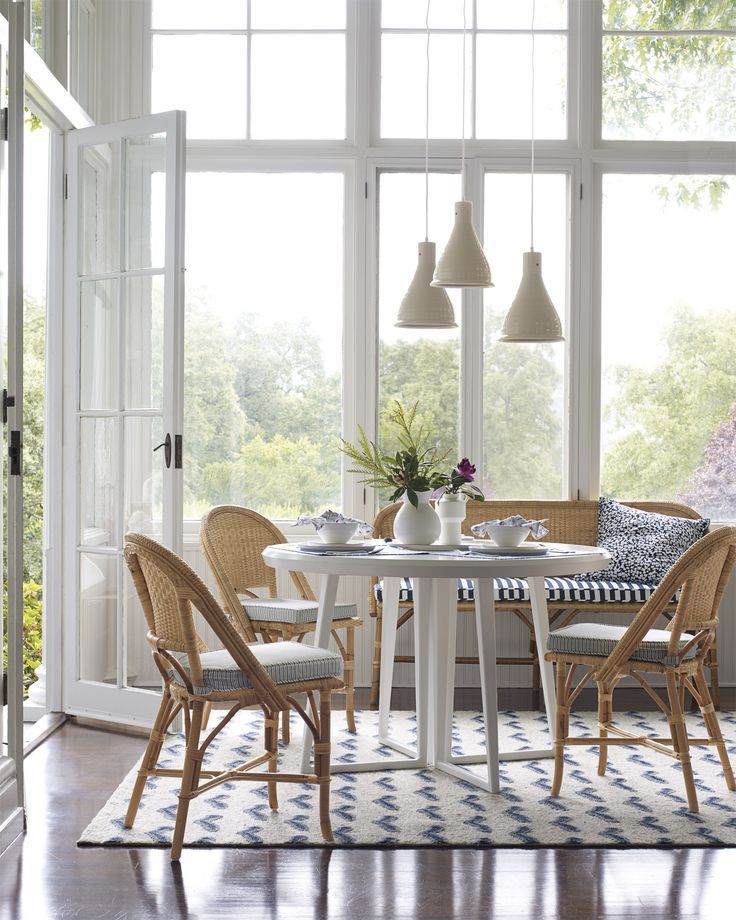
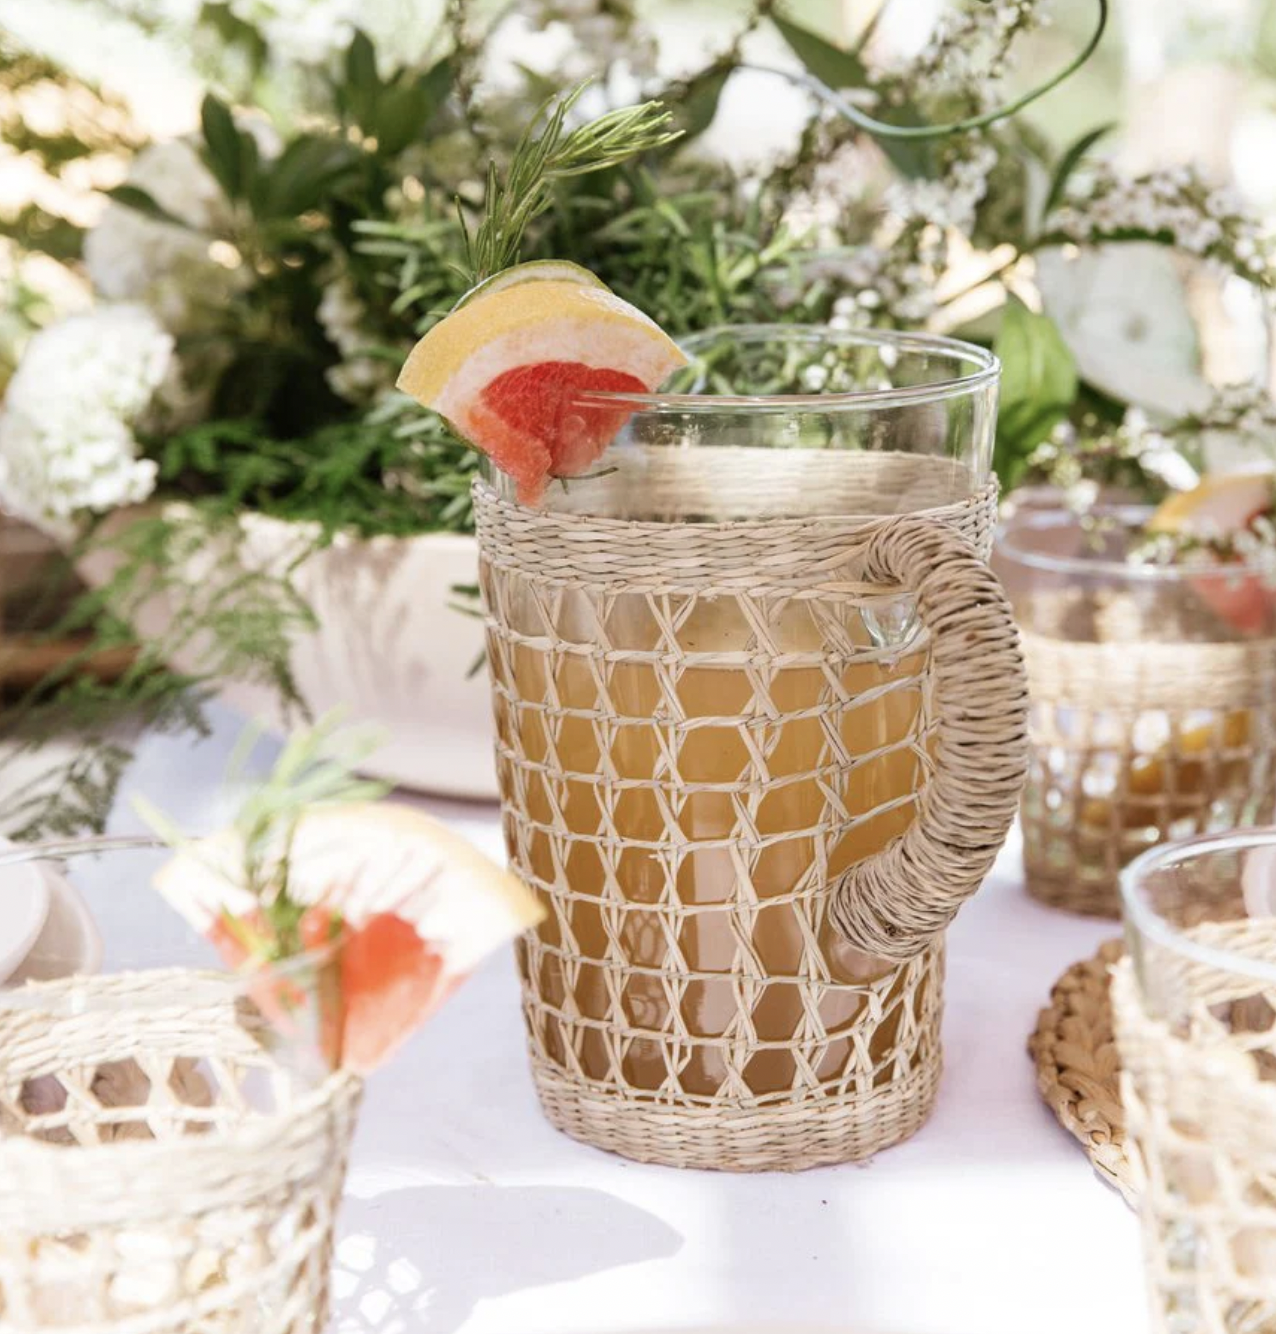
Imagine gifting vibrant yellow high ball glasses, and adding a cheerful touch to her Mother’s Day brunch or dinner as she celebrates with loved ones. These glasses not only brighten up the table, but also symbolize the joy and warmth she brings to your family.
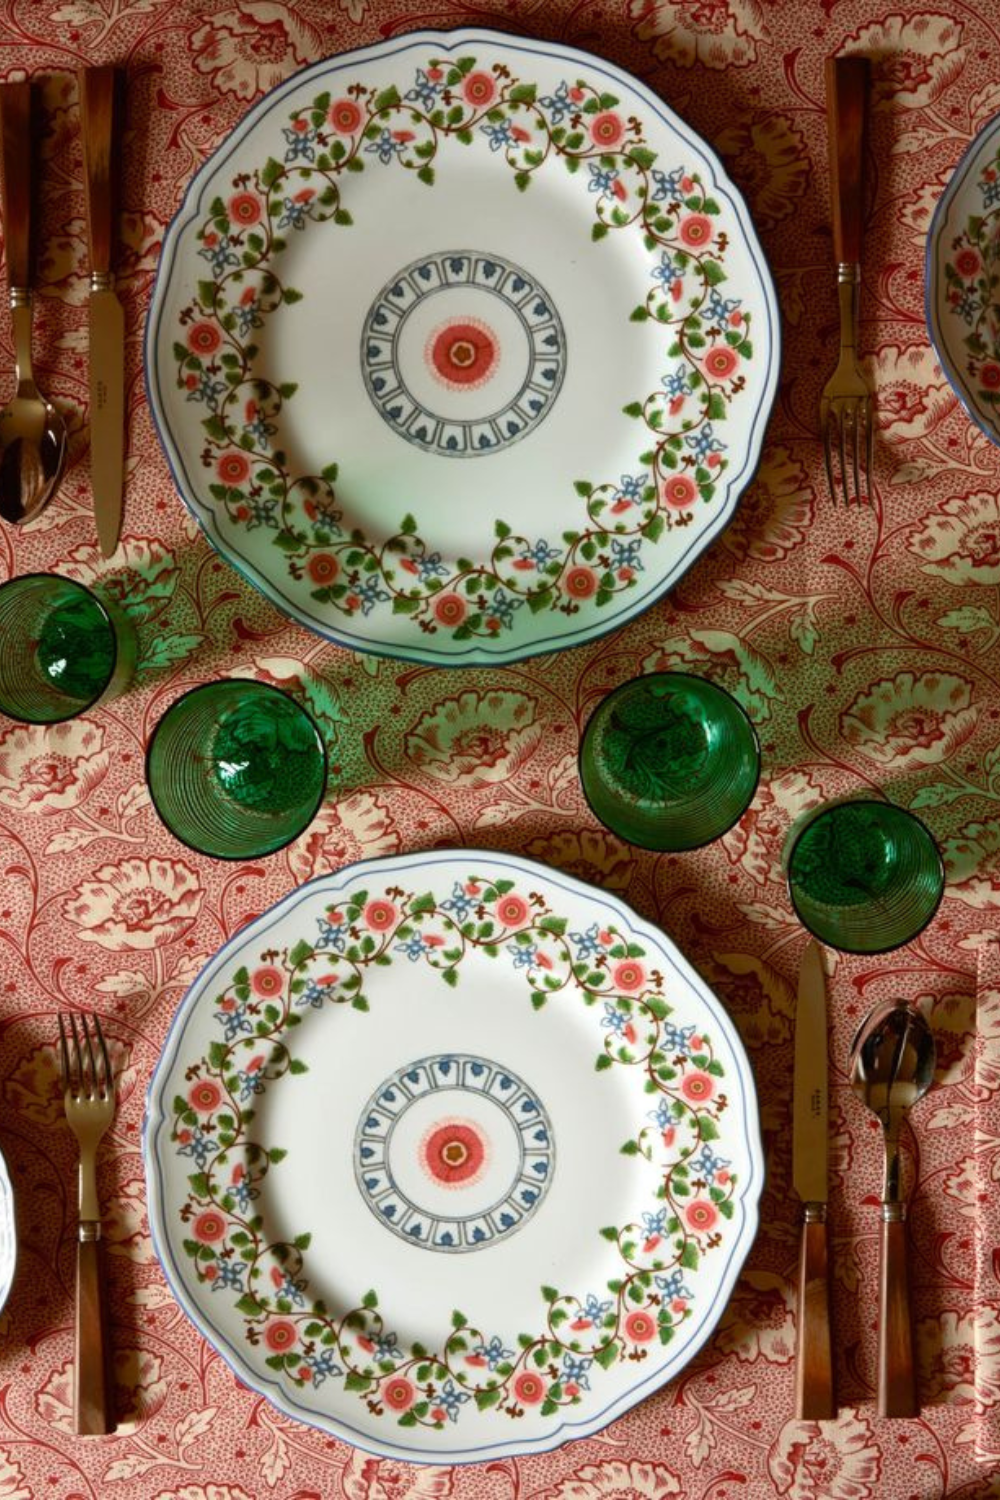
Staying on this spring theme, delicate floral-patterned dinner plates, reminiscent of a blooming garden, gracing her table as she hosts would be such a special touch. They are a collection that she’ll cherish for years to come, along with the memory of when she opened them.
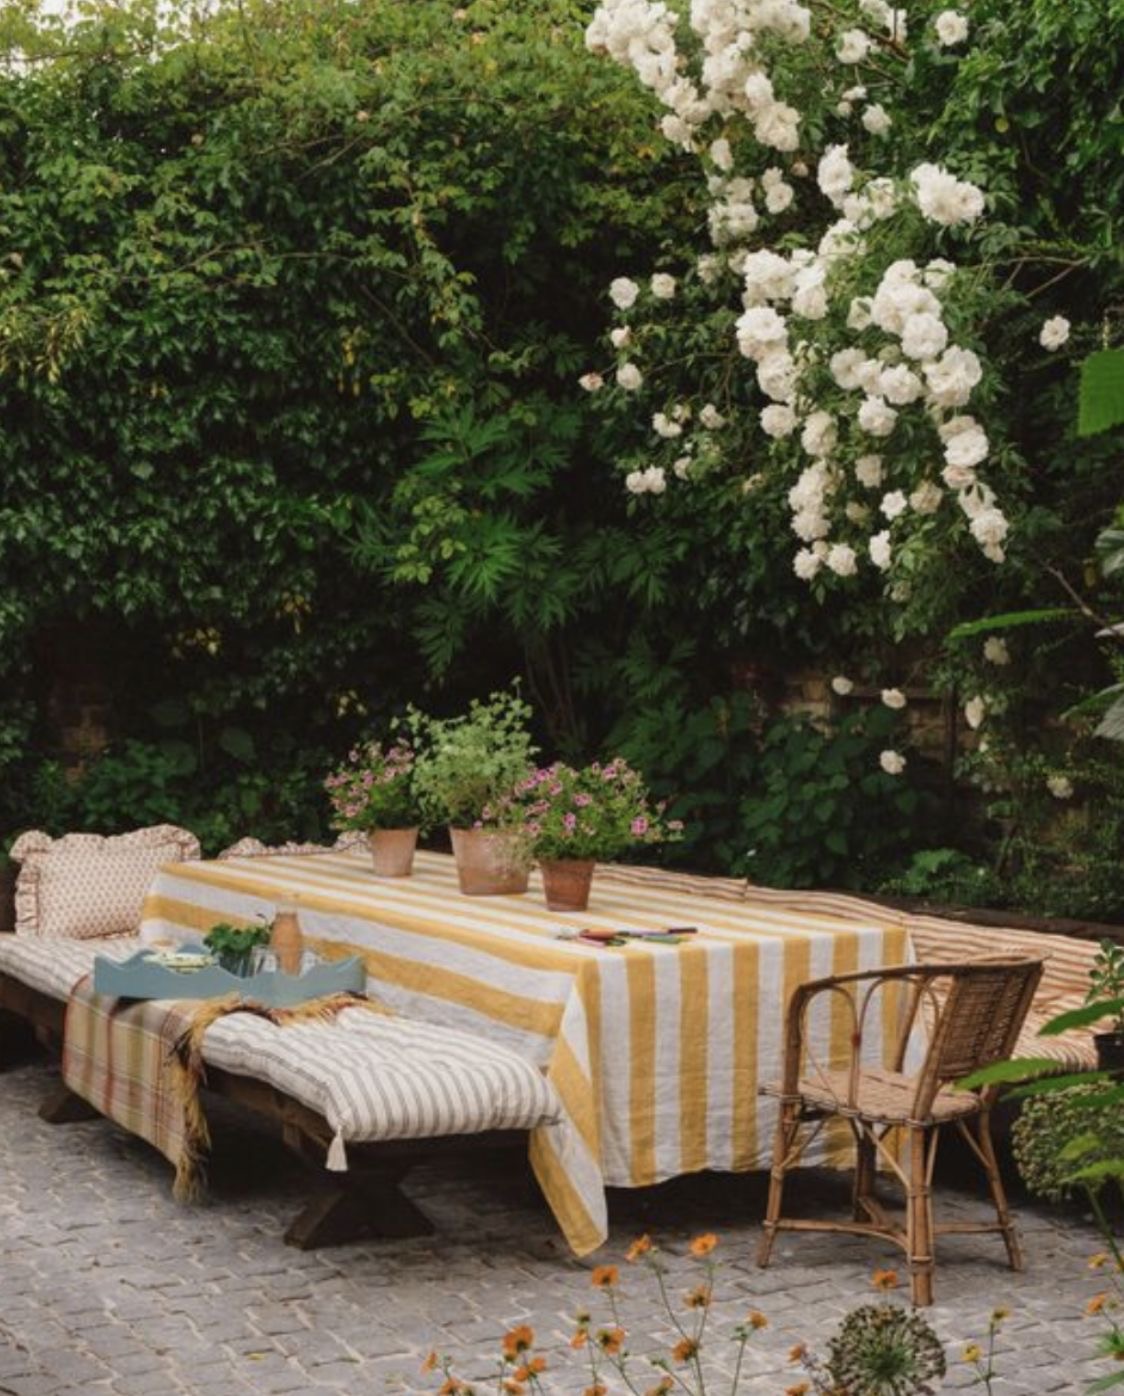
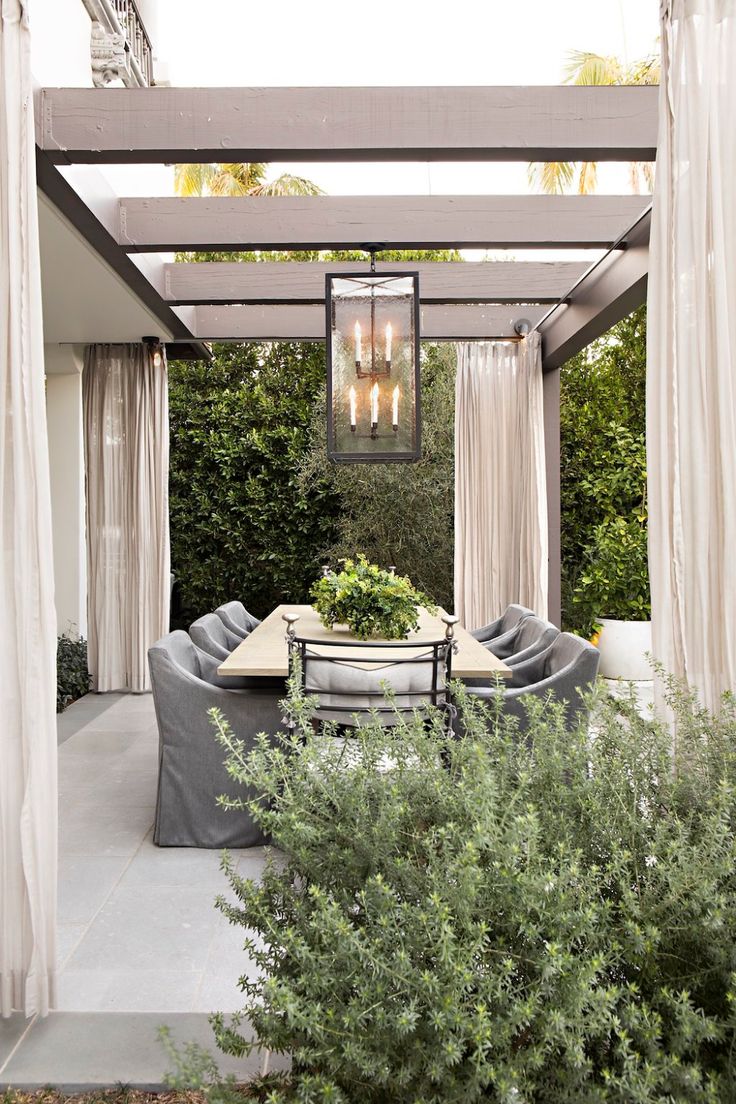
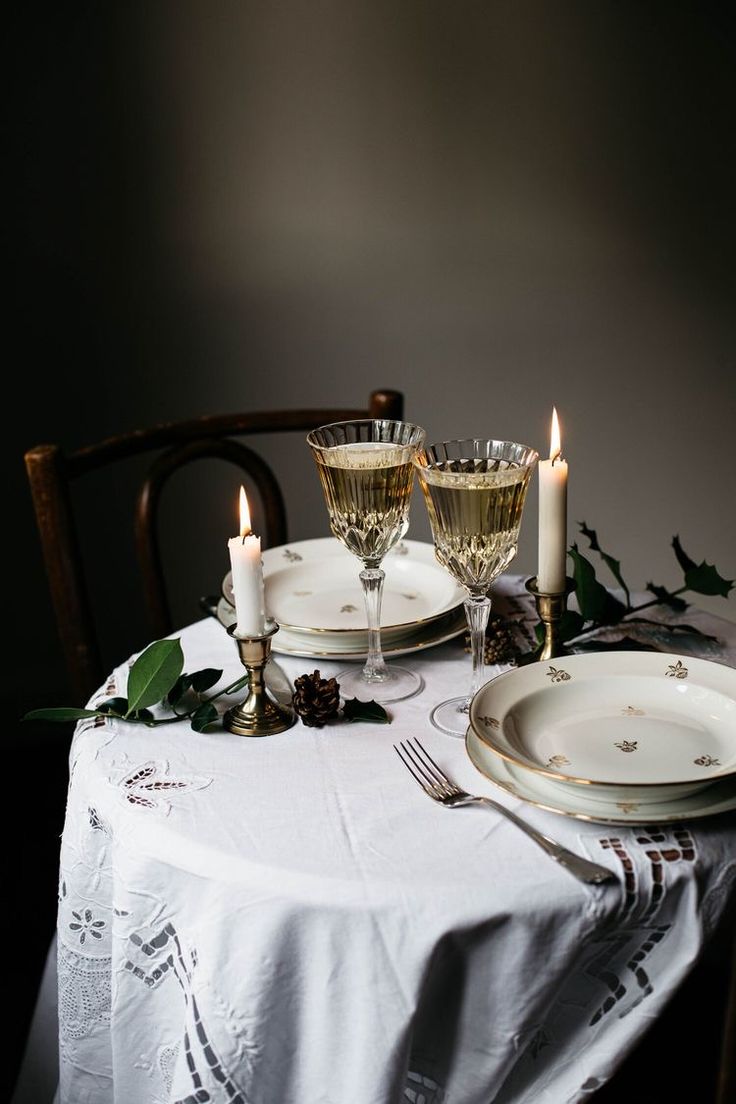
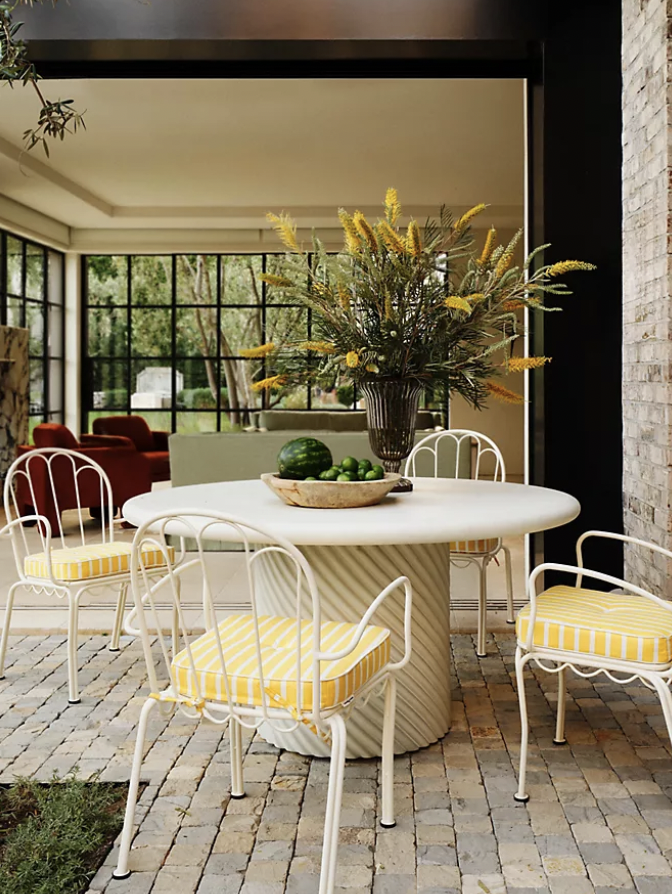
If she enjoys outdoor gatherings with family, imagine gifting her a new luxury cutlery set, adding a touch of elegance to her al fresco dining experiences. With their sleek design and practical features, these understated utensils make every meal feel like a special occasion.
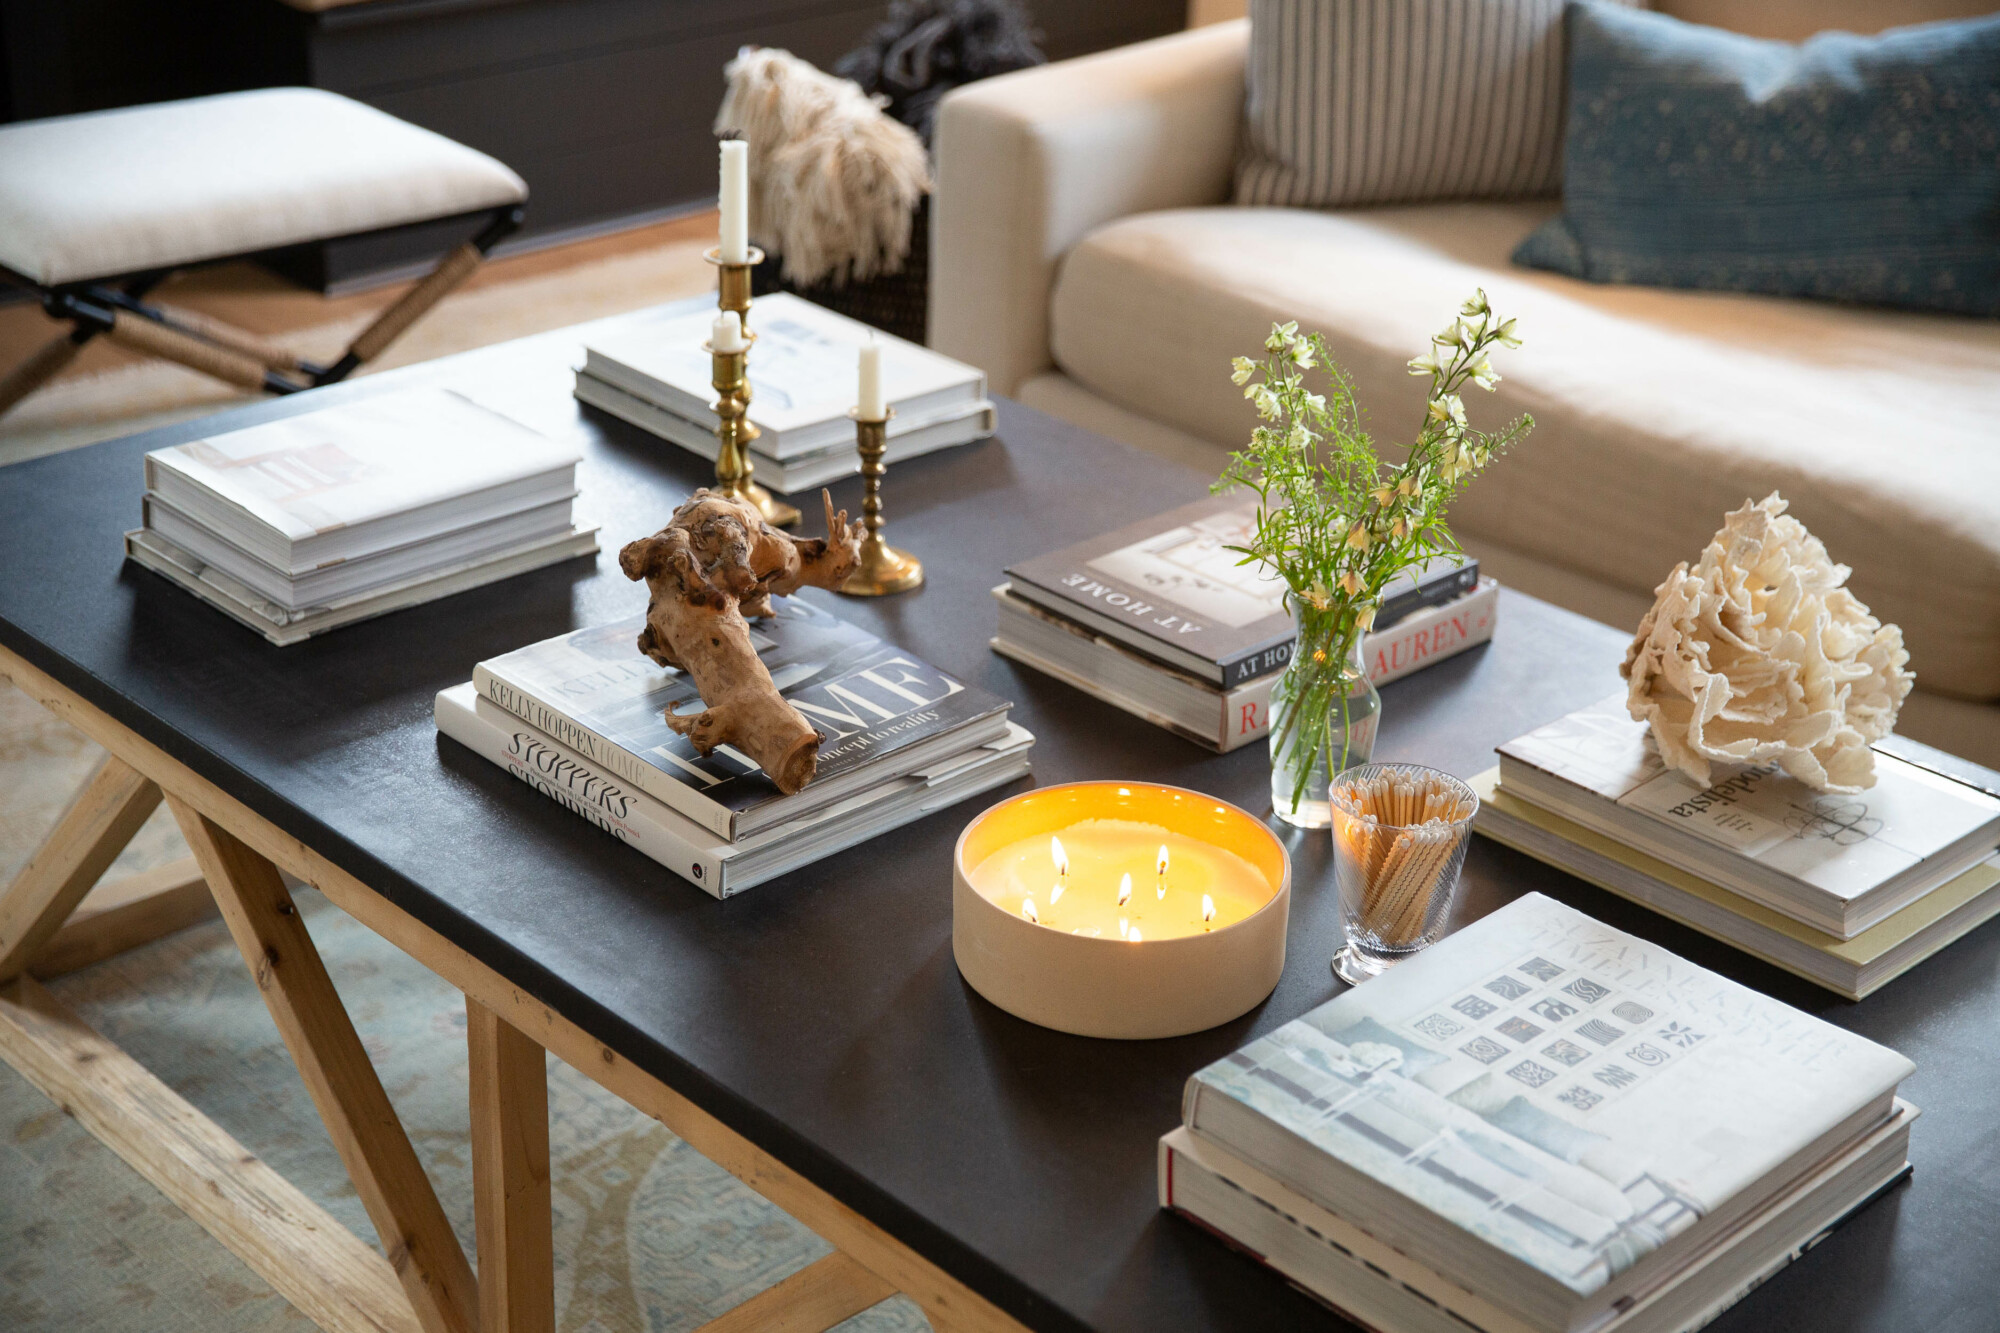
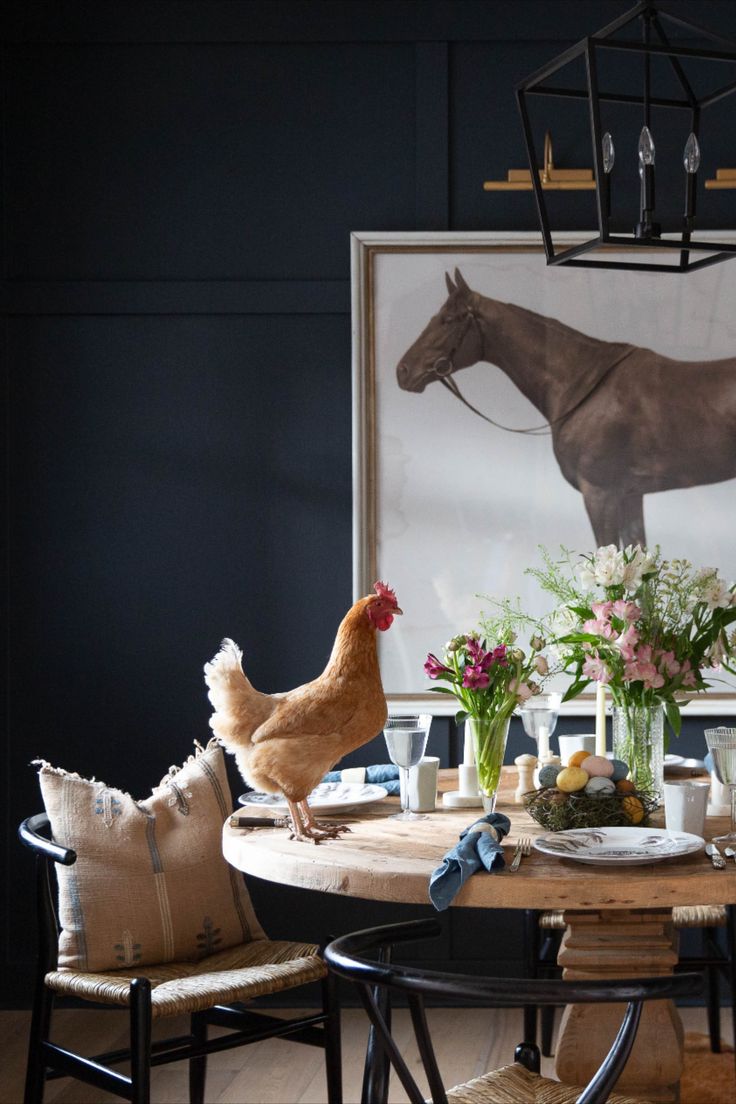
For more inspiration and ideas on creating a special tablescape, read the post “Setting the Table for a Beautiful Gathering“
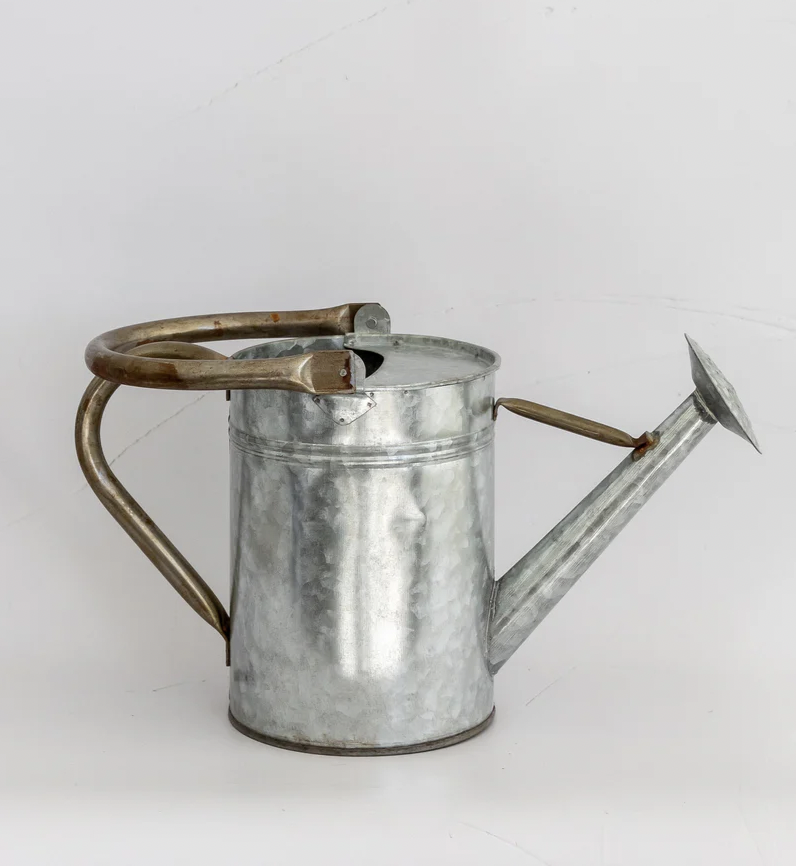
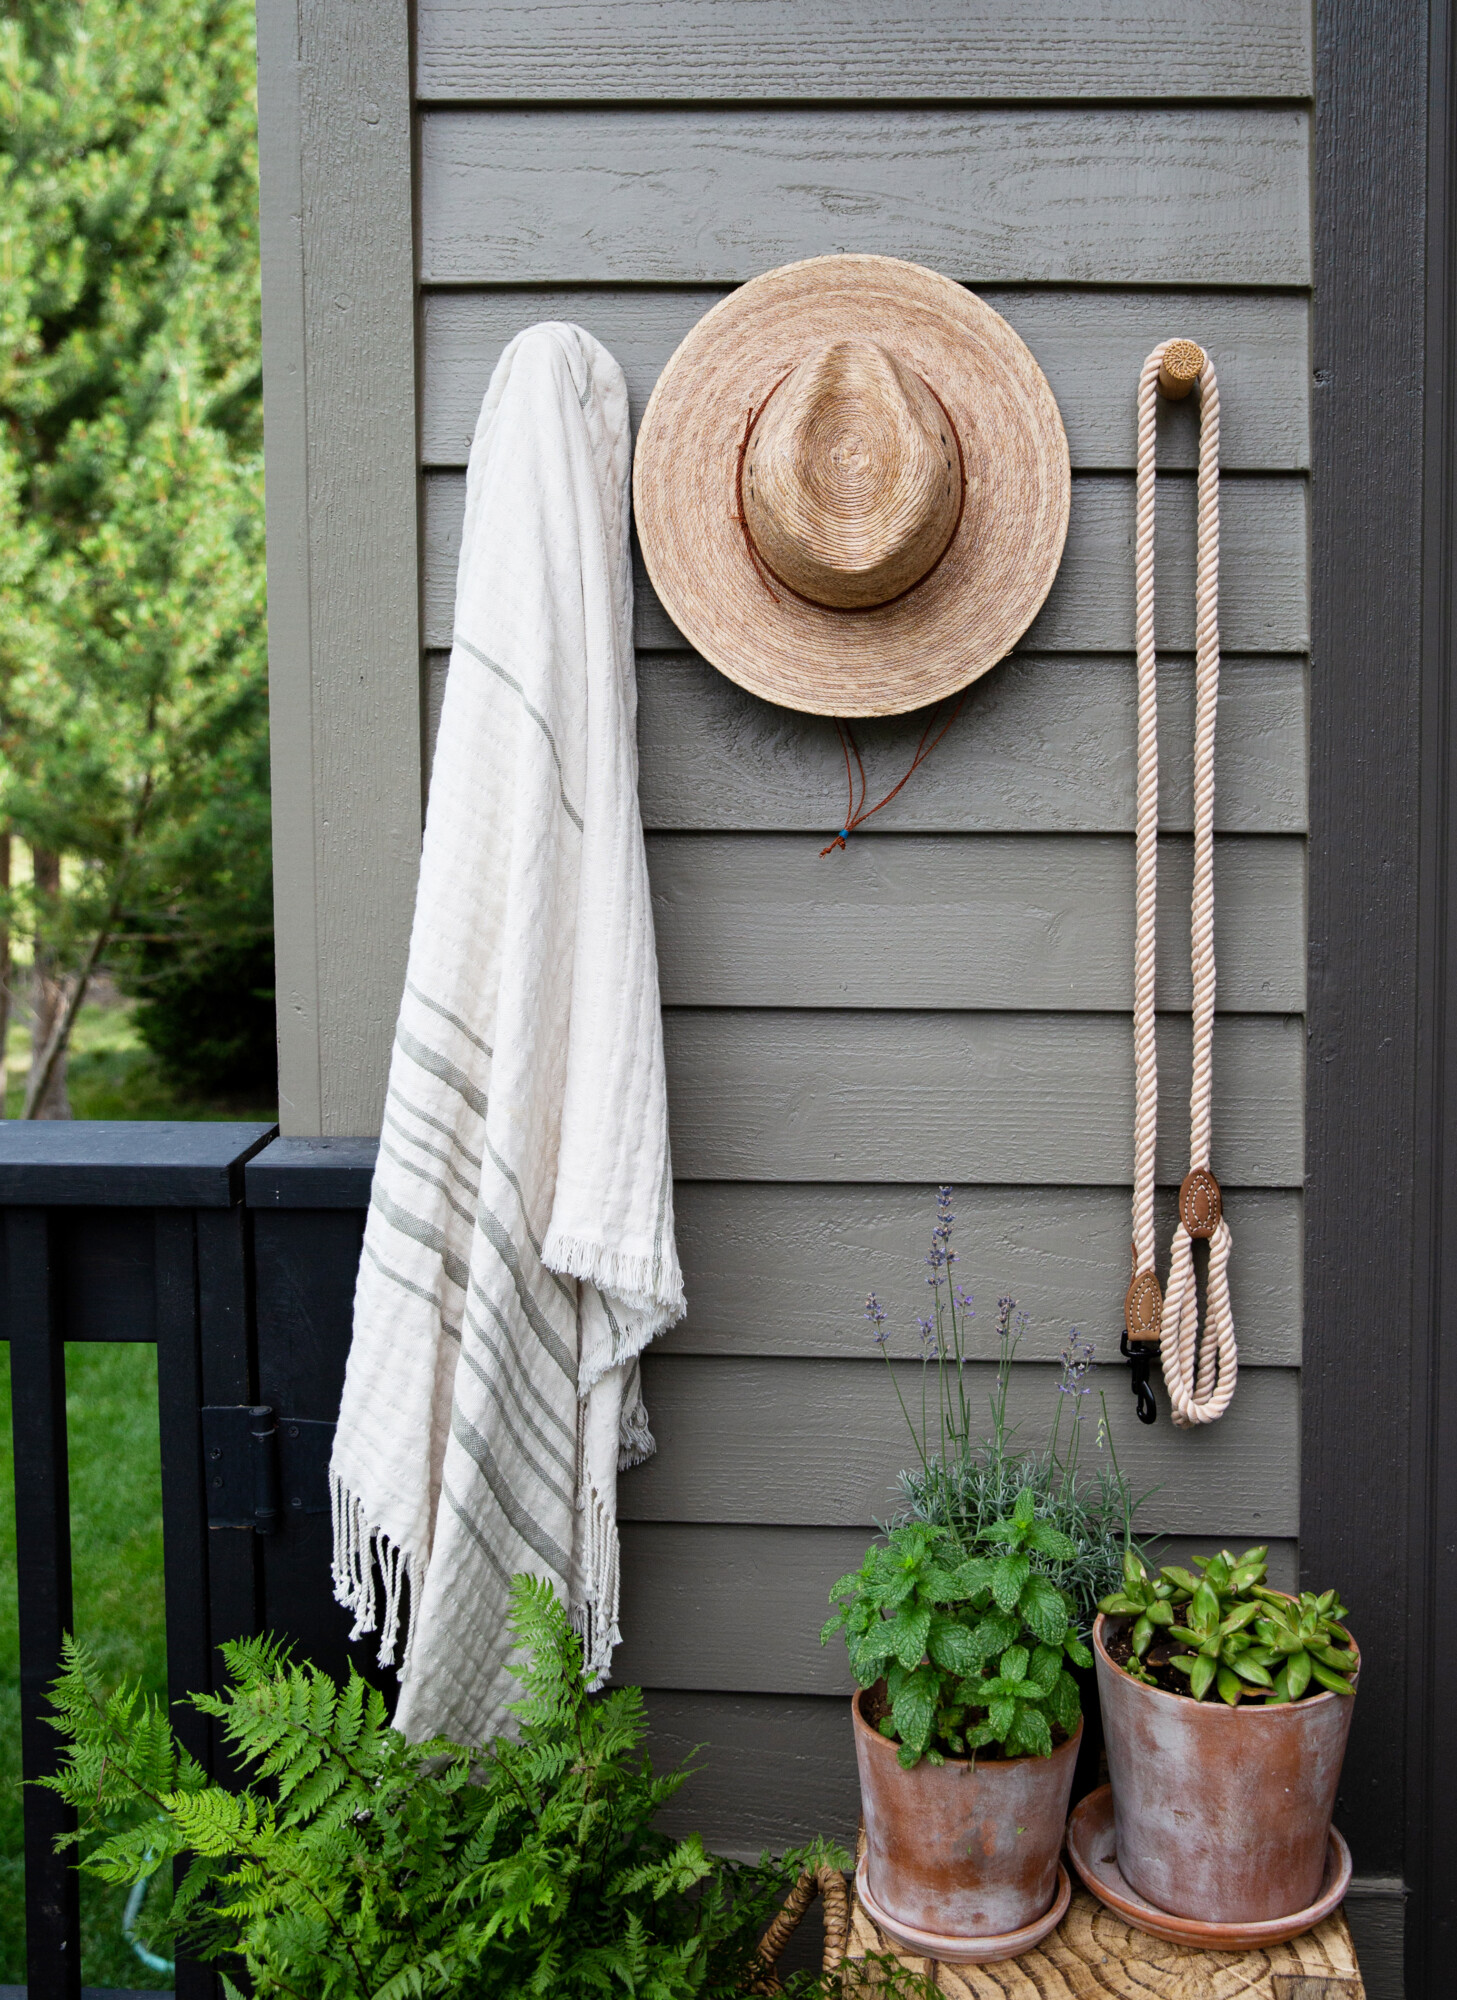
For the mom who loves tending to her garden, surprise her with a weathered watering can that combines practicality with rustic charm. It’s a symbol of French provincial charm and the simple pleasures of country living. Indulge in the gift that allows her to live out her own version of la vie en rose.
You can never go wrong with a decorative bowl, and I’m loving the orb element on this piece. For those who like to give their signature snacks a well deserved presentation (or if you know someone who loves to corral their clutter in a stylish manner), this bowl will serve any purpose while making a statement.
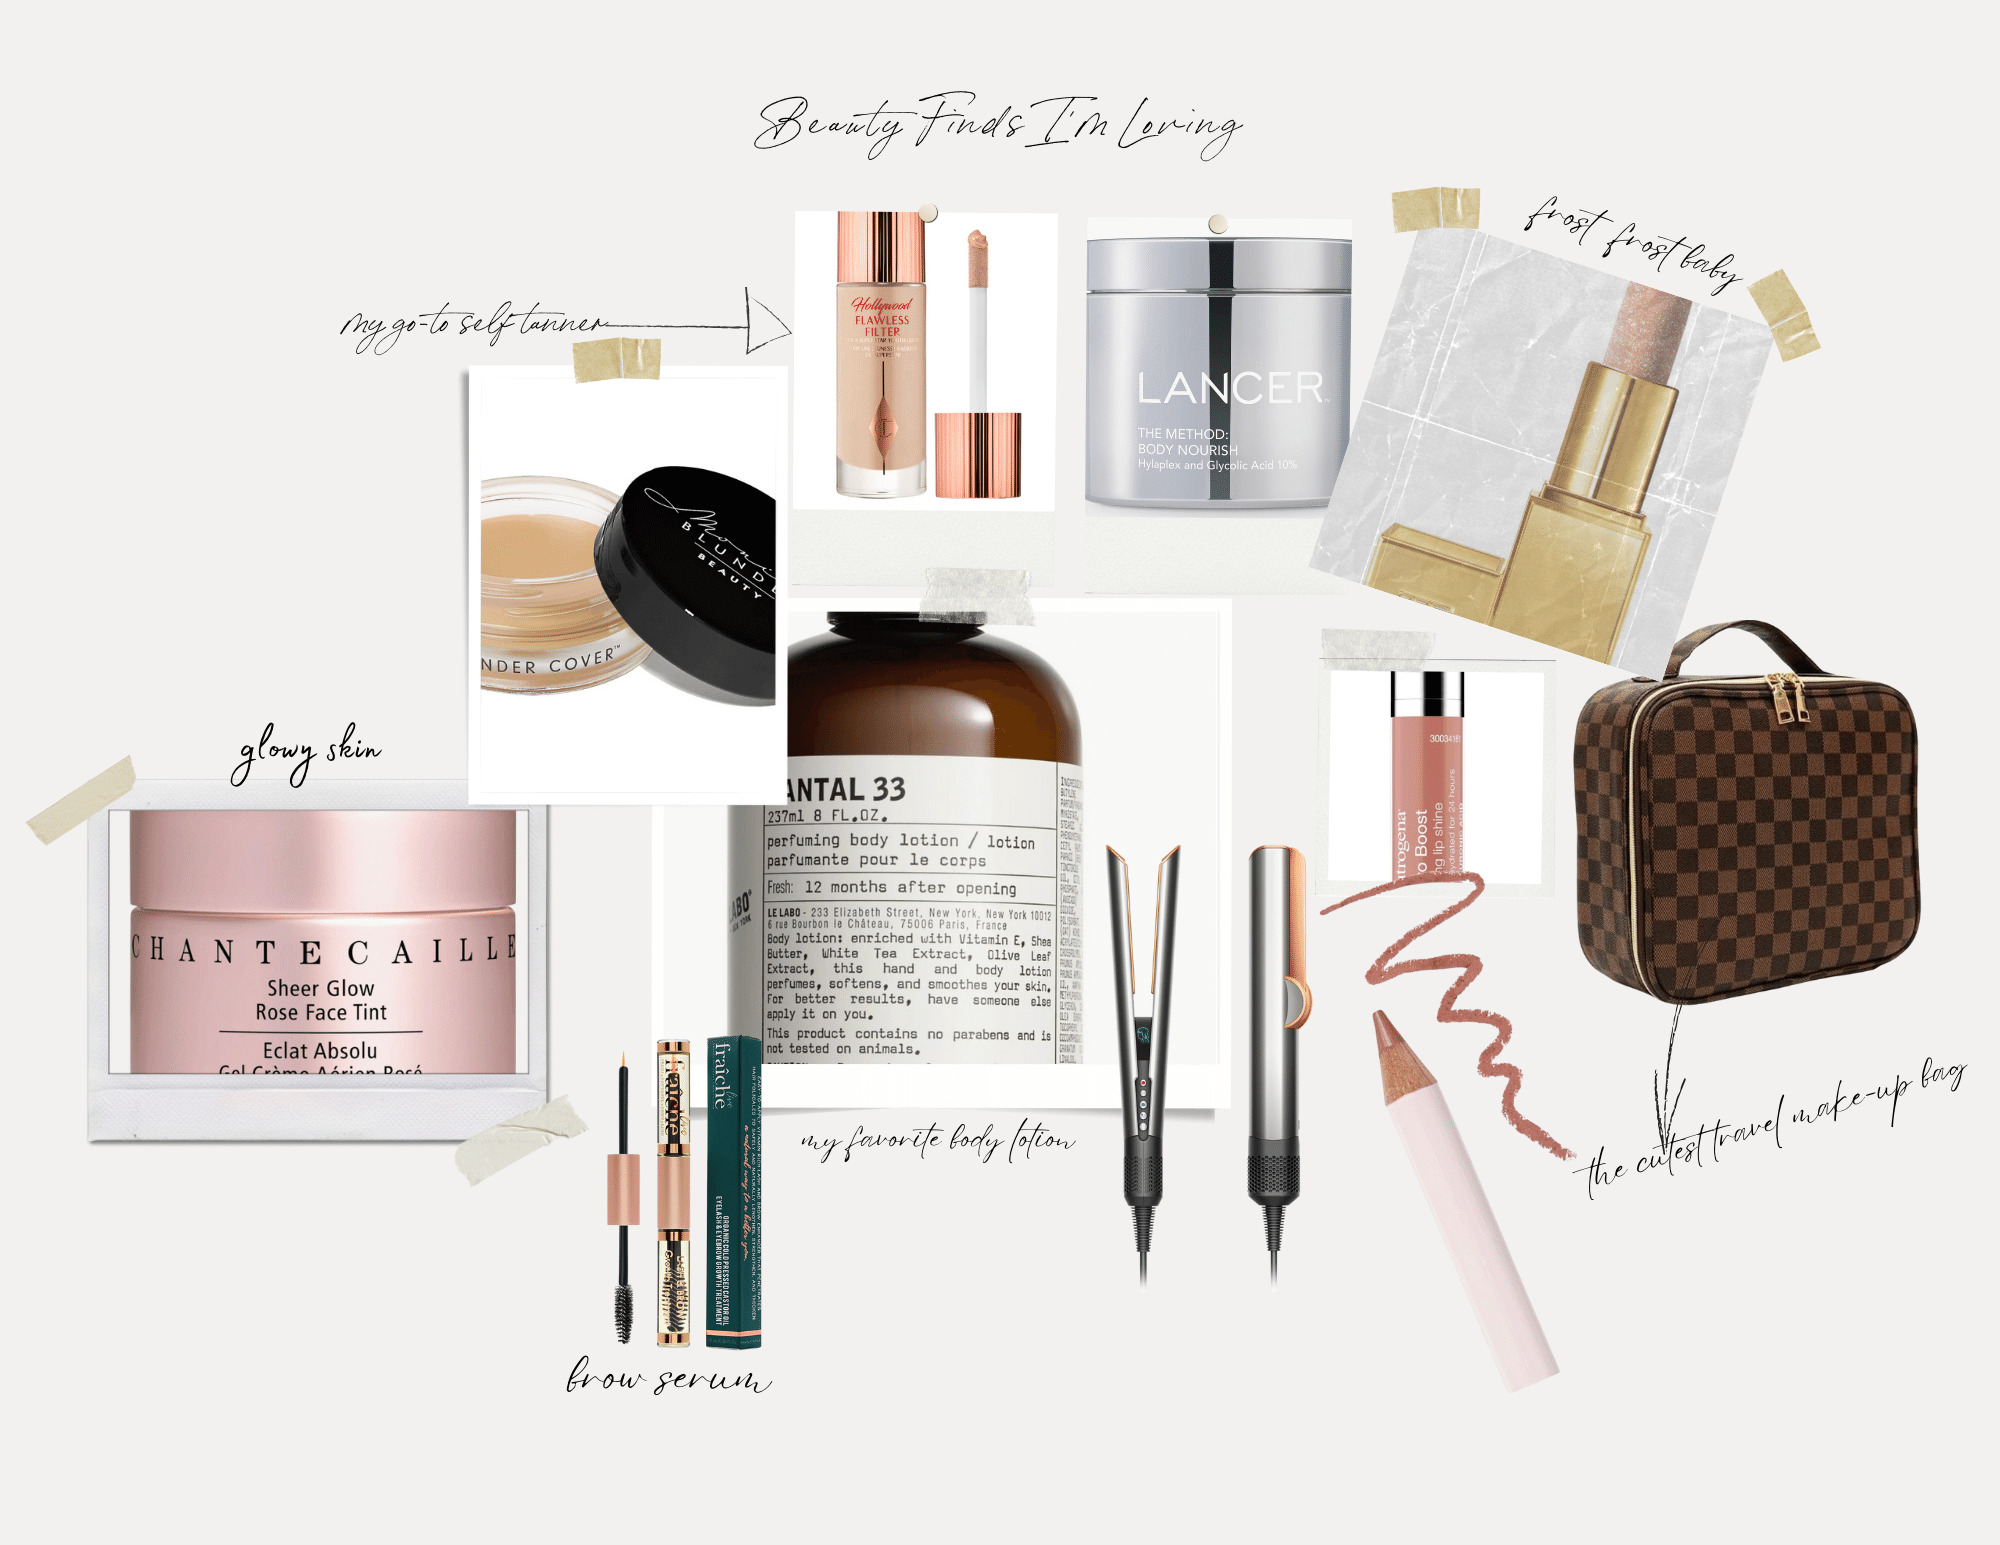
4. Beauty & Skin
Luxury beauty essentials are the perfect indulgence for the special moms in your life this Mother’s Day. Imagine gifting a facial mist, a luxurious treat that’s often overlooked but oh-so-pampering. This refreshing mist not only keeps her skin hydrated and revitalized, but also adds a touch of spa-like luxury to her everyday routine. It will remind her to take a moment for herself amidst the hustle and bustle of motherhood.
Next, consider the K18 hair oil – a holy grail product that I swear by. It’ll work wonders for her hair too.
Treat her to an Osea body scrub, known for its nourishing and softening properties that leave skin feeling absolutely divine.
***
Remember, Mother’s Day is not just about the presents, but about honoring the incredible women who have shaped our lives with their love, guidance, and strength. Whether it’s a simple gesture or a grand gesture, what matters most is the thought and care behind it.
So, as you celebrate Mother’s Day this year, take a moment to cherish the moments you’ve spent together, laugh at the shared memories, and create new ones that will last a lifetime. Here’s to all the moms out there – you are loved, you are appreciated, and you are cherished beyond measure. Happy (almost) Mother’s Day! 🌸


