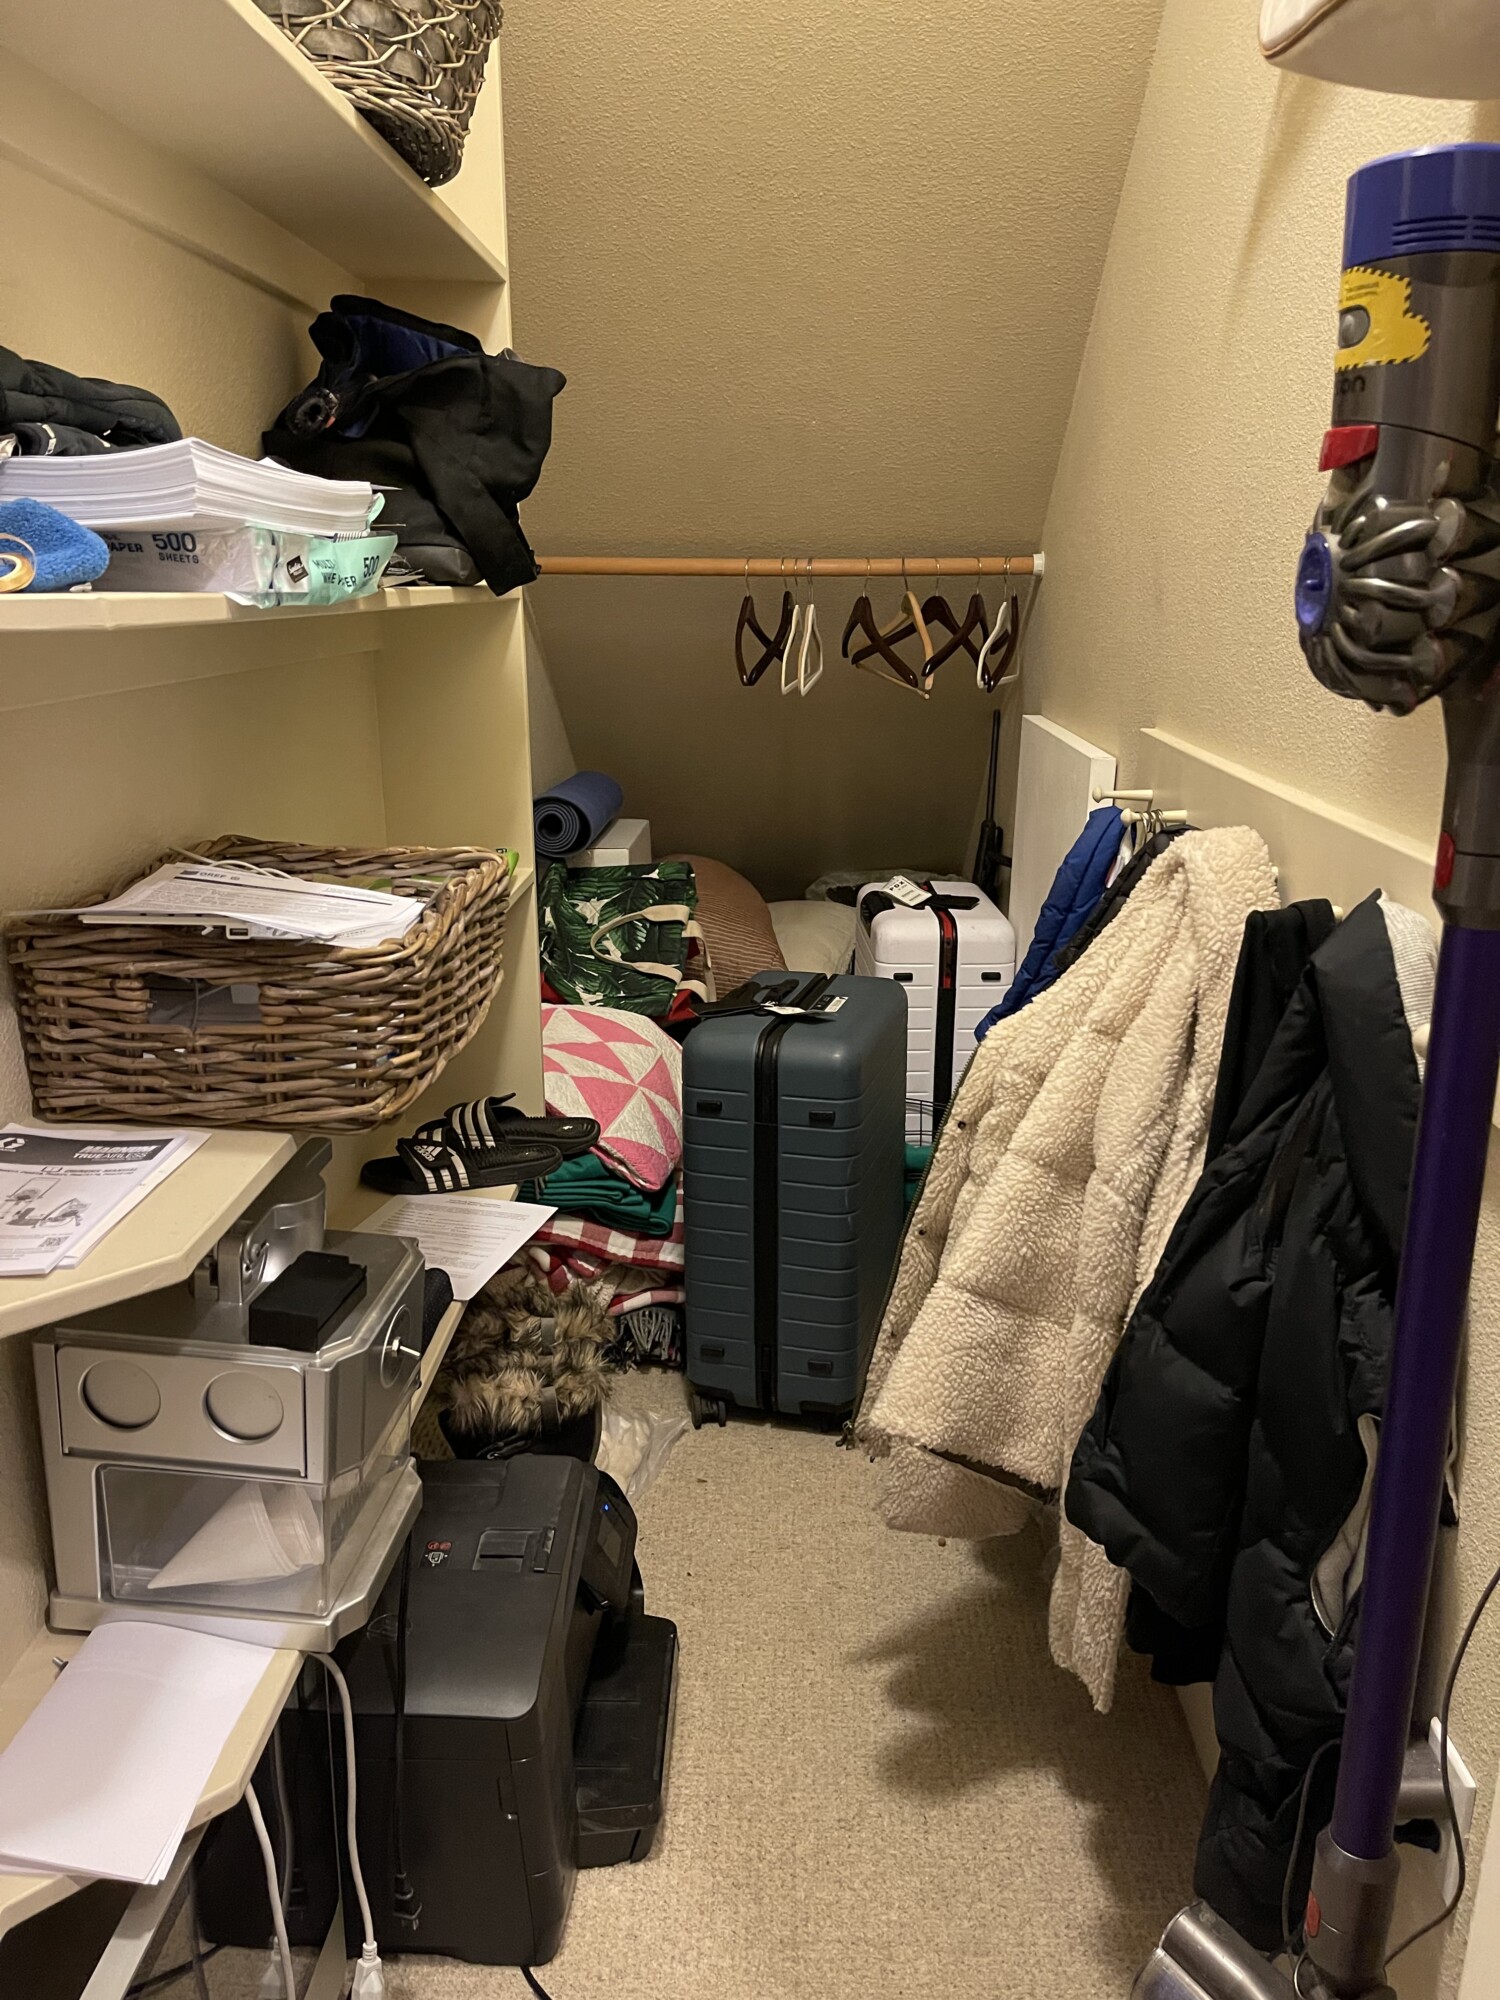
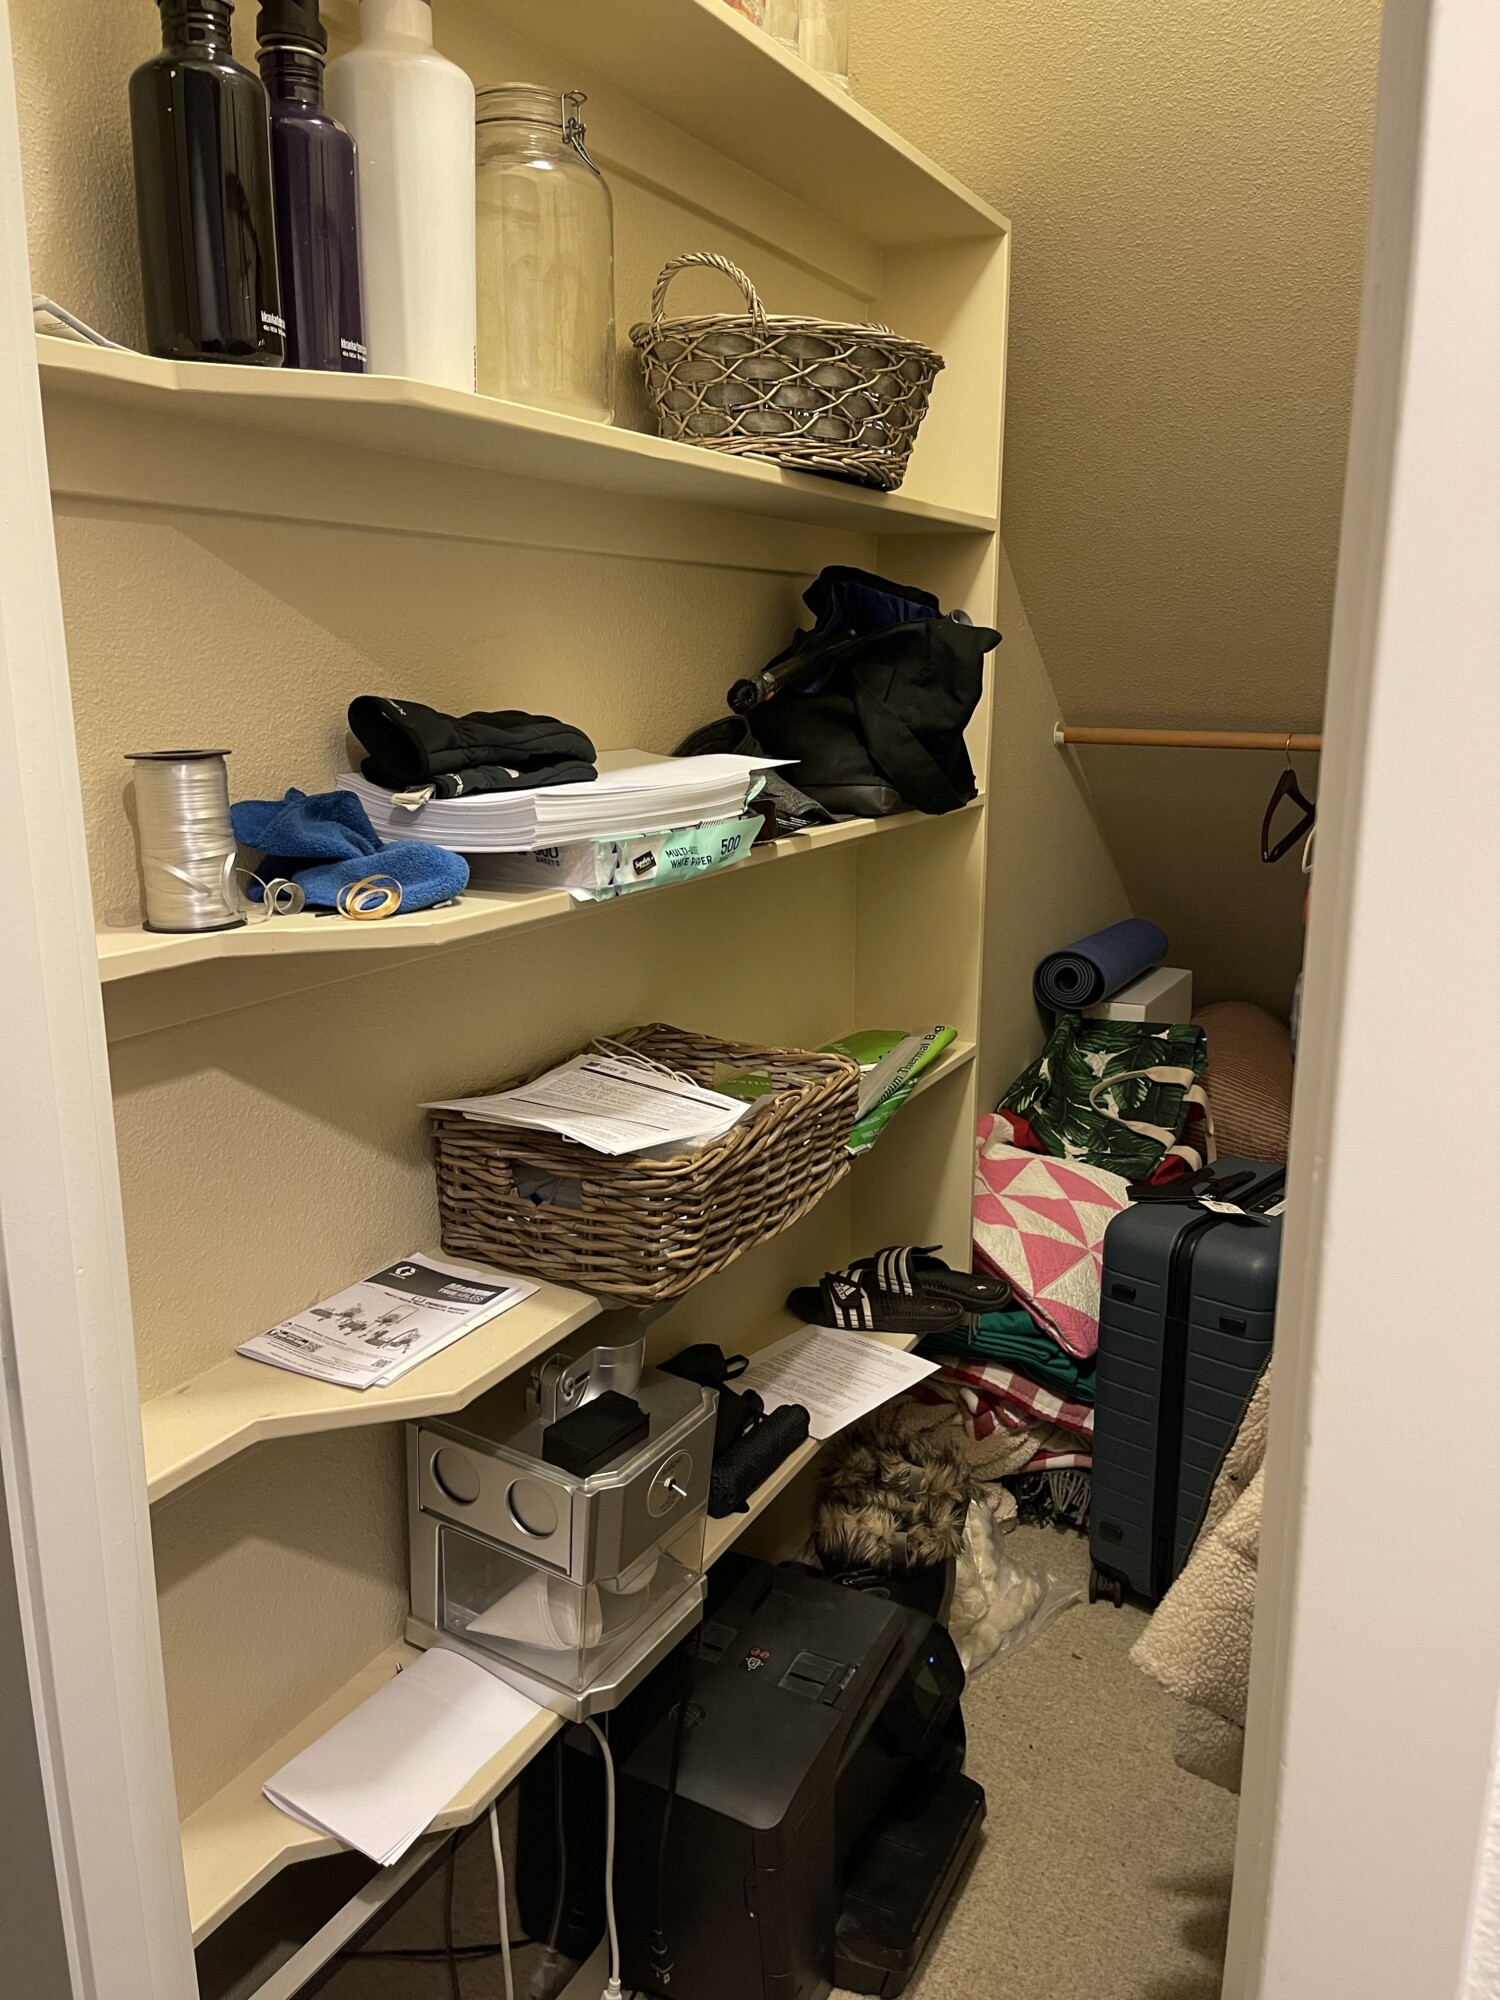
In the spirit of all the organizing and refreshing everyone is doing at the start of this new year, I thought we would share some tips and ideas on how to turn a closet into a small home office … or what some may call a “cloffice.” We did just that with the awkward closet under our stairs that had become a drop zone for whatever we didn’t want to deal with. Honestly, when we set out to implement this project, we realized there was so much in there that we didn’t NEED! Purging feels so good — especially when it opens the door to increased creativity on how to better use a space so it’s more efficient and useful.
When designing a small office, it’s helpful to think about how you are truly going to use it. In our case, we knew it wouldn’t be a space in which we would work often (mostly because of its size). But, we still needed a place to collect mail and packages, print documents, check emails, set boots and shoes during the winter months, etc.
Our home doesn’t have a formal office area. We’ve always used the area right off our entryway (see photo below) as both a dining room AND a place to work and be inspired with design books and such. Look at this reel where I show how I organized the space to work both ways.
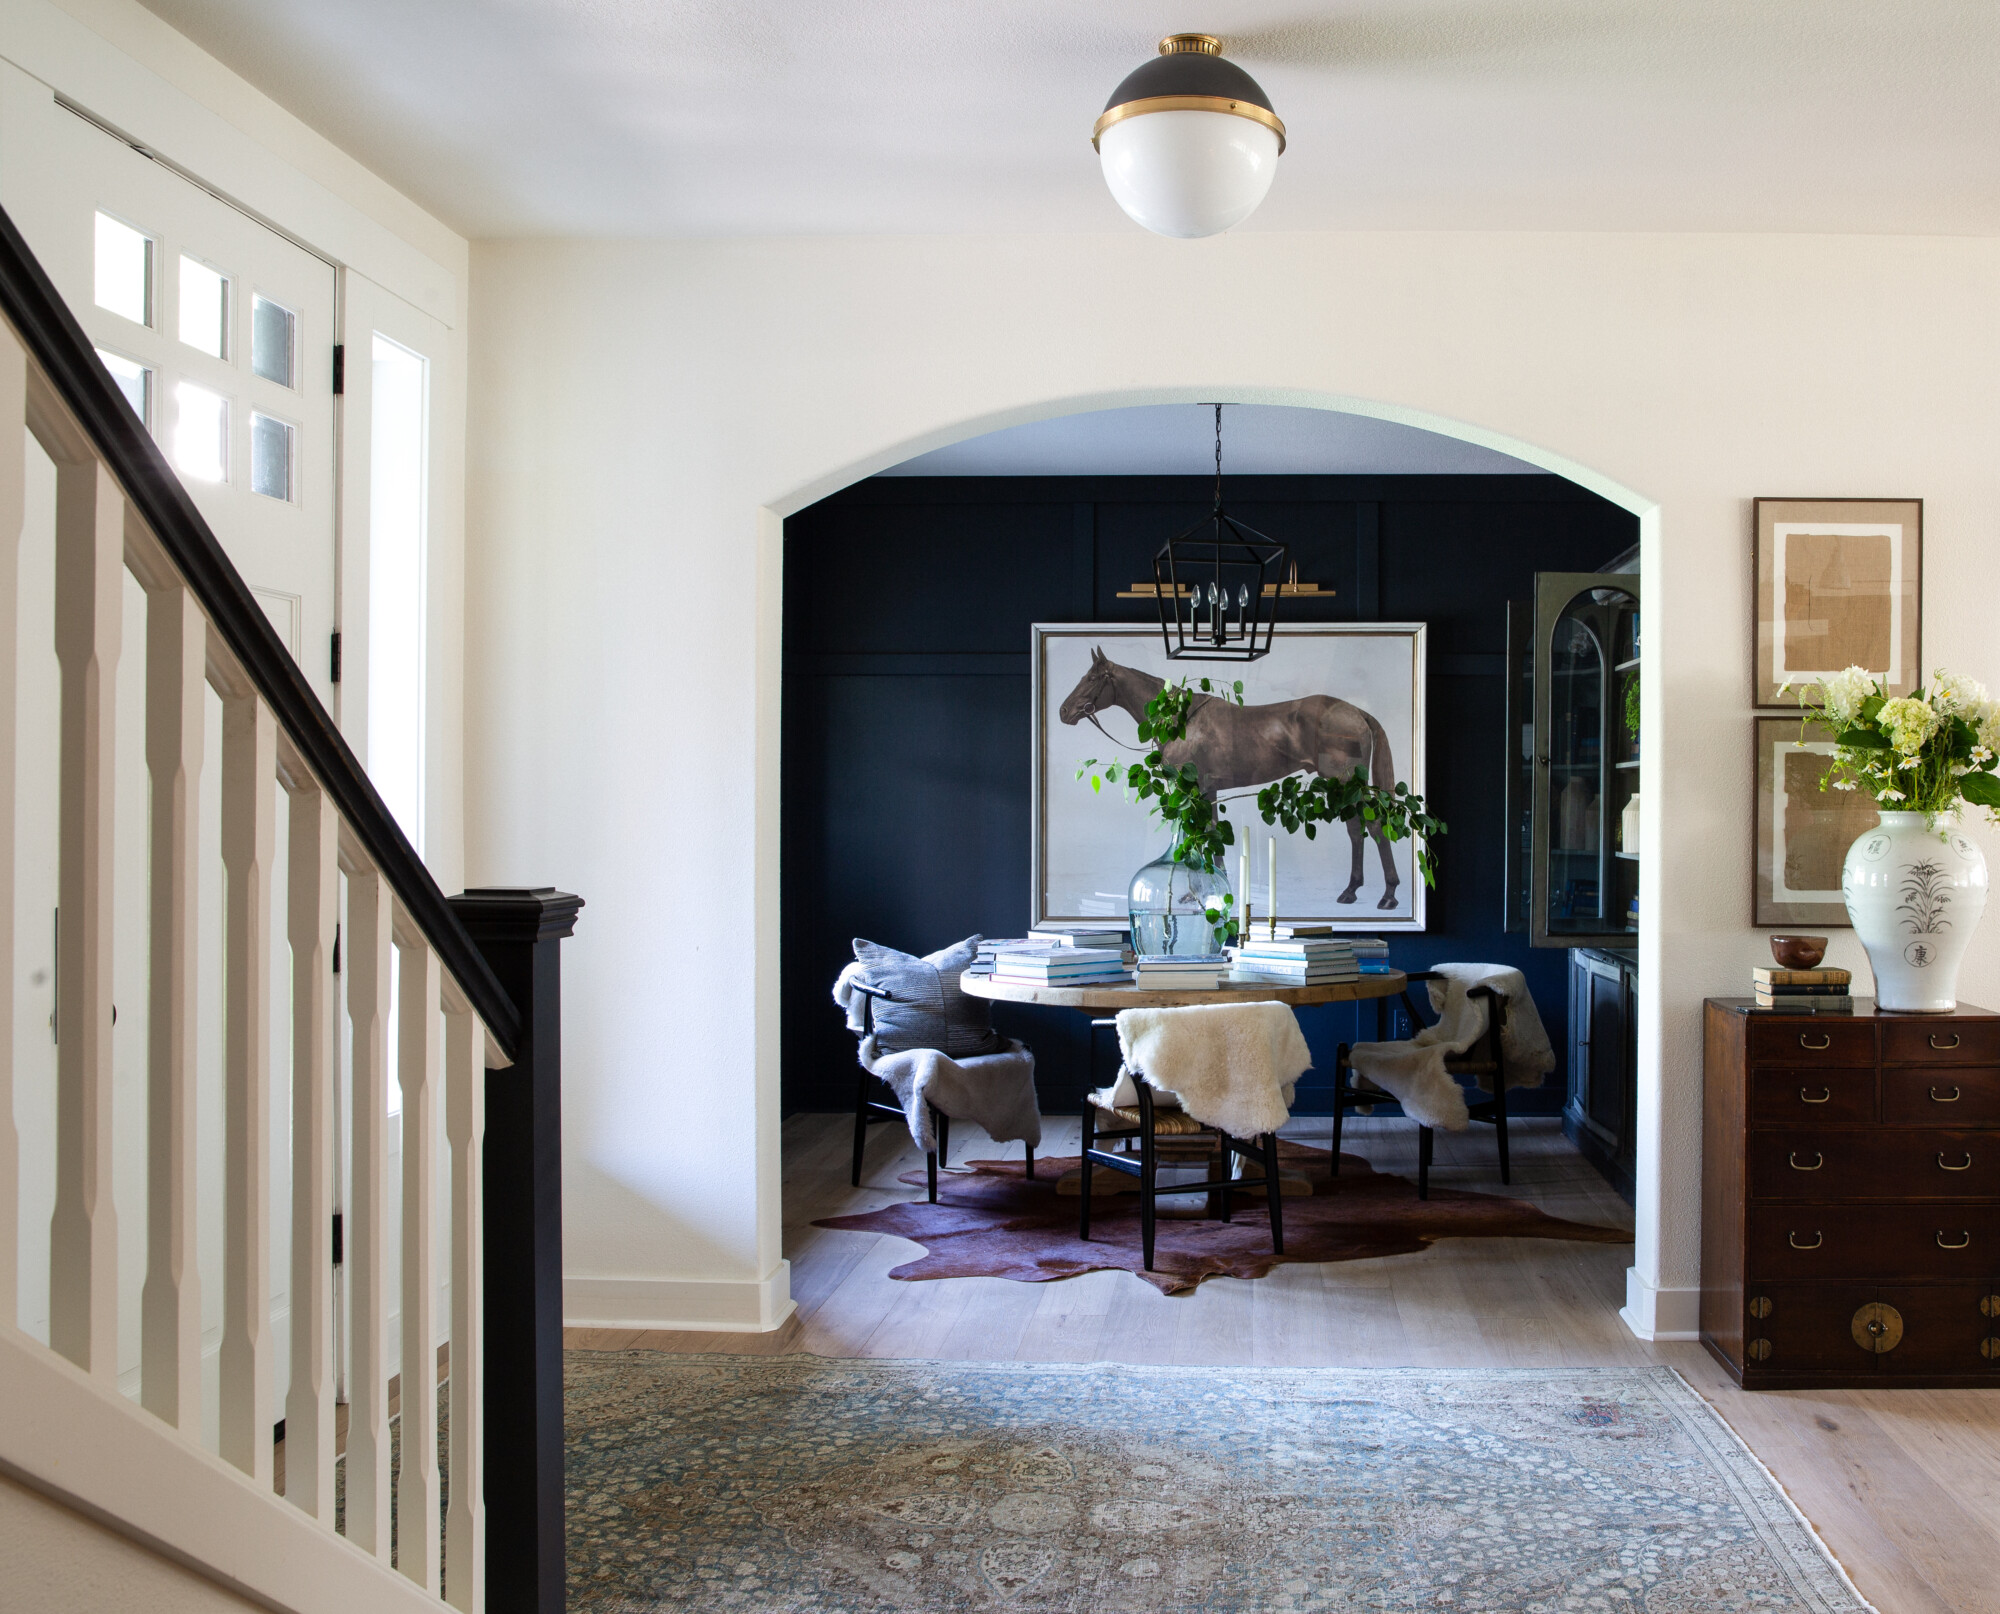
To be honest, it always felt like there was so much clutter when you walked in the front door … mail, packages, coats and purses would pile up, which made it a pretty uninspiring place to sit and work. If you’re anything like me, you work better in an area that is clean and tidy and pretty. In fact, I can’t start until my space is clear of all distractions! So, our so-called “office” wasn’t working anymore. By creating a zone under the stairs to collect those things, we were able to keep the table and dining area as a more conducive space to be creative — and as an actual dining room!
![]() CLOUZ HOUZ TIP: Find an area in your home that can be a drop zone for things such as mail, car keys, packages and such. This kind of clutter creates chaos in a room. You will feel more calm and zen if you know you have a dedicated and organized space in which to store those things. Then, you can wrangle through the clutter when you have time, but it’s not in the way.
CLOUZ HOUZ TIP: Find an area in your home that can be a drop zone for things such as mail, car keys, packages and such. This kind of clutter creates chaos in a room. You will feel more calm and zen if you know you have a dedicated and organized space in which to store those things. Then, you can wrangle through the clutter when you have time, but it’s not in the way.
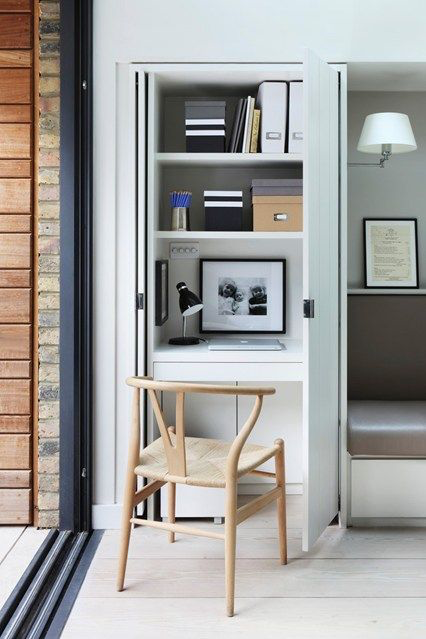
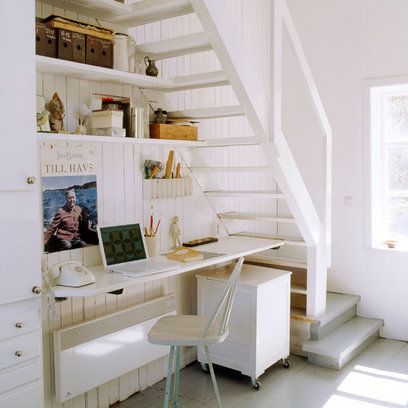
1) Find a space that can be repurposed
If you have a closet that isn’t really needed (i.e. it’s full of clothes and other items that are never used), clean it out, donate the unwanted items, and turn it into a functional space! I guarantee it will get your year started off right. I love some of the inspirational images below that speak to this idea. And, please note, it doesn’t necessarily have to be a closet — it could be a large armoire, hutch, dresser or small nook. Get creative: look around your home and I bet you will find an area that can be transformed into the central “organizational hub!”
2) Add “whimsy”
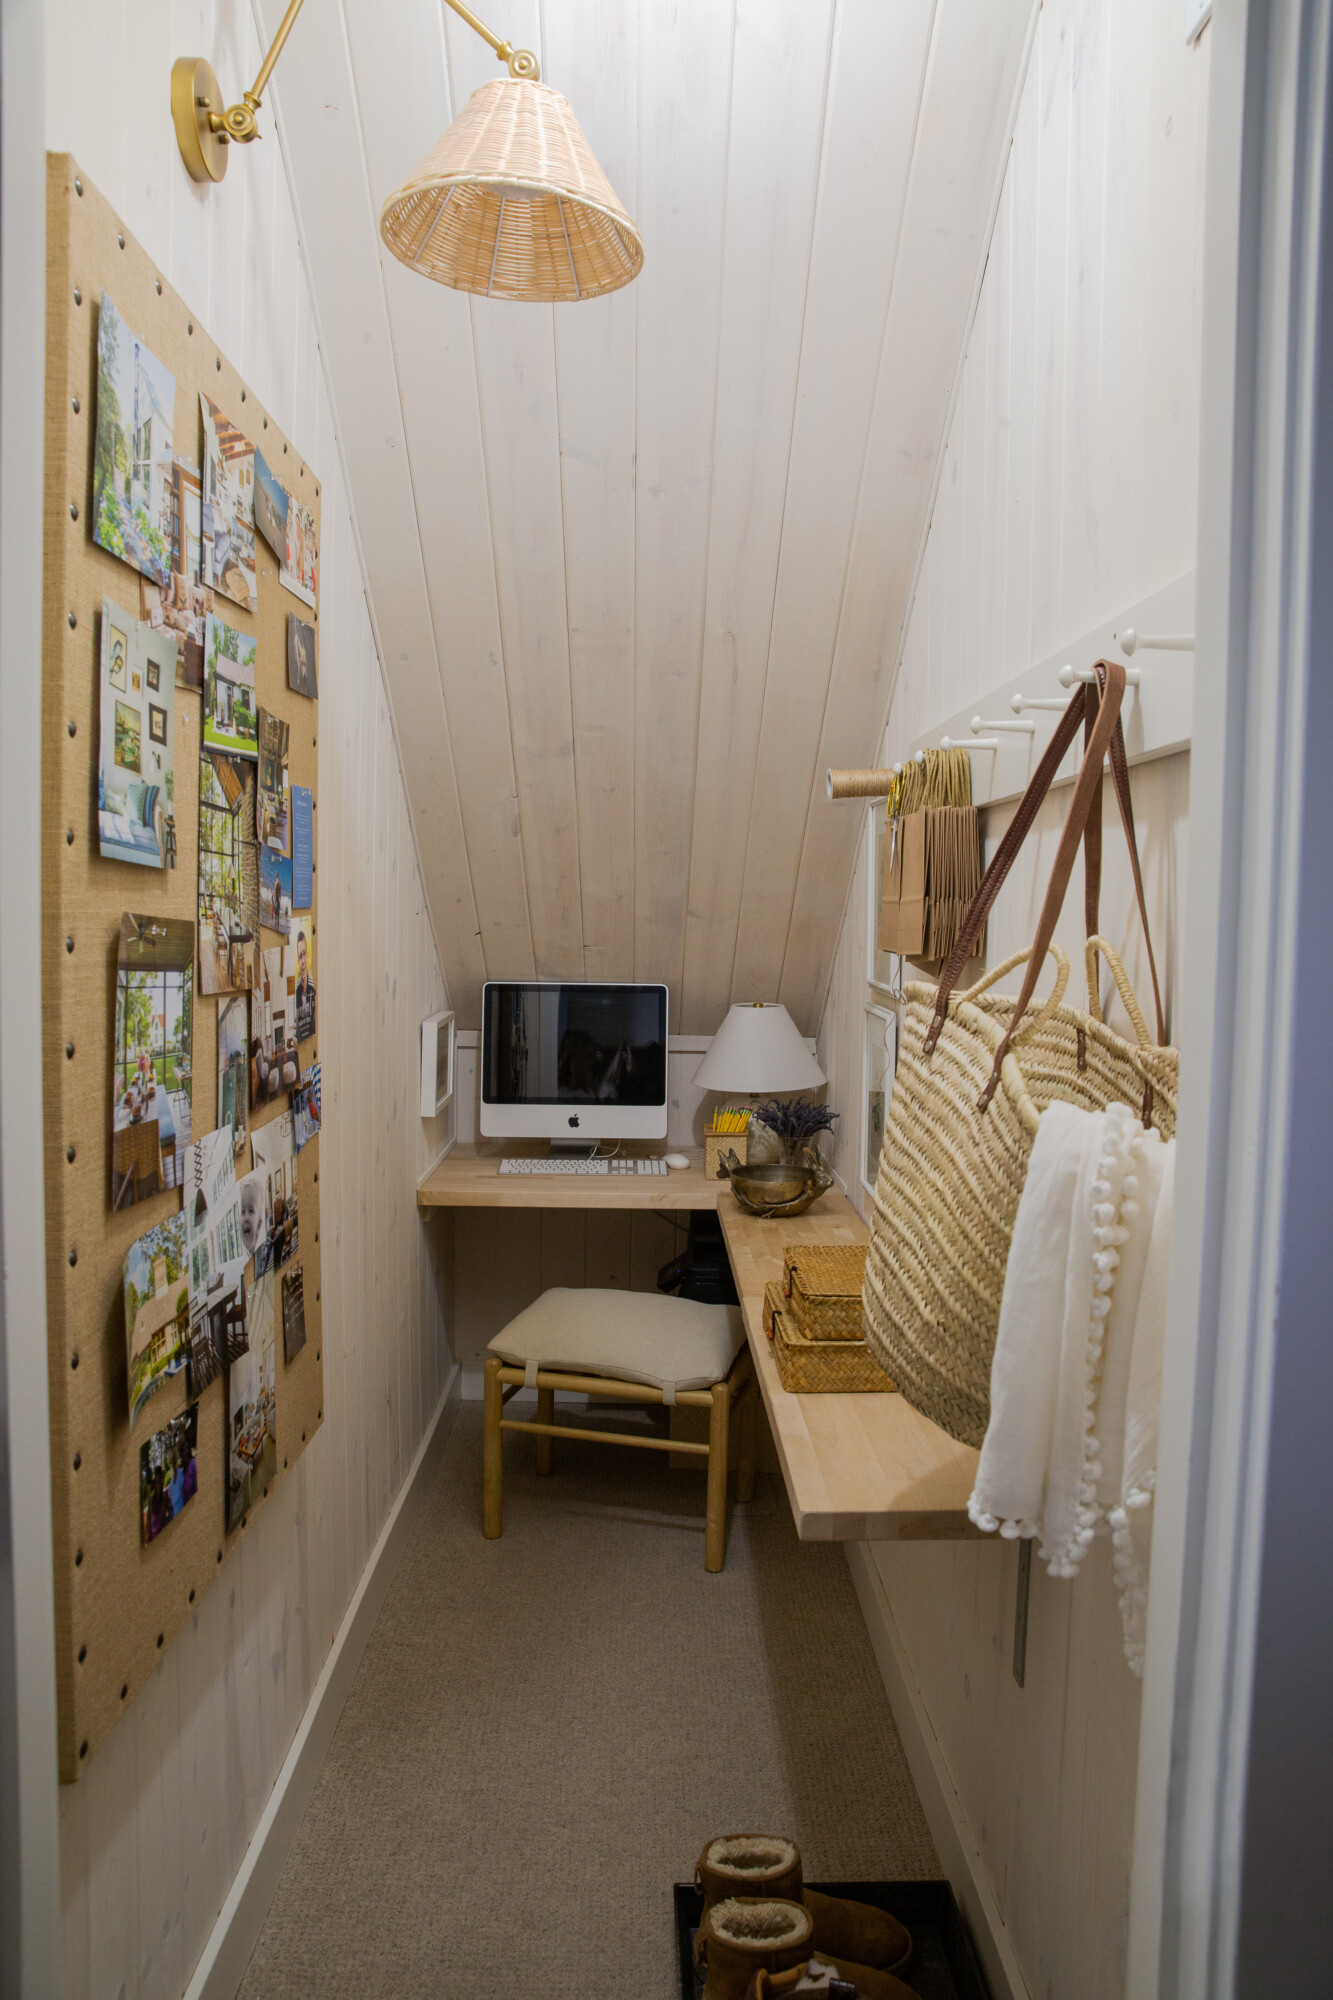
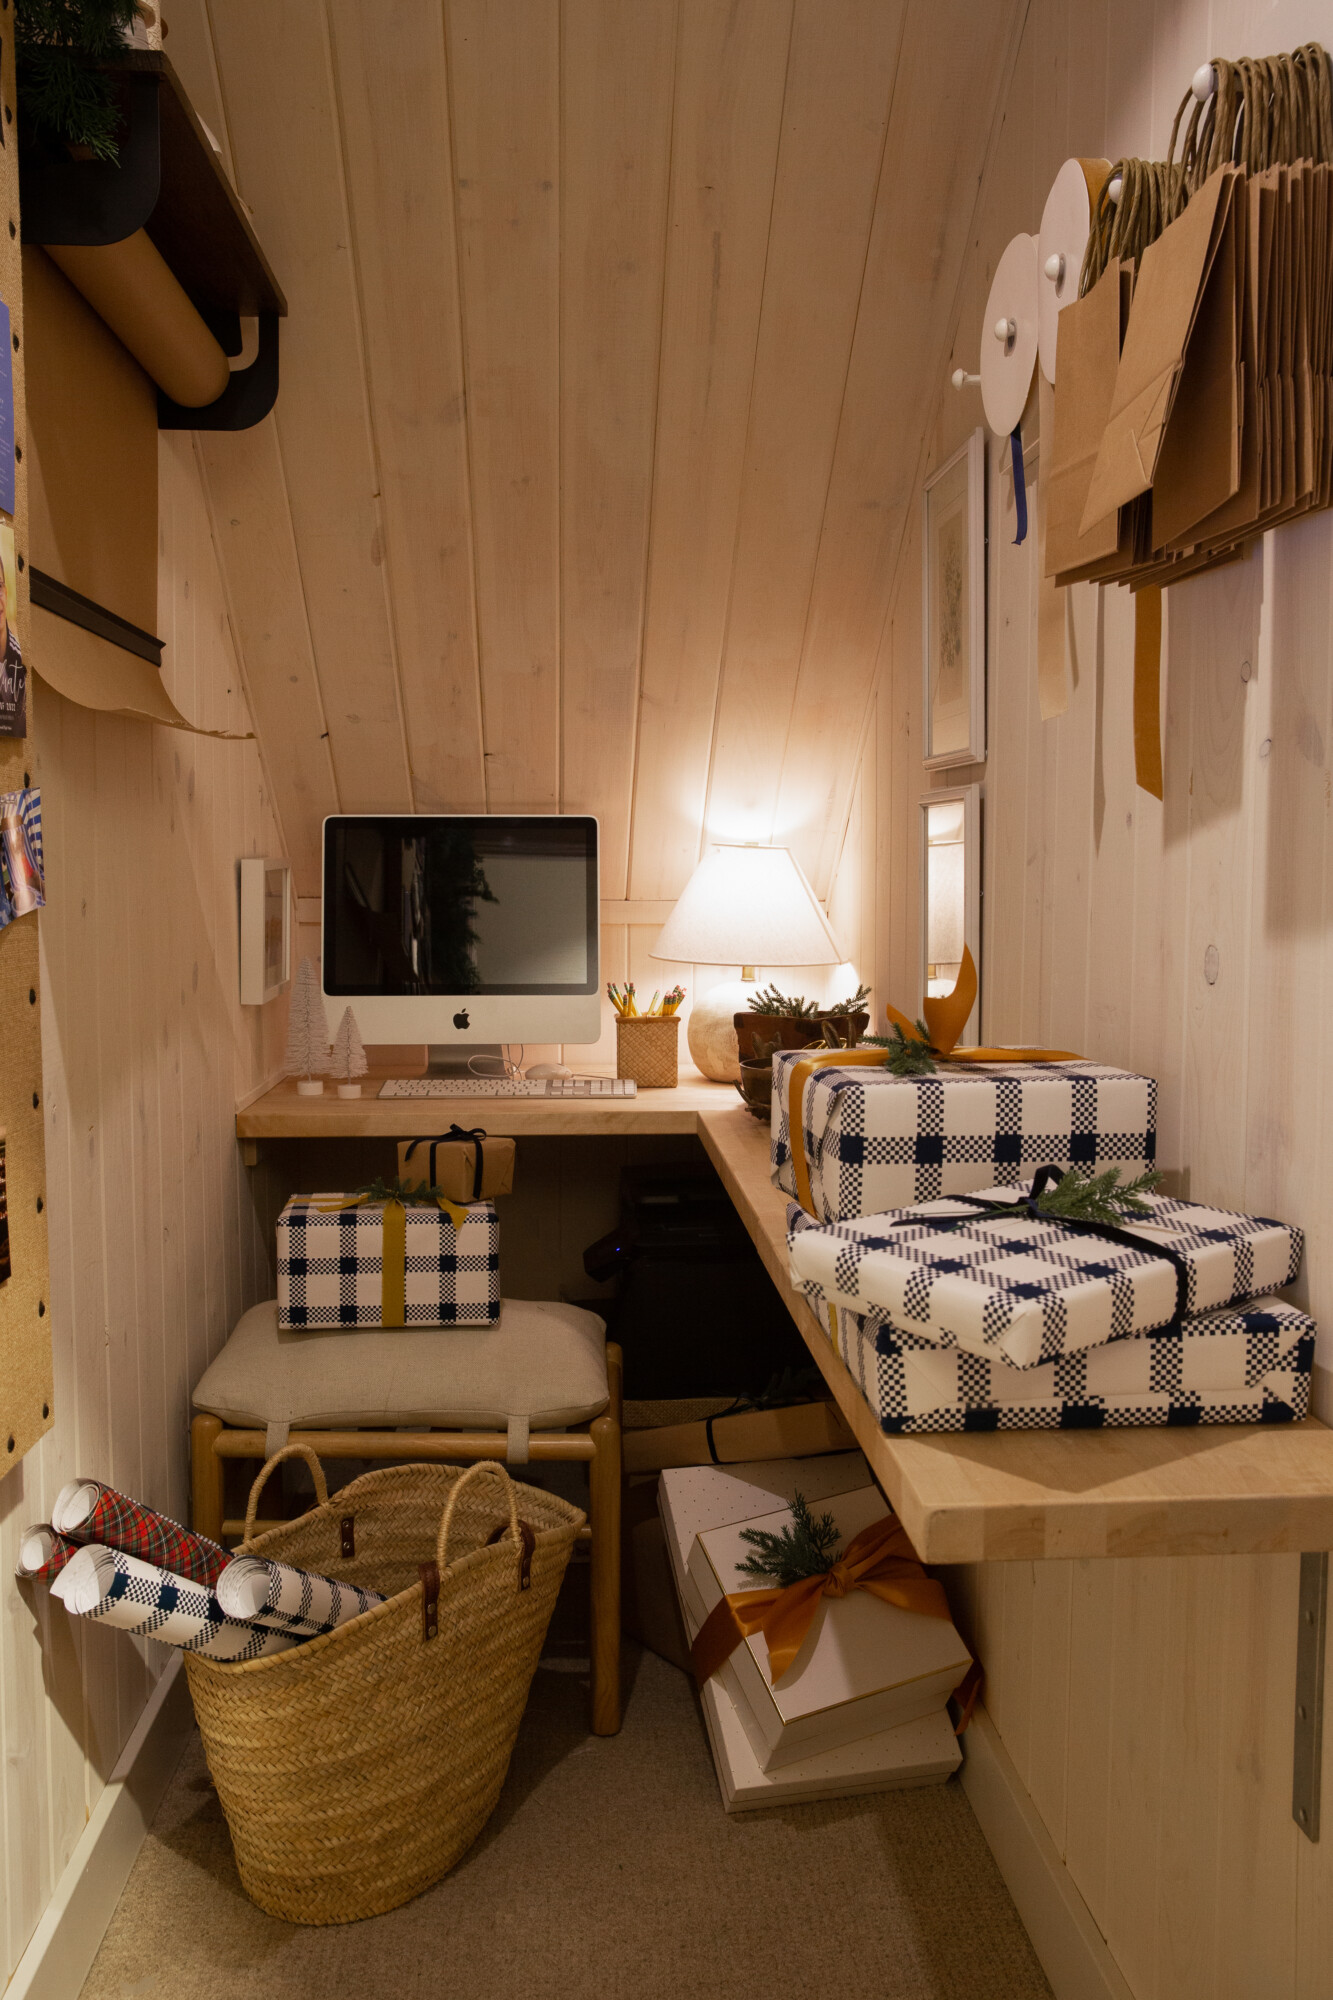
If you can, add elements to your space to make it feel special. Try to make mundane spaces feel a little unexpected and inspiring (i.e. laundry rooms, closets, workout rooms). That way, when you open the doors, there is a touch of whimsy and inspiration. We added V groove panelling to all the walls and ceiling of our closet. Then we white washed it to give it a beautiful hue of creaminess and warmth. I love when guests open the door and are wow’d by how cute and cozy it feels!
Derrick built the tiniest little desk and counter to hold our computer, a small lamp, and a place to set bills and mail. Over the holidays, we added a wall-mounted roll of brown butcher paper for easy wrapping. In fact, this space became a great little spot for wrapping those last minute gifts!
3) Go Vertical
In spaces that are small, you are forced to go UP. Use every inch of your walls and you will be amazed at how you can organize that space. I use inspiration boards all the time in my design projects, and love to have a bulletin board in our home to hold mementos, invitations and special announcements. It’s a fun way to remember events, special photos or even torn magazine images that inspire you. The bulletin board has been with us through several moves, and I always find a place for it. It just makes me happy!
4) Add Lighting
We didn’t want to deal with a lot of electrical work in our new office, so we added a decorative sconce with a battery operated puck light (it comes with a remote). All you do is screw in the battery operated puck light into the socket, and turn it on with the remote when you want to use it. I love the cute sconce I found from Joss & Main (a great dupe for other designer versions). It adds an extra bit of light in this small space. And, I highly recommend adding a lamp to your desk if you can. The glow gives it that little extra charm.
I hope these tips were useful, and inspire you to find a spot in your own home to convert into something similar that works for you and your family. If you give it a try, drop me a comment and let me know! Below are a few items (some are the exact items I used) that I like to consider when designing spaces such as this. Good luck!


