CLOUZ HOUZ DESIGN GUIDES - What’s your style?
TAKE THE QUIZ
Design

Setting Up A “Help Yourself” Bar

These days, everyone seems to be gravitating towards an open floor plan concept. And, let’s be honest, it's no wonder. When everyone is together in one space, it creates an inclusive vibe … for almost every occasion.

Our kitchen opens to both our dining room and living rooms, so it has to work really well in this regard. We don’t have a lot of space to dedicate to a wet bar area, so we revamped a corner of our kitchen by adding different cabinet doors, and set up a small portion of the counter where friends and family can whip up their favorite cocktails. It’s a popular spot!

Here’s a few simple steps to create a space in your kitchen that will feel intentional for entertaining guests.
Shop the Look

1) Cabinetry

To set up a “help yourself” bar, consider changing up the cabinetry style, whether you choose open shelving or a different door style like we did. We added brass grilles to the door fronts instead of glass to create something different, and to display beautiful glass and barware. The idea is to make this spot feel different than the rest — a little more special — and designate the area as a spot for everyone to check out!

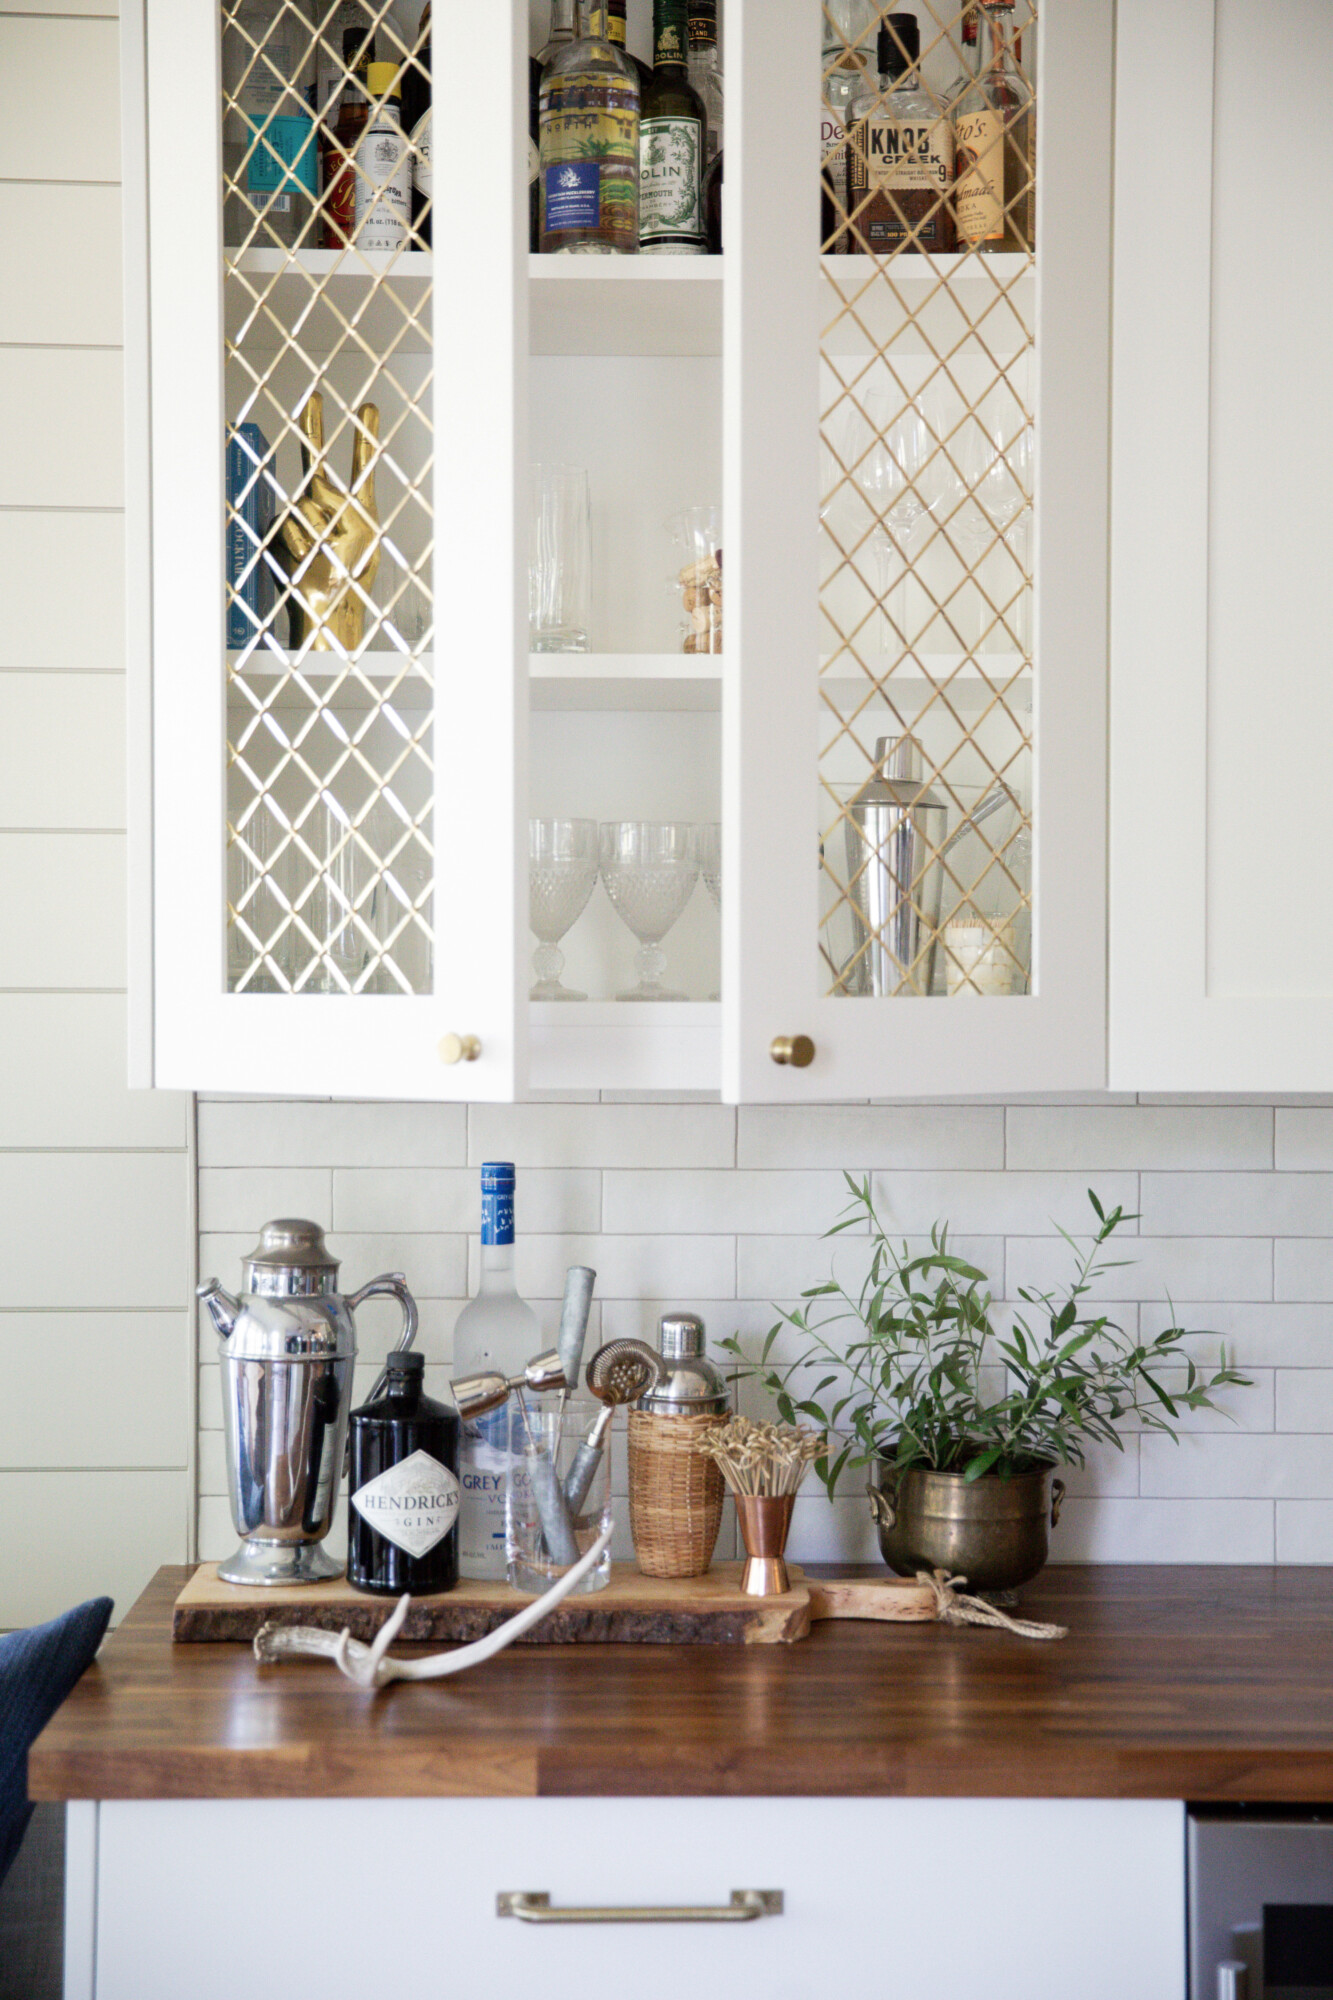
2) Tray on Countertop to Hold Supplies

I’m a firm believer that if you put things out for guests to easily access them, it creates a more casual, “help yourself” kind of mentality. We always leave liquor and mixers out for friends so they can make their own concoctions, and if we are serving our favorite cocktail, we leave all the fixings in a pitcher out on the counter for refills. 


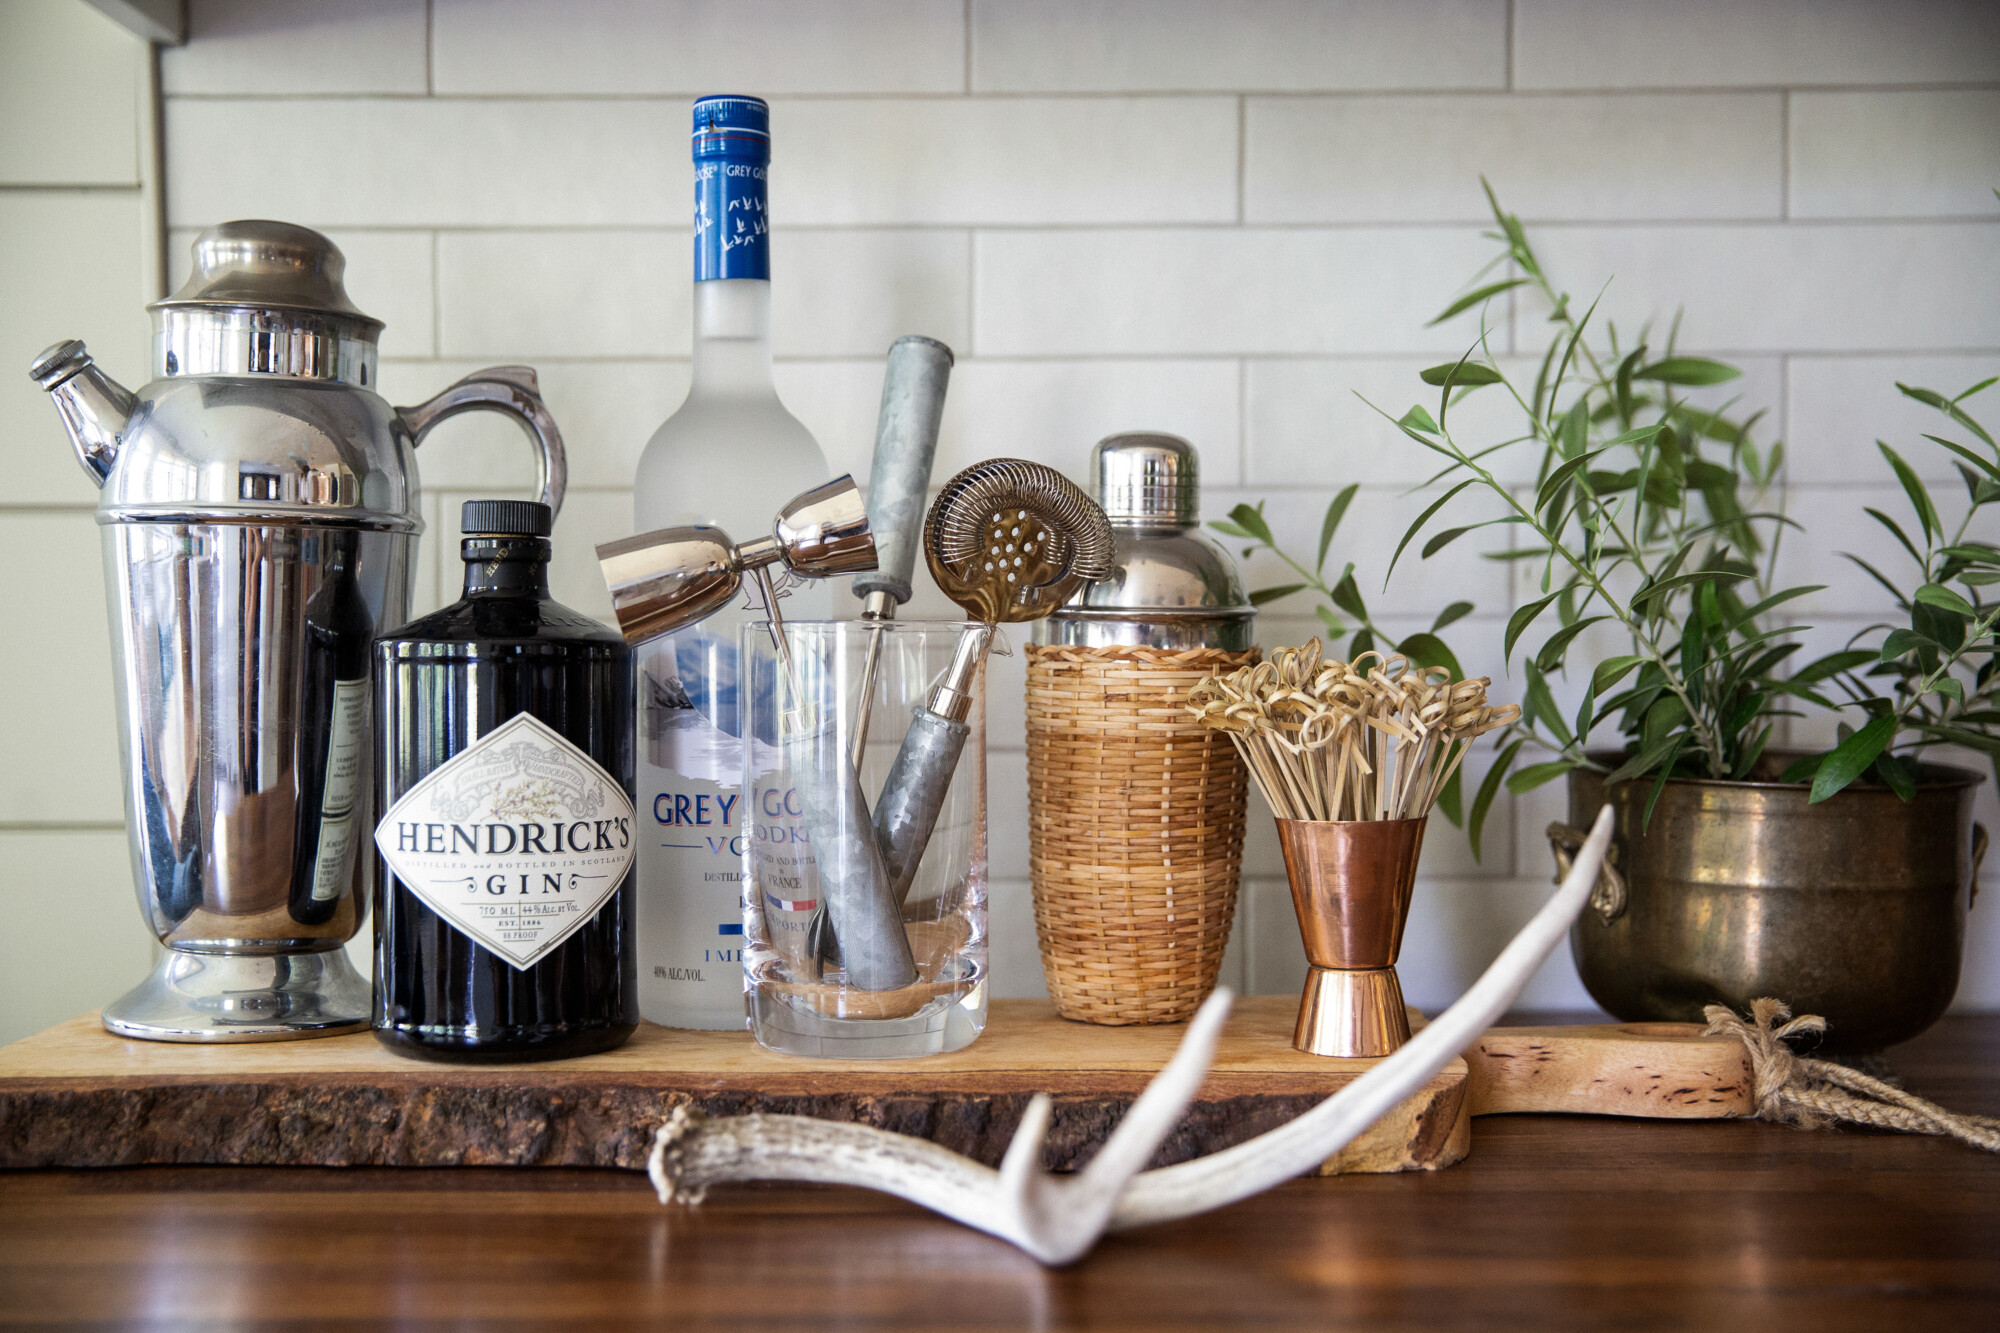
3) Invest in Good Barware

Bar Essentials:

  1. Serving a cocktail in a beautiful glass makes all the difference. Don’t just use your everyday glasses! Make it special and have glasses for all different types of drinks. I highly recommend having double old fashioned glasses, high balls, champagne coupes, martini glasses, stemless and stemmed wine glasses. 
  2. A pretty ice bucket is key. If you are like us and don’t have room for an icemaker in your kitchen, we recommend having a beautiful bucket full of ice for easy access when making cocktails. 
  3. A sleek cocktail shaker is essential … we use ours all the time!

Hope this helps you make a special spot in your kitchen or dining room where you can have all the essentials you need for creating cocktails and imbibing with family and friends!

Join the Conversation

get inspired
#clouzhouz
follow along
@clouz_houz
I’ve been getting a lot of questions about how I run my business… so whether you are a prospective client or a new designer here’s something I wanted to share…
After 15+ years, I can tell you this: running a design studio is about so much more than creating something beautiful.
Most days, it feels like 80% of my job is understanding people—how they live, what they need, what matters to them and only 20% is the actual design. And honestly, that might surprise you.
A lot of how I operate comes from my early career as an Executive Assistant at Nike, where I learned the value of being organized, anticipate needs, and keep everything running smoothly behind the scenes. That foundation shapes everything we do.
Because in the end, it’s not just about pretty homes… it’s about creating spaces that truly support the people living in them. And the process in getting there can completely change the entire experience. 
So if you are questioning if you have what it takes to do this, or maybe you are considering working with us- know this: if you think designers are just “creatives” you are wrong- it’s also all the unsexy stuff - the process in which we create a beautiful space.
If you want your home to feel more custom, look up.
One pet peeve is when electricians “swiss cheese” your ceiling with a bunch of recessed can lights. By strategically placing them you can get a beautiful and seamless look. Standard recessed lights have a visible trim that creates a subtle shadow line on the ceiling.
These 3” mud-in recessed lights are installed and finished directly into the drywall, so there’s no trim, no harsh edge, no visual interruption. Seamless.
A subtle ceiling detail I have never done before but I’m soooo glad we did!
It’s quieter. Cleaner. More intentional.
Save this and bring it up early in your planning phase. This is a detail WORTH considering! Also, If you want the exact lights we used comment ‘ME’ and we will DM you the link.
Hear me out on something...I want to break down the WHY behind this service.
Over the years, we’ve had so many people reach out who don’t necessarily need full-service design... but they know they still want expert guidance before making big decisions in their home.
Maybe you’re working with a contractor and need help choosing finishes.
Maybe you’re stuck on a layout.
Maybe you just want to make sure the pieces you’re investing in will actually work together.
That’s exactly why I created Designer for a Day. It gives you 6 hours with our team, split into two 3-hour sessions so you have time to sit with decisions, talk with your contractor, and come back with questions or revisions.
During our time together, we tackle whatever is holding you back so you can move forward with clarity and confidence. Everything happens live in the session, which means we can talk through ideas, problem-solve, and make decisions together in real time.
And the best part? It works beautifully virtually.
For example: I’m in Tennessee, our junior designer Kaylei is in Oregon, and our clients can be anywhere.
I truly believe good design shouldn’t be reserved for only the biggest projects. Sometimes all you need is the right guidance at the right moment.
If you’re navigating a remodel, renovation, or design challenge and feeling a little stuck, this service was created with you in mind. Link in bio (or head to our website) to inquire!