Between the Layers | Design Guide Series
SUBSCRIBE
Projects

Our Garage + New Workout Room

Our garage + new workout room


When we set out to organize our garage this past summer, we knew we were in for a big project! It had become a dumping zone for everything from old furniture, staging and styling supplies and retired ski clothes to tools, sporting equipment, paint … you get the picture. We have a three car garage that had no room for cars (!) and the things that were in there were really really hard to find. So, we decided it was time to make the space more functional and organized.

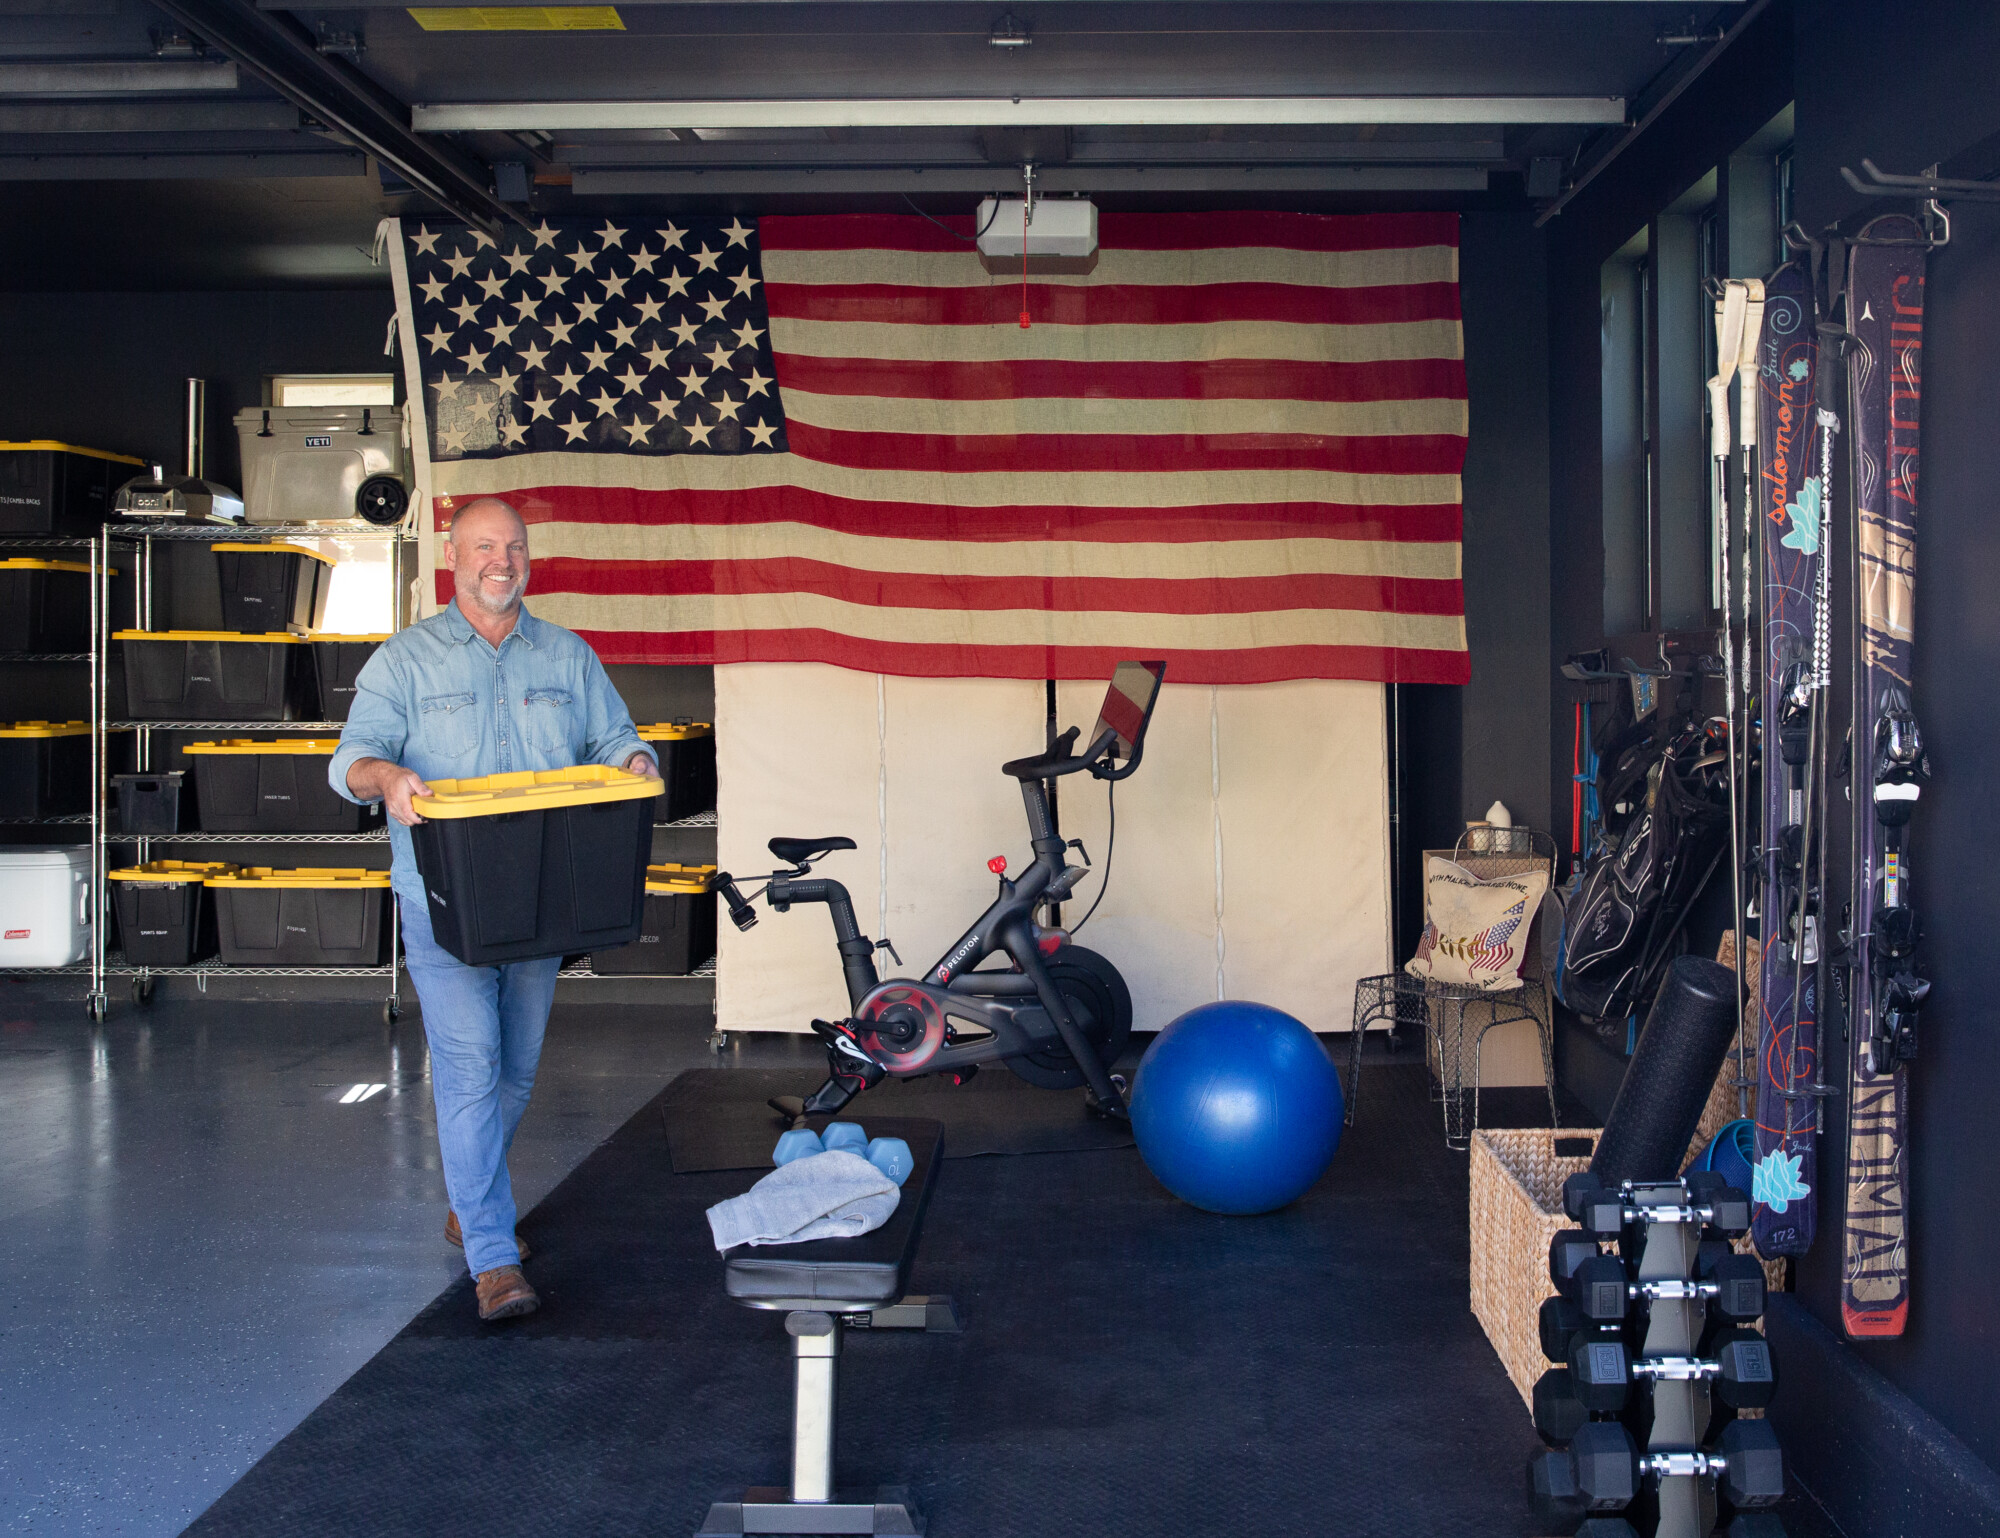
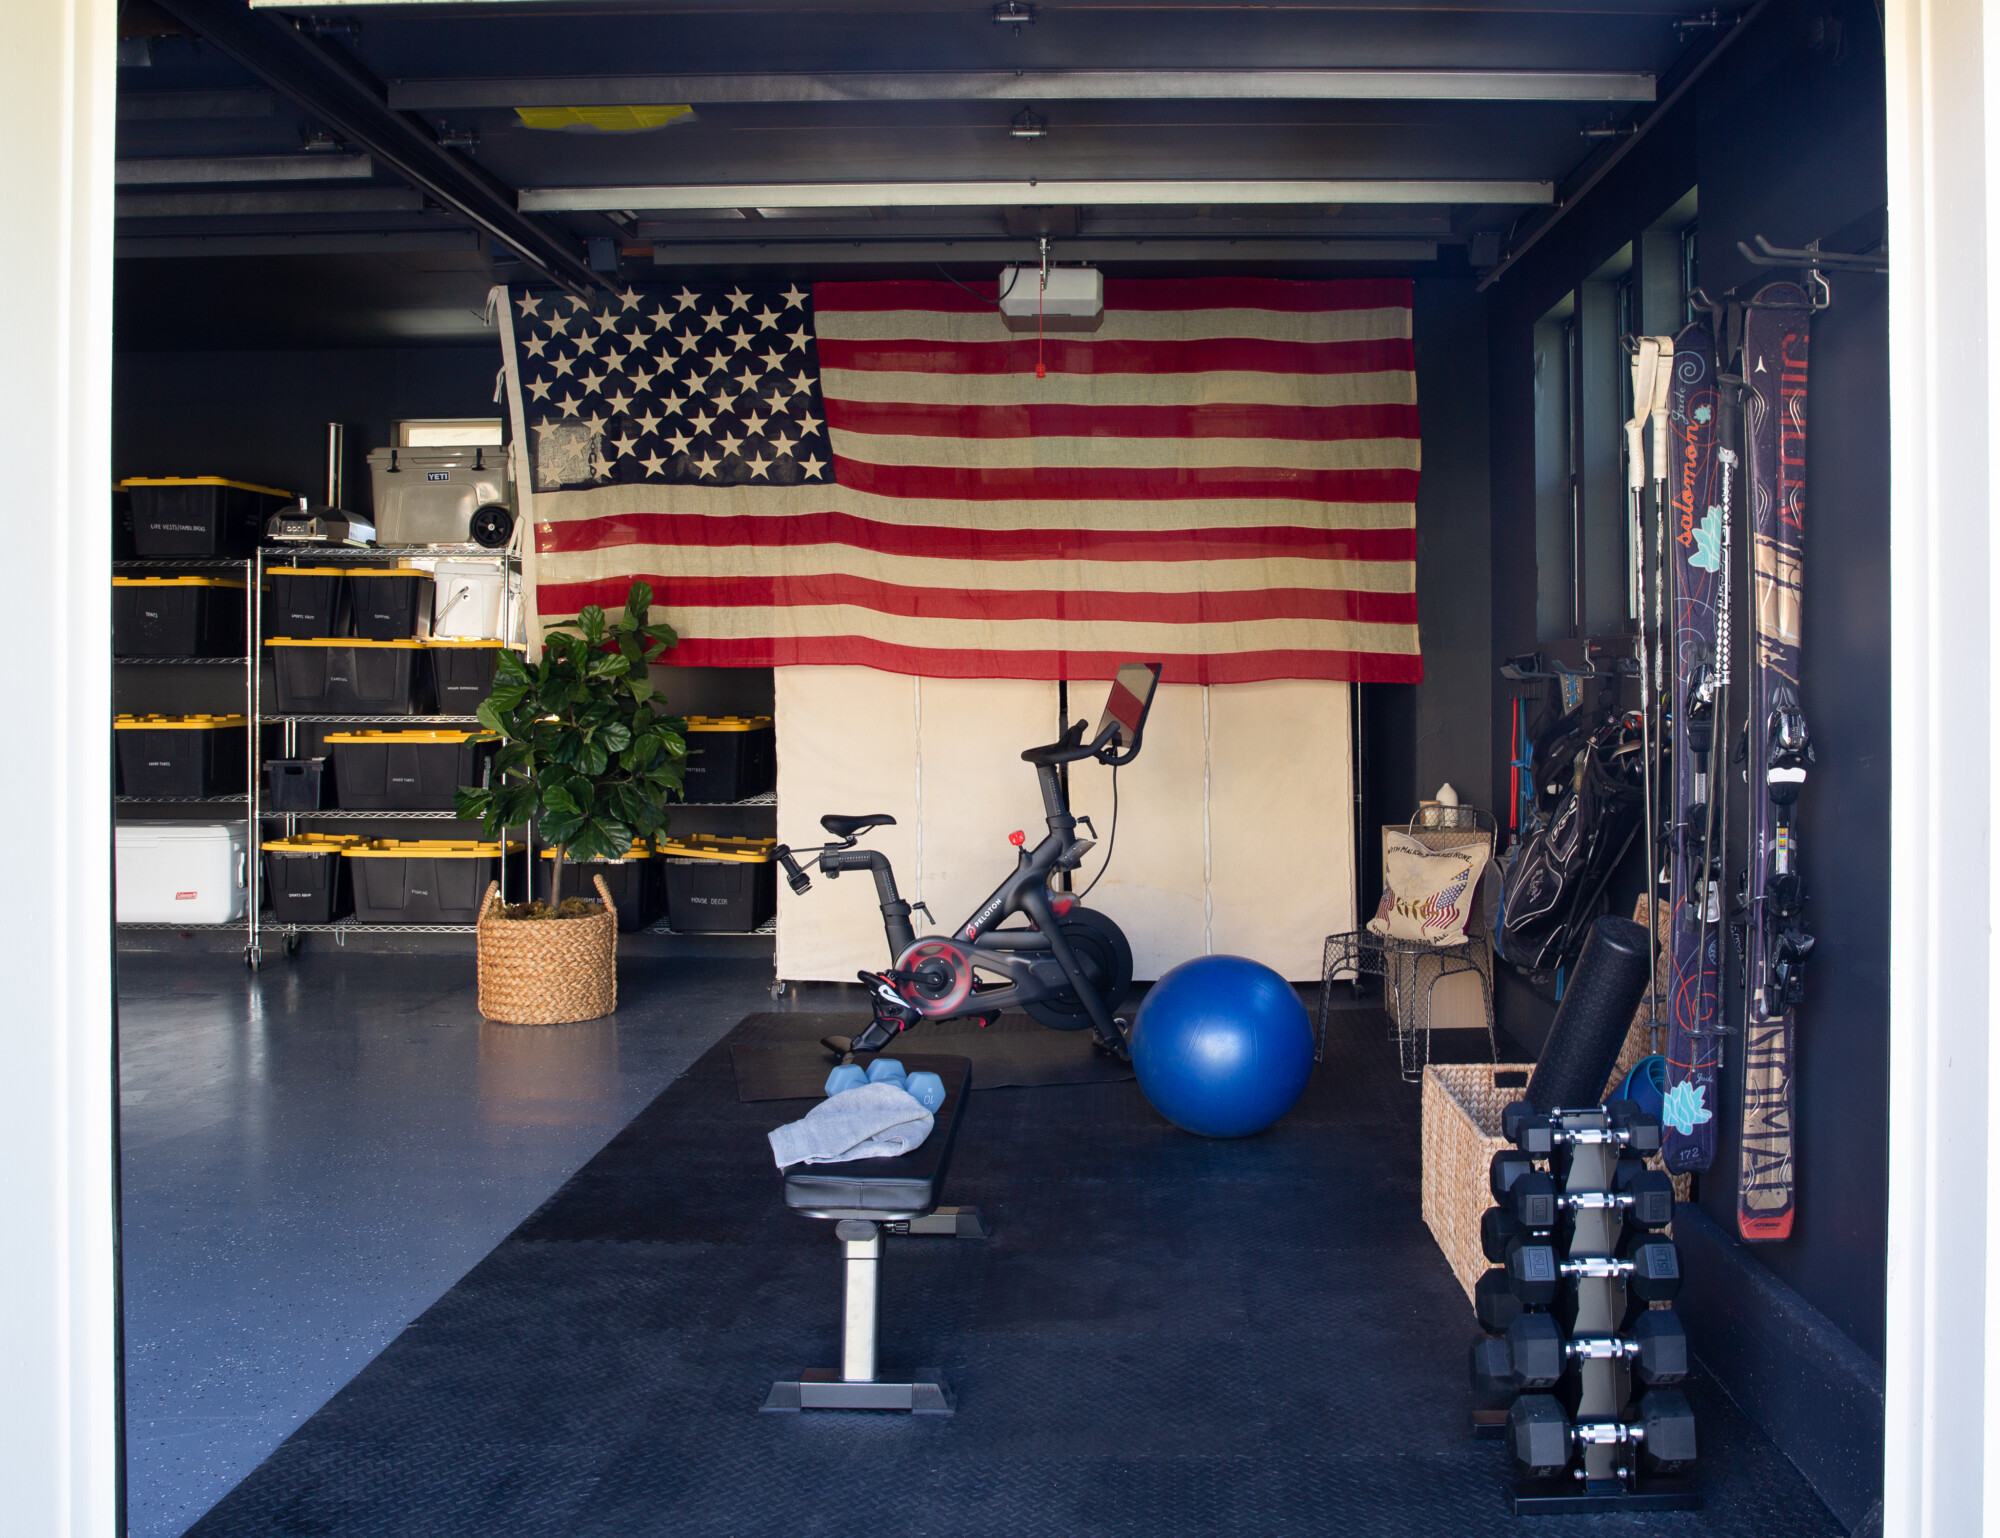
Since we needed a dedicated area for working out, we chose to convert the third bay to a place for our Peloton and weights. And, if we organized the other two bays, we could finally park out cars INSIDE the garage 😂 Wouldn’t that be nice?? Especially during the winter months, when getting into a freezing cold car covered in snow is really not fun!

Here are a few things we learned in the process …


1. Sort 2. Purge 3. Organize! First, we literally sorted EVERYTHING in our garage. We laid everything out in groupings on the floor so we could assess what we had. Then, we were able to decide what we wanted to keep, and what was no longer needed. We created a donate pile, and Derrick loaded everything into bins to take to Goodwill. I can’t tell you how freeing this process was! Once we were left with the things we knew we needed and would actually use, it was time to organize. Finally, we placed the items that remained into bins, and labelled each bin for easy access. We wanted to be sure things got put away where they belonged.

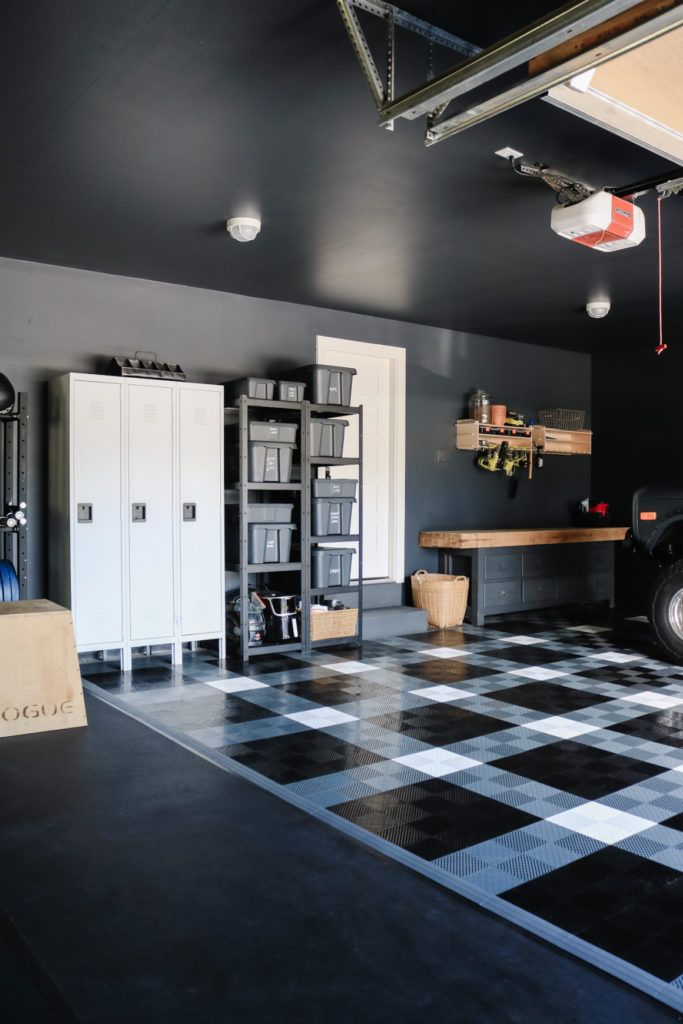
Once the garage was cleared out, it was definitely easier to paint all the walls. What a difference this made! We decided that painting the garage a dark color would give it an industrial yet cool vibe, like in the photo below. We painted the walls, ceiling and backside of garage doors in Benjamin Moore’s “Wrought Iron” in a matte finish (which hides all the cracks and dings). Everyone absolutely loves it! Derrick sprayed it on everywhere, including all the pipes and conduits, so they now just kind of recede into the space.

CLOUZ HOUZ TIP: If you haven’t used something in 6 months or more, you most likely won’t use again. Our advice: cut ties now from all the clutter and free yourself of all these extra things you don’t need!

Source: Nesting with Grace

One of the biggest game changers for the garage was refinishing the floor. We looked into so many options for what to do with it! We considered everything from Swisstrax (which we had in a previous home), to paint, to epoxy. Derrick and I chose an epoxy floor that he was able to paint himself. I’d suggest you give yourself at least 4 days to go this route, including drying and curing time between each step.

Check out our “Garage Makeover” highlight on Instagram @clouz_houz where we show the step-by-step process in detail!


A comprehensive list of the items we found to be useful for this project is below. This includes shelving, bins, flooring and more. We hope you find some inspiration as you put your home back together after the holidays and find yourself in the organizing and cleaning mood! We love our new and improved garage space! It’s tidy, organized AND we have a place we can retreat to for a good sweat. Bring on 2023 resolutions for more self care 🌟

1

Rubber Gym Flooring

We found this flooring to be a breeze to install. You can just snap the pieces together! It literally took us an hour to lay out our floor. They have a texture to them (almost like a tire imprint), so they aren't slick when they get wet. This is helpful after a tough workout! They are super easy to clean too. Just wipe down with water and a little dish soap.
Gym Floor
2

Metal Shelving on Wheels

We've owned these metal shelves over the years and used them in basements, craft rooms, etc. They are so versatile! You can opt to put them on wheels (sold separately) which makes them a dream for moving around. Then you can line them up in front of one another for more storage, and easily move the front one out of your way to get to the one behind. The shelves are adjustable, allowing big and small items to be stored on them. We lined them up along the back wall of the garage to arrange all the bins containing our stuff.
Industrial Metal Shelves
3

Clothing Rack with Cover

These canvas covers with zippers make the above shelves perfect for storing extra coats and gear. We have a couple where we store extra ski gear and clothing. The shelves can be converted to a wardrobe with hanging rods, and by adding the canvas covers everything is protected and free of dust.
Clothes Rack with Cover
4

Dumbbells Set

This set is a great value for how many weights you get! I love that they stack neatly and don't take up a lot of room. The all-black color works with our vibe too. They have to have function and form -- right?! Ha!
Dumbbells Set
5

Storage Bins

These aren't the exact storage bins we used, but very similar. They come in various sizes. The lids snap on and off easily. We used a chalk bin to write on each one the items that are stored inside. I love how organized the back wall looks now with all the same color bins neatly stacked on the metal shelves!
Storage Bins
6

Put In the Hours Flag

I first saw this cute retro-inspired camp banner when I read the post on Nesting with Grace about how they revamped their garage. I love the little extra something it gives to the gym space, and it's a gentle reminder that staying fit takes dedication.
Put In The Hours Flag
Join the Conversation

get inspired
#clouzhouz
follow along
@clouz_houz
When life gives you lemons… you make lemonade. 🍋
But for us, it wasn’t just a saying.
For over 20 years, I had been designing our homes… but when Derrick lost his job, everything shifted. What felt like everything falling apart was actually the beginning of something new.
After years of being a stay-at-home mom — the role that meant everything to me — I stepped into something completely unknown and started my design business. I was terrified.
Somewhere along the way, Derrick and I found our rhythm, and what started as helping each other turned into building something side by side… Clouz Houz.
And then… we did it again.
We left everything familiar and moved to Tennessee, starting over in a place where no one knew us. No reputation. No safety net. Just a dream… and a lot of faith. And if I’m being honest, it’s taken more grit and determination than I ever imagined. Because starting over midlife hits differently — when so many around you are slowing down, you’re asking yourself to dig deeper, push harder, and believe bigger.
There have been moments I’ve questioned everything. Moments that felt heavy, lonely, uncertain.
But also moments that feel like… this is it. This is the life we fought for.
“Life is Short. Make it Beautiful.” came from one of those turning points — when we realized life wasn’t going to wait for us to feel ready. So we chose to begin. 
Again.
And in this season of rebuilding, I’ve found myself being pulled toward something new… a different way of sharing what I’ve learned, what I see, and what I love.  It’s stretched me in new ways — and in some ways, it’s been unexpectedly therapeutic.
I can’t wait to share more soon. 🤍✨
Office reveal… but also a little life update.
We’ve been working from this space behind the scenes, and it finally feels ready to share. This is where client projects come to life…where we’re sourcing, planning, and building what’s next for both our Oregon projects and the ones we’re beginning here in Tennessee.
Oregon will always be home for our work. Our roots are there and very much staying, but we’re excited to now be creating in Tennessee as well, while continuing to serve clients nationwide.
We have three project openings this summer and are currently taking on new clients in both locations.
If you’ve been thinking about starting a project, you can inquire through our website…we’d love to work together. 🤍
What started as a “simple” fireplace update quickly turned into one of those classic renovation plot twists.😅 
Here’s how it actually unfolded:
1. Planned to install tile over the existing fireplace tile — that was the original vision.
2. Began demo and discovered some serious structural damage to chimney. Immediate pivot.
3. Tore in further and uncovered the original brick hiding underneath.
4. Brought in the mason to re-mortar and clean everything up.
5. The brick went from dusty and rustic to bright red and very classic — and yes... I freaked out a little.
6. Lived with it for a bit to see if I could make peace with the new look.
7. Ultimately we applied a watered down lime grout (what was used by mason) to give it that old-world imperfect feel again.
8. Polished/stained the original stone hearth to refresh it without replacing it.
9. Stripped down the fussy details from the wood mantle and surround.
10. Painted the mantle and reinstalled it — and finally, it all felt right.
Renovations rarely go exactly as planned, but sometimes uncovering what’s underneath leads to something better than you imagined in the first place.
Omg this kitchen is so close I can feel it😭
The brick floors are in, the character is there, and the countdown to actually cooking in here (aka retiring the air fryer + constant takeout era) is officially on.
This one detail alone is making everything feel real and lived-in already... And I can’t wait to see it all come together.
If you’re into kitchens with soul + old-house energy, save this for later!