If you missed last week’s post—Diamond in the Rough: What to Look for When Walking a Fixer—start there. It’s Part One of this renovation series, and covers exactly what we look for when we first walk a property: the quirks, the charm, the red flags, and the deal breakers. That post was all about learning how to spot the right investment in the first place.
This week, we’re diving into Part Two: budgeting once you’ve found that property.
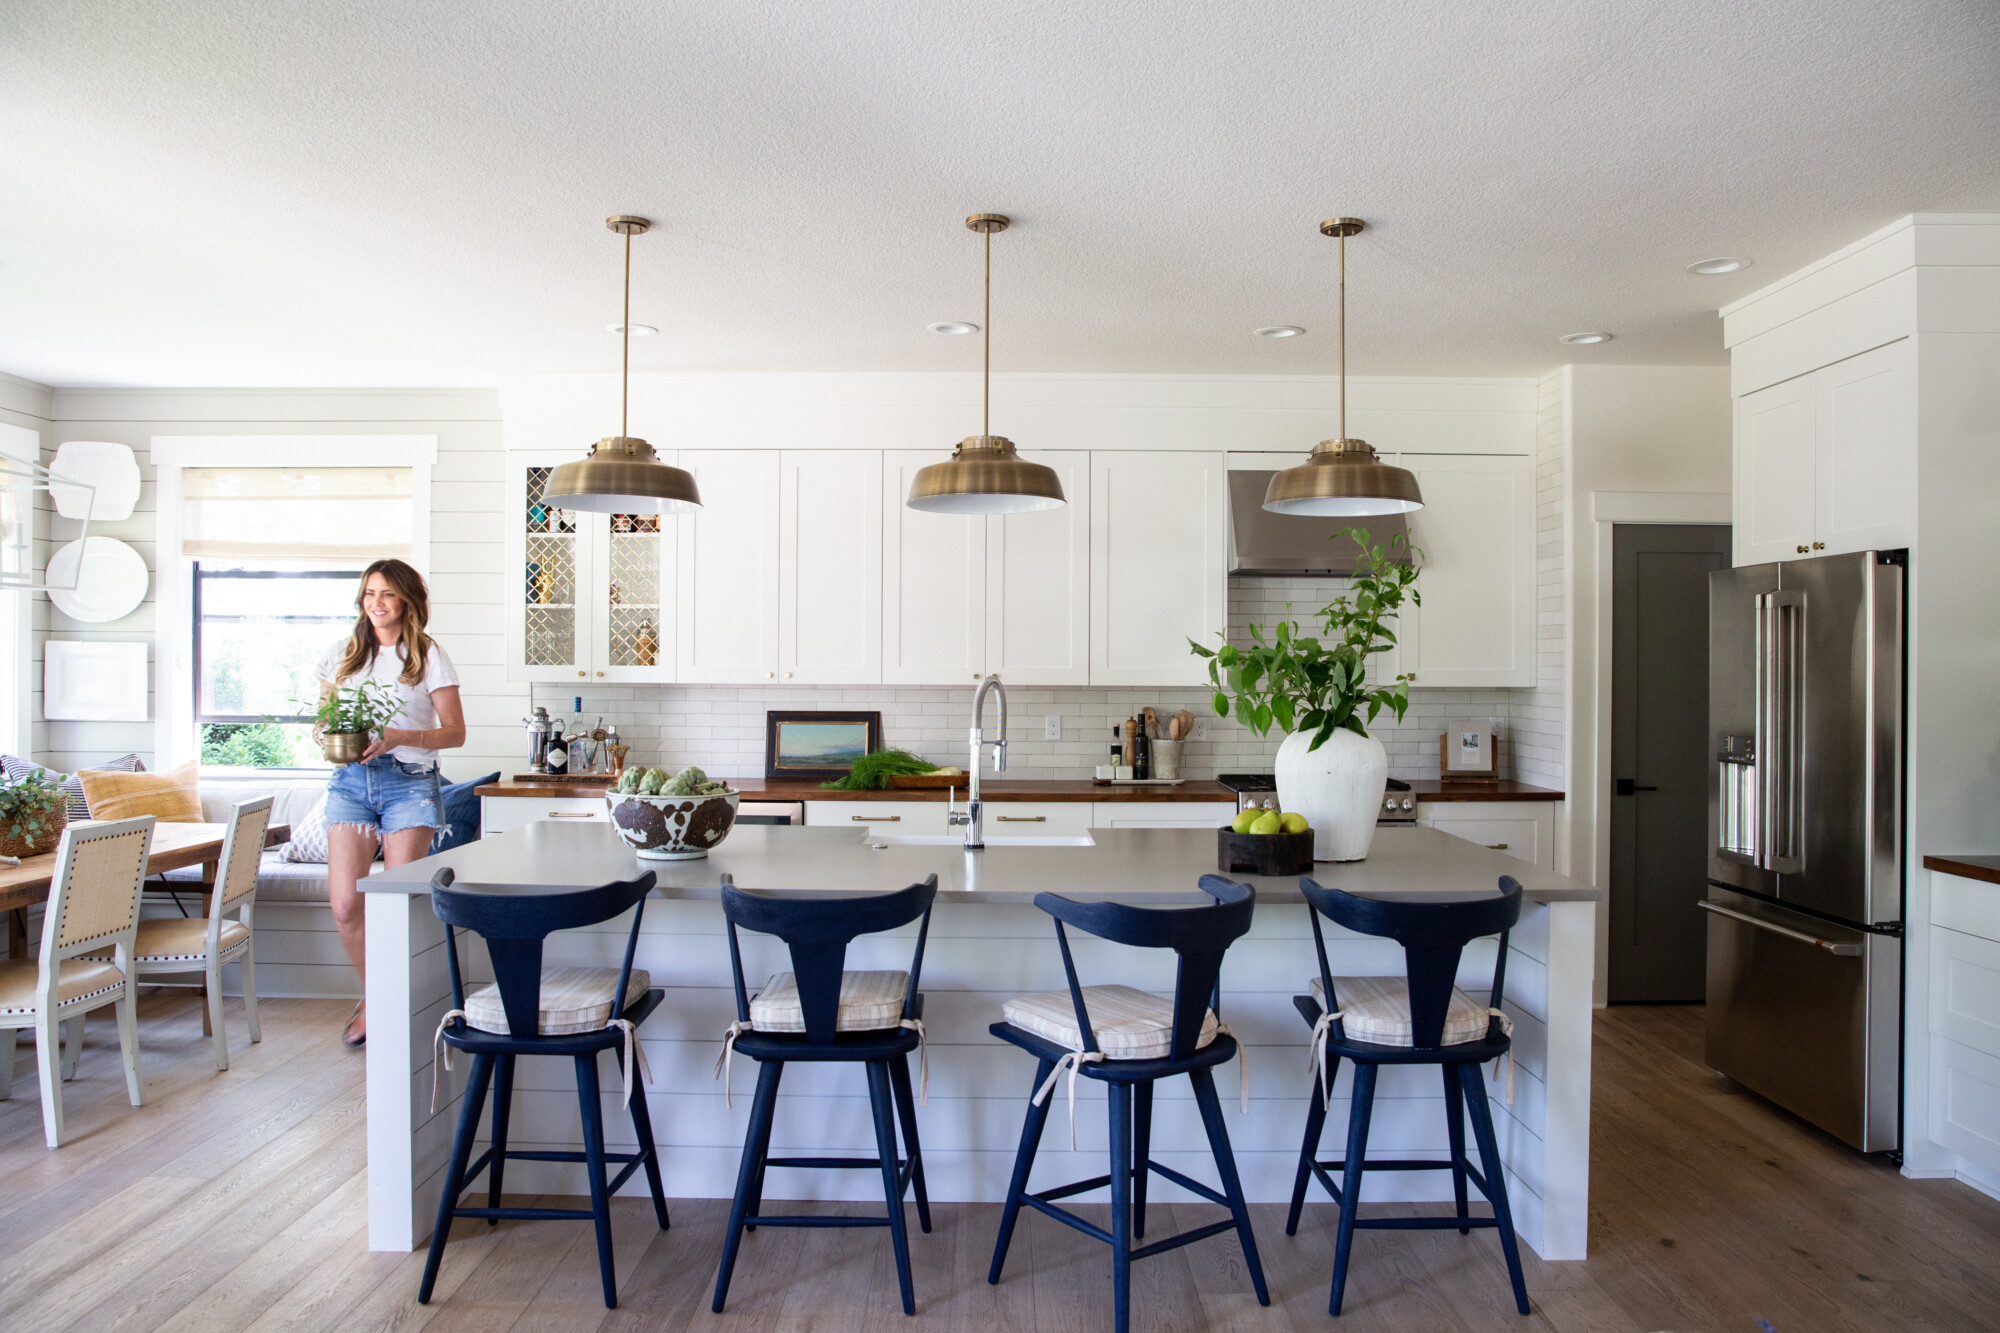
I’ve learned the hard way (more than once!) that the fastest way to lose money on a flip is by not budgeting for the things you can’t see on day one. When you walk through a property for the first time, it’s easy to get caught up in the vision—the new kitchen, fresh paint, beautiful floors, and the idea of selling it all for a profit. But behind the walls and underneath the floors, there are line items waiting to sneak up on you.
I remember one of our early flips where we thought we’d been so careful. We set aside money for new cabinets, counters, even landscaping, but what we hadn’t planned for was adding an egress window to a basement room to be to code for a bedroom (a certain size window must be installed for a safe way to exit in case of an emergency to be considered a bedroom for resale) It was a gut punch and an expensive lesson in why a good budget is as much about what you don’t see as what you do.
This blog is for anyone who’s ever thought, “I’ve got a handle on the big stuff, I’ll just add a little buffer for the unexpected.” Because trust me, the “unexpected” is actually the most predictable part of a renovation. If you know what to look out for, you can set yourself up to flip smarter, not just prettier.
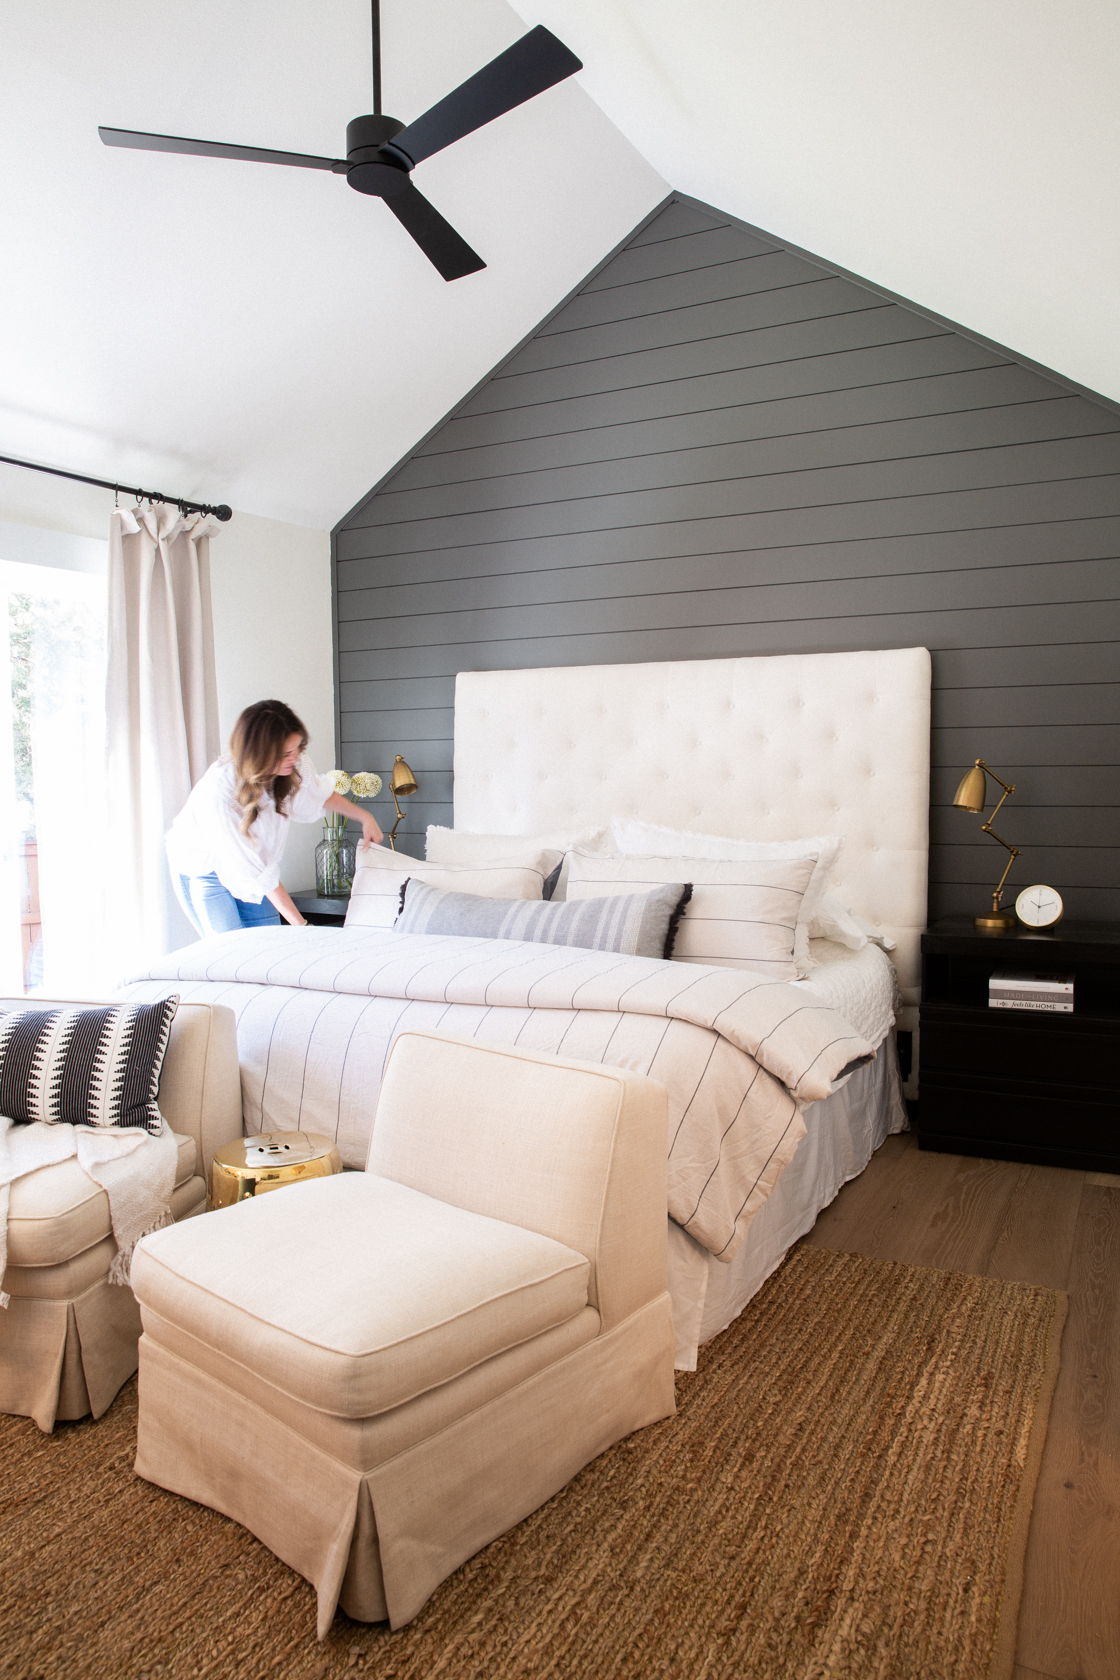
Here’s what we’re diving into:
- The hidden costs most people forget (permits, inspections, and boring-but-necessary fees).
- Where code requirements sneak in once you start demo.
- The tiny finishing touches that add up (and why they matter for resale).
- Designer-level insight into flooring, tile, and layouts that can save you money (and stress) later.
- My personal rules of thumb for creating a budget that doesn’t get blown up mid-project.
I’ll share the practical side, but also some of the candid, behind-the-scenes truths we’ve learned as designers who also invest in and flip homes. My goal is that by the time you finish reading, you’ll not only know what to include in your budget, but you’ll also feel more confident walking into your next flip with eyes wide open.
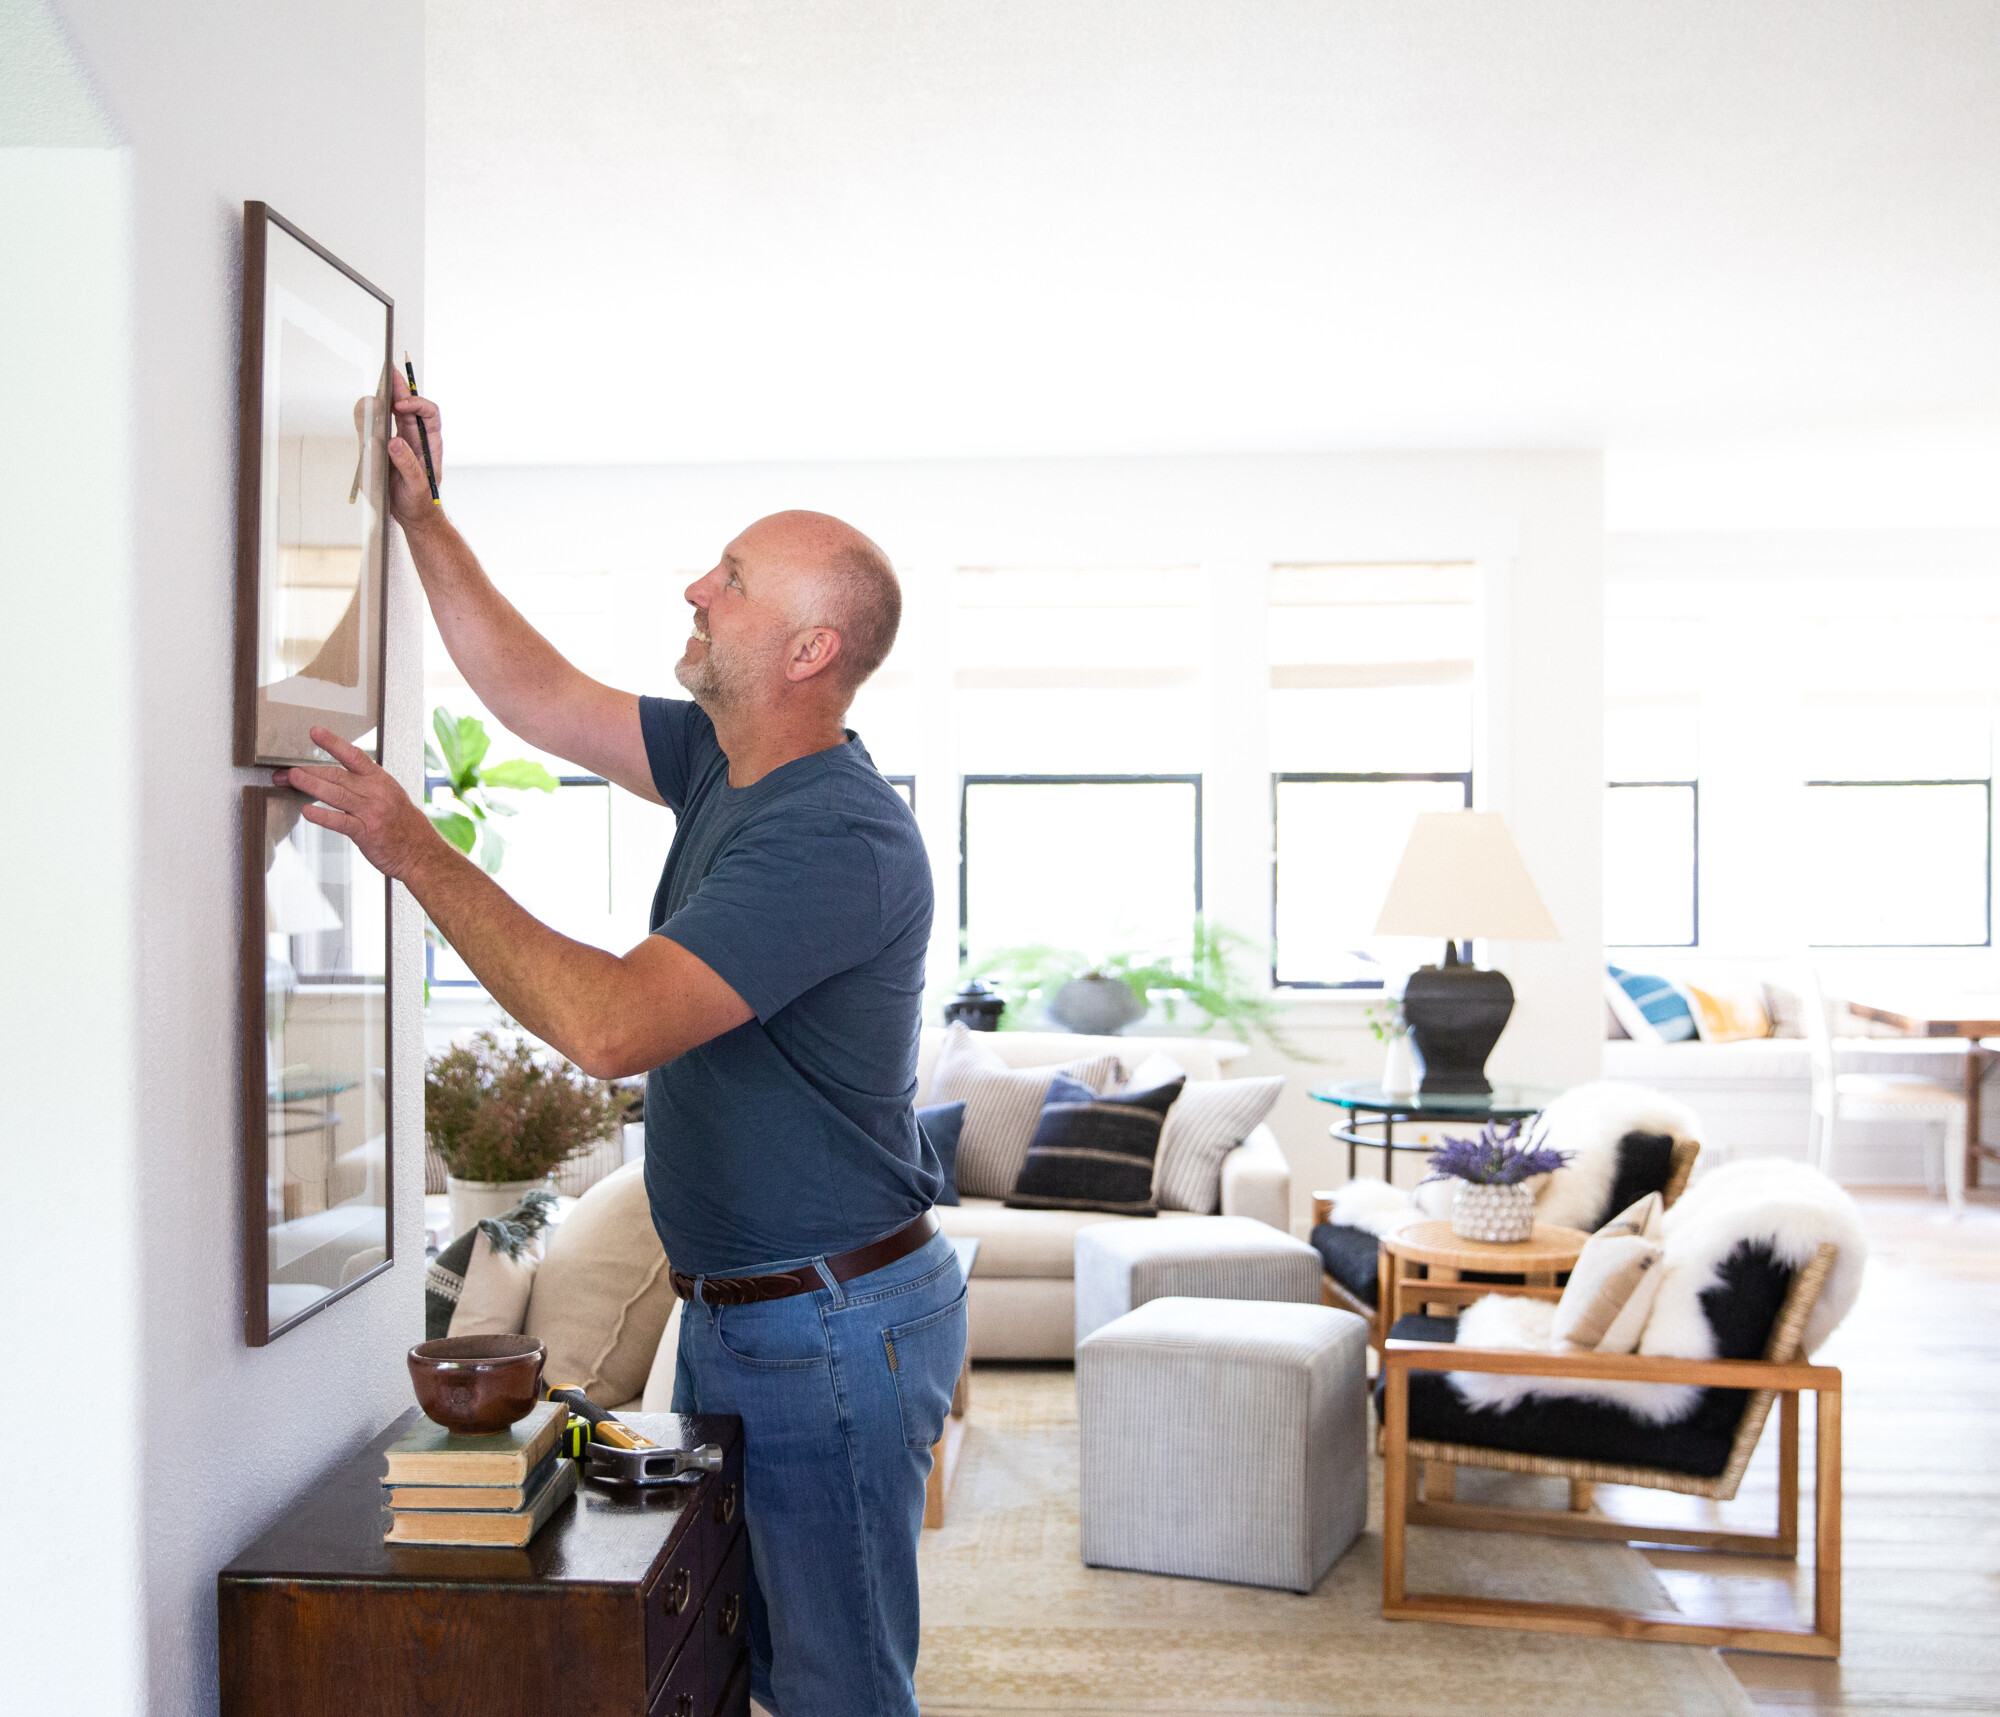
The Hidden Costs Most People Forget
When people think about flipping, the first numbers that usually get written down are the obvious ones: new floors, paint, kitchen cabinets, bathroom tile. And sure, those matter. But the line items that blow up your budget are usually the ones you don’t notice until you’re knee-deep in the project.
Take permits and inspections. They’re not glamorous, they don’t show up in the Instagram-worthy “after” photos, but they’re unavoidable. On one project, we had to pay close to $3,000 just for city fees before we even lifted a hammer. It stings when you realize that money could’ve been a new light fixture or beautiful backsplash. But if you don’t plan for it, you’ll be cutting those things later just to make the numbers work.
Another one I see people underestimate is demo and disposal. Pulling out old carpet or cabinets feels easy enough, but what about hauling it away? Dump fees, labor, even just the sheer time it takes to get a property stripped down and ready adds up.
And then there’s temporary solutions. Things like a construction dumpster, porta-potty, even protecting floors you’re not replacing—none of this feels like “design,” but it’s the stuff that makes a jobsite function. If you don’t account for it, you’ll be nickel-and-dimed to death by the basics.
Here’s my rule of thumb: if it doesn’t show in your final design but it makes the project possible, budget for it anyway. Because those are the line items that sneak up and make the difference between a flip that stays on track and one that feels like it’s bleeding cash.
Where Code Requirements Sneak In
Here’s the thing about opening up walls: the second you do, you invite the inspector (and the city) into your project. And trust me, they always find something.
I’ll never forget a flip where we were adding onto the kitchen… because of the additional square footage we were required to bring the entire space up to code. The inspector required us to upgrade the electrical panel, add hardwired smoke detectors, and bring the outlets up to current code with GFCIs. That was thousands of dollars we hadn’t penciled in, and there’s no negotiating your way out of it once you’ve already started.
It’s the same with bathrooms. You might be dreaming about that walk-in shower with gorgeous tile, but the moment you touch plumbing, you may be required to install new venting, upgrade fans, or even add tempered glass. I’ve seen clients completely blindsided when their $10,000 bathroom budget jumped to $16,000 because of hidden code requirements.
And don’t even get me started on HVAC. Moving a wall or reworking a floor plan can trigger the need for ductwork changes, or even a resized system if the square footage you’re conditioning changes. That’s not something you want to discover mid-project when the contractor hands you an extra invoice.
Clouz Houz Tip: Always ask your contractor before demo: “What improvements will we be forced to do once this wall comes down?” Even if you don’t know all the technical terms, just asking the question helps you plan for those code-driven extras. My rule is to add at least 10–15% of your budget as a cushion for code updates alone.
Because here’s the truth: codes are there to make homes safer, but they can also make your budget spiral. Planning for them upfront gives you the breathing room to still invest in the design details that actually sell the home.
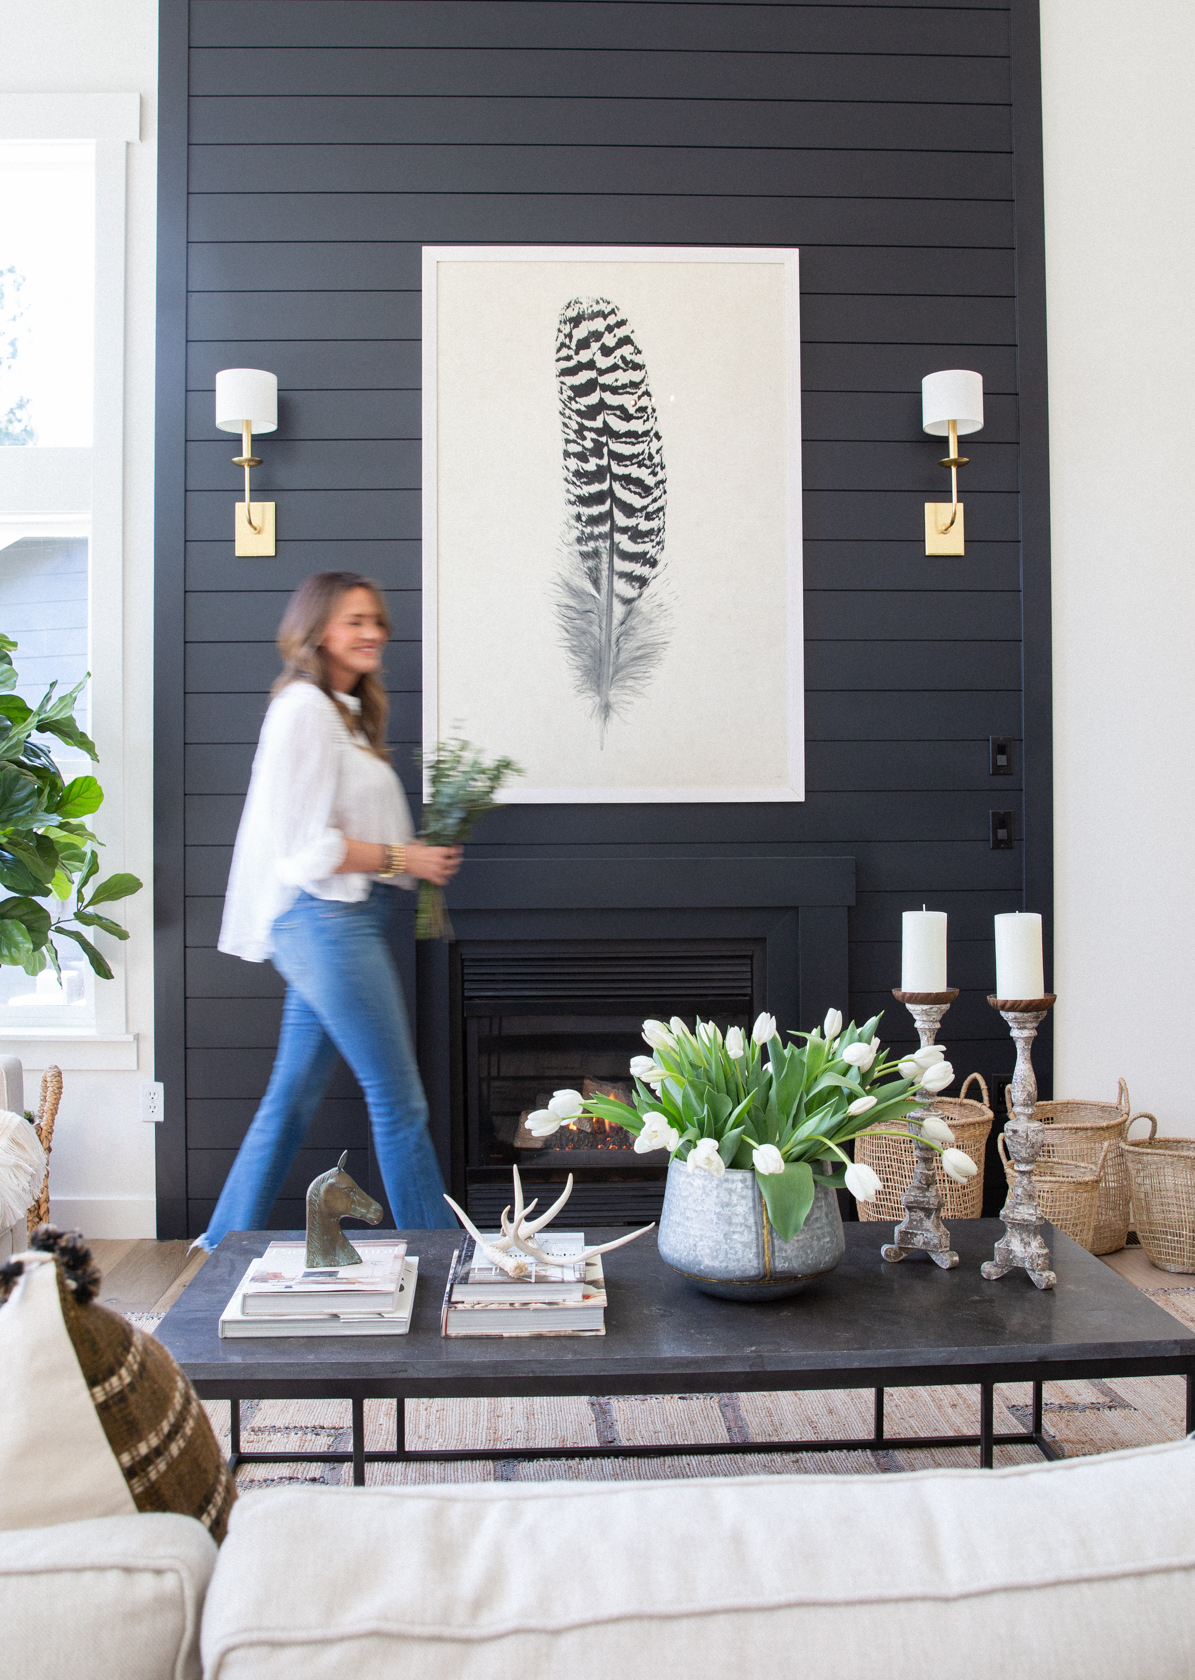
The Tiny Finishing Touches That Add Up
When you’re staring at a renovation budget, it’s easy to focus on the big-ticket items like cabinets, countertops, appliances, flooring. But here’s the truth: the small finishing touches are what make a home feel complete.
I’ll give you an example. On one project, we were so focused on the big stuff that we completely forgot to budget for mirrors, towel bars, and closet systems. By the time we got to the end, we had to run out and buy them retail, and those “little extras” added up to over a thousand dollars. It’s the unglamorous reality of flipping and you need to account for everything from door stops and vent covers to light switch plates and dimmers.
Another sneaky one? Shower glass. It’s never included in your tile or plumbing budget because it has to be measured and custom-ordered after the tile is installed by a glass fabricator. The same goes for hardware. Knobs, pulls, hinges, door levers—when you multiply them across a whole house, the price tag is much higher than people expect. Some cabinetmakers include hardware and installation into their bids, but some don’t, so pay attention to the fine print in their contracts!
I’ve also learned to never underestimate the cost of returns, shipping, and reorders. Something arrives damaged, or you realize you need one more box of tile, and suddenly you’re paying rush shipping fees or restocking charges.
My rule of thumb is this: take whatever your “finishing touches” number is and pad it by 20–25%. Because when the project is wrapping up and the house is almost ready, the last thing you want to do is cut corners on the details that actually help a house feel market-ready. Buyers may not notice a brand name on your faucet, but they will notice if you skipped closet rods or installed the cheapest mirror you could find.
The polish sells the home. And the polish costs more than you think.
Designer-Level Insights on Materials
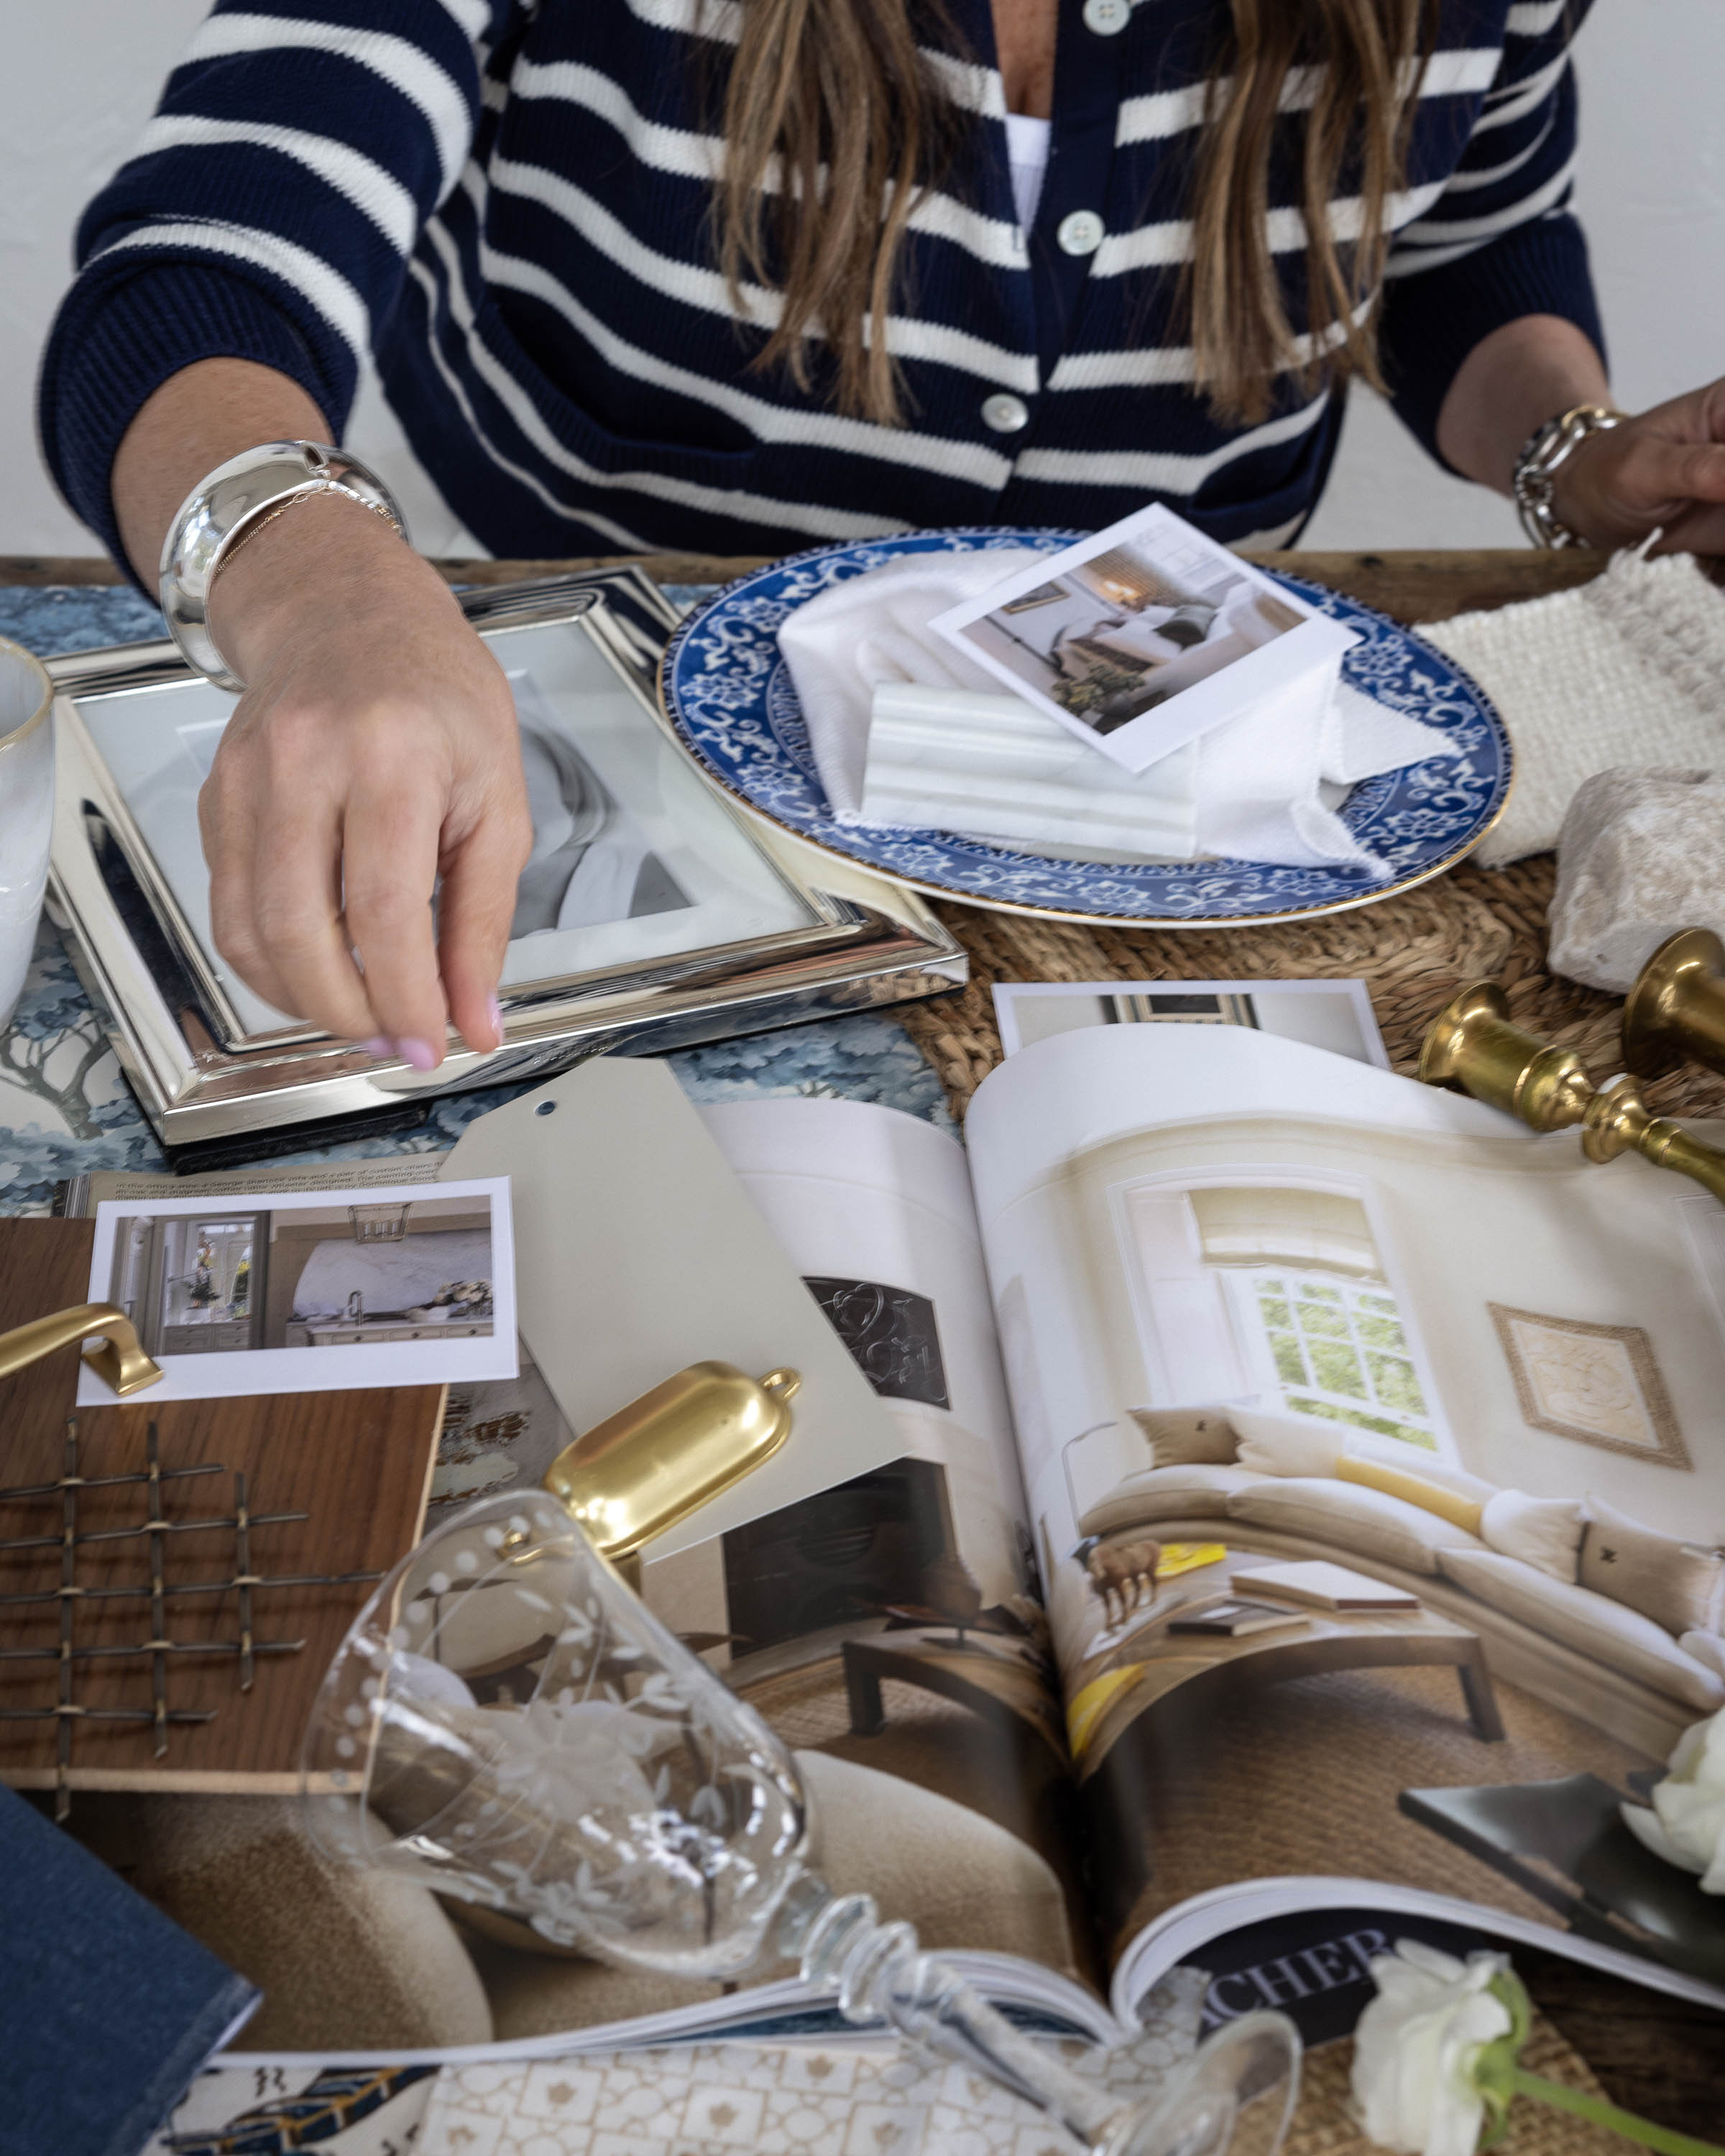
Here’s where the “pretty” part of a flip meets the practical. As a designer, I’ve learned that not all materials are created equal, especially when you’re trying to balance budget, resale, and longevity.
Let’s start with floors. Flooring trends come and go. A decade ago, everyone wanted espresso-dark planks. Then it was all about gray-washed looks, and more recently, super pale blond woods have been everywhere. But here’s the thing: trends age fast. If you’re flipping, your safest bet is always something timeless—like a natural oak floor. It has warmth, depth, and a look that works in almost any style of home. It’s also forgiving, which matters when your future buyer might have kids, pets, or just a busy life. We’ve used natural oak countless times, and clients always come back saying it was the best decision.
Tile is another one where people get tripped up (no pun intended). It’s tempting to cut corners with cheaper options, but not all tile is equal. For example, handmade or stone tile usually requires extra overage because of natural variation. You can’t just buy the exact square footage! And, layout matters. Account for cuts, patterns, and avoiding those awkward “sliver” tiles at the edges, or you’ll wind up scrambling. And, you’ll spend more during install. My rule of thumb: order 10% extra for standard tile and 15%+ for natural stone or handmade tile.
And then there are the small but mighty details, like lighting and hardware. This is where I encourage people to spend a little more strategically. A great light fixture in an entryway, or solid-feeling door hardware, immediately communicates quality—even if the rest of the finishes are budget-friendly. Buyers pick up on those emotional cues, often without realizing it.
One of the biggest mistakes I see is people blowing the budget on big-ticket “wow” items in the wrong places. A waterfall island looks amazing, sure, but if the bathrooms feel unfinished because you skimped on mirrors and sconces, the whole house feels off. A designer trick is to splurge in the smallest spaces with the biggest impact—like a statement powder room or an entry light—and save in the areas where buyers mostly see surface area, like secondary bedrooms or closets.
Flips are really about balance. Pick materials that feel honest, warm, and versatile. Layer in a few smart splurges. And always, always plan for the overage. It’s not wasted money—it’s insurance against mistakes, shipping delays, and last-minute headaches.
My Rules of Thumb for a Realistic Flip Budget
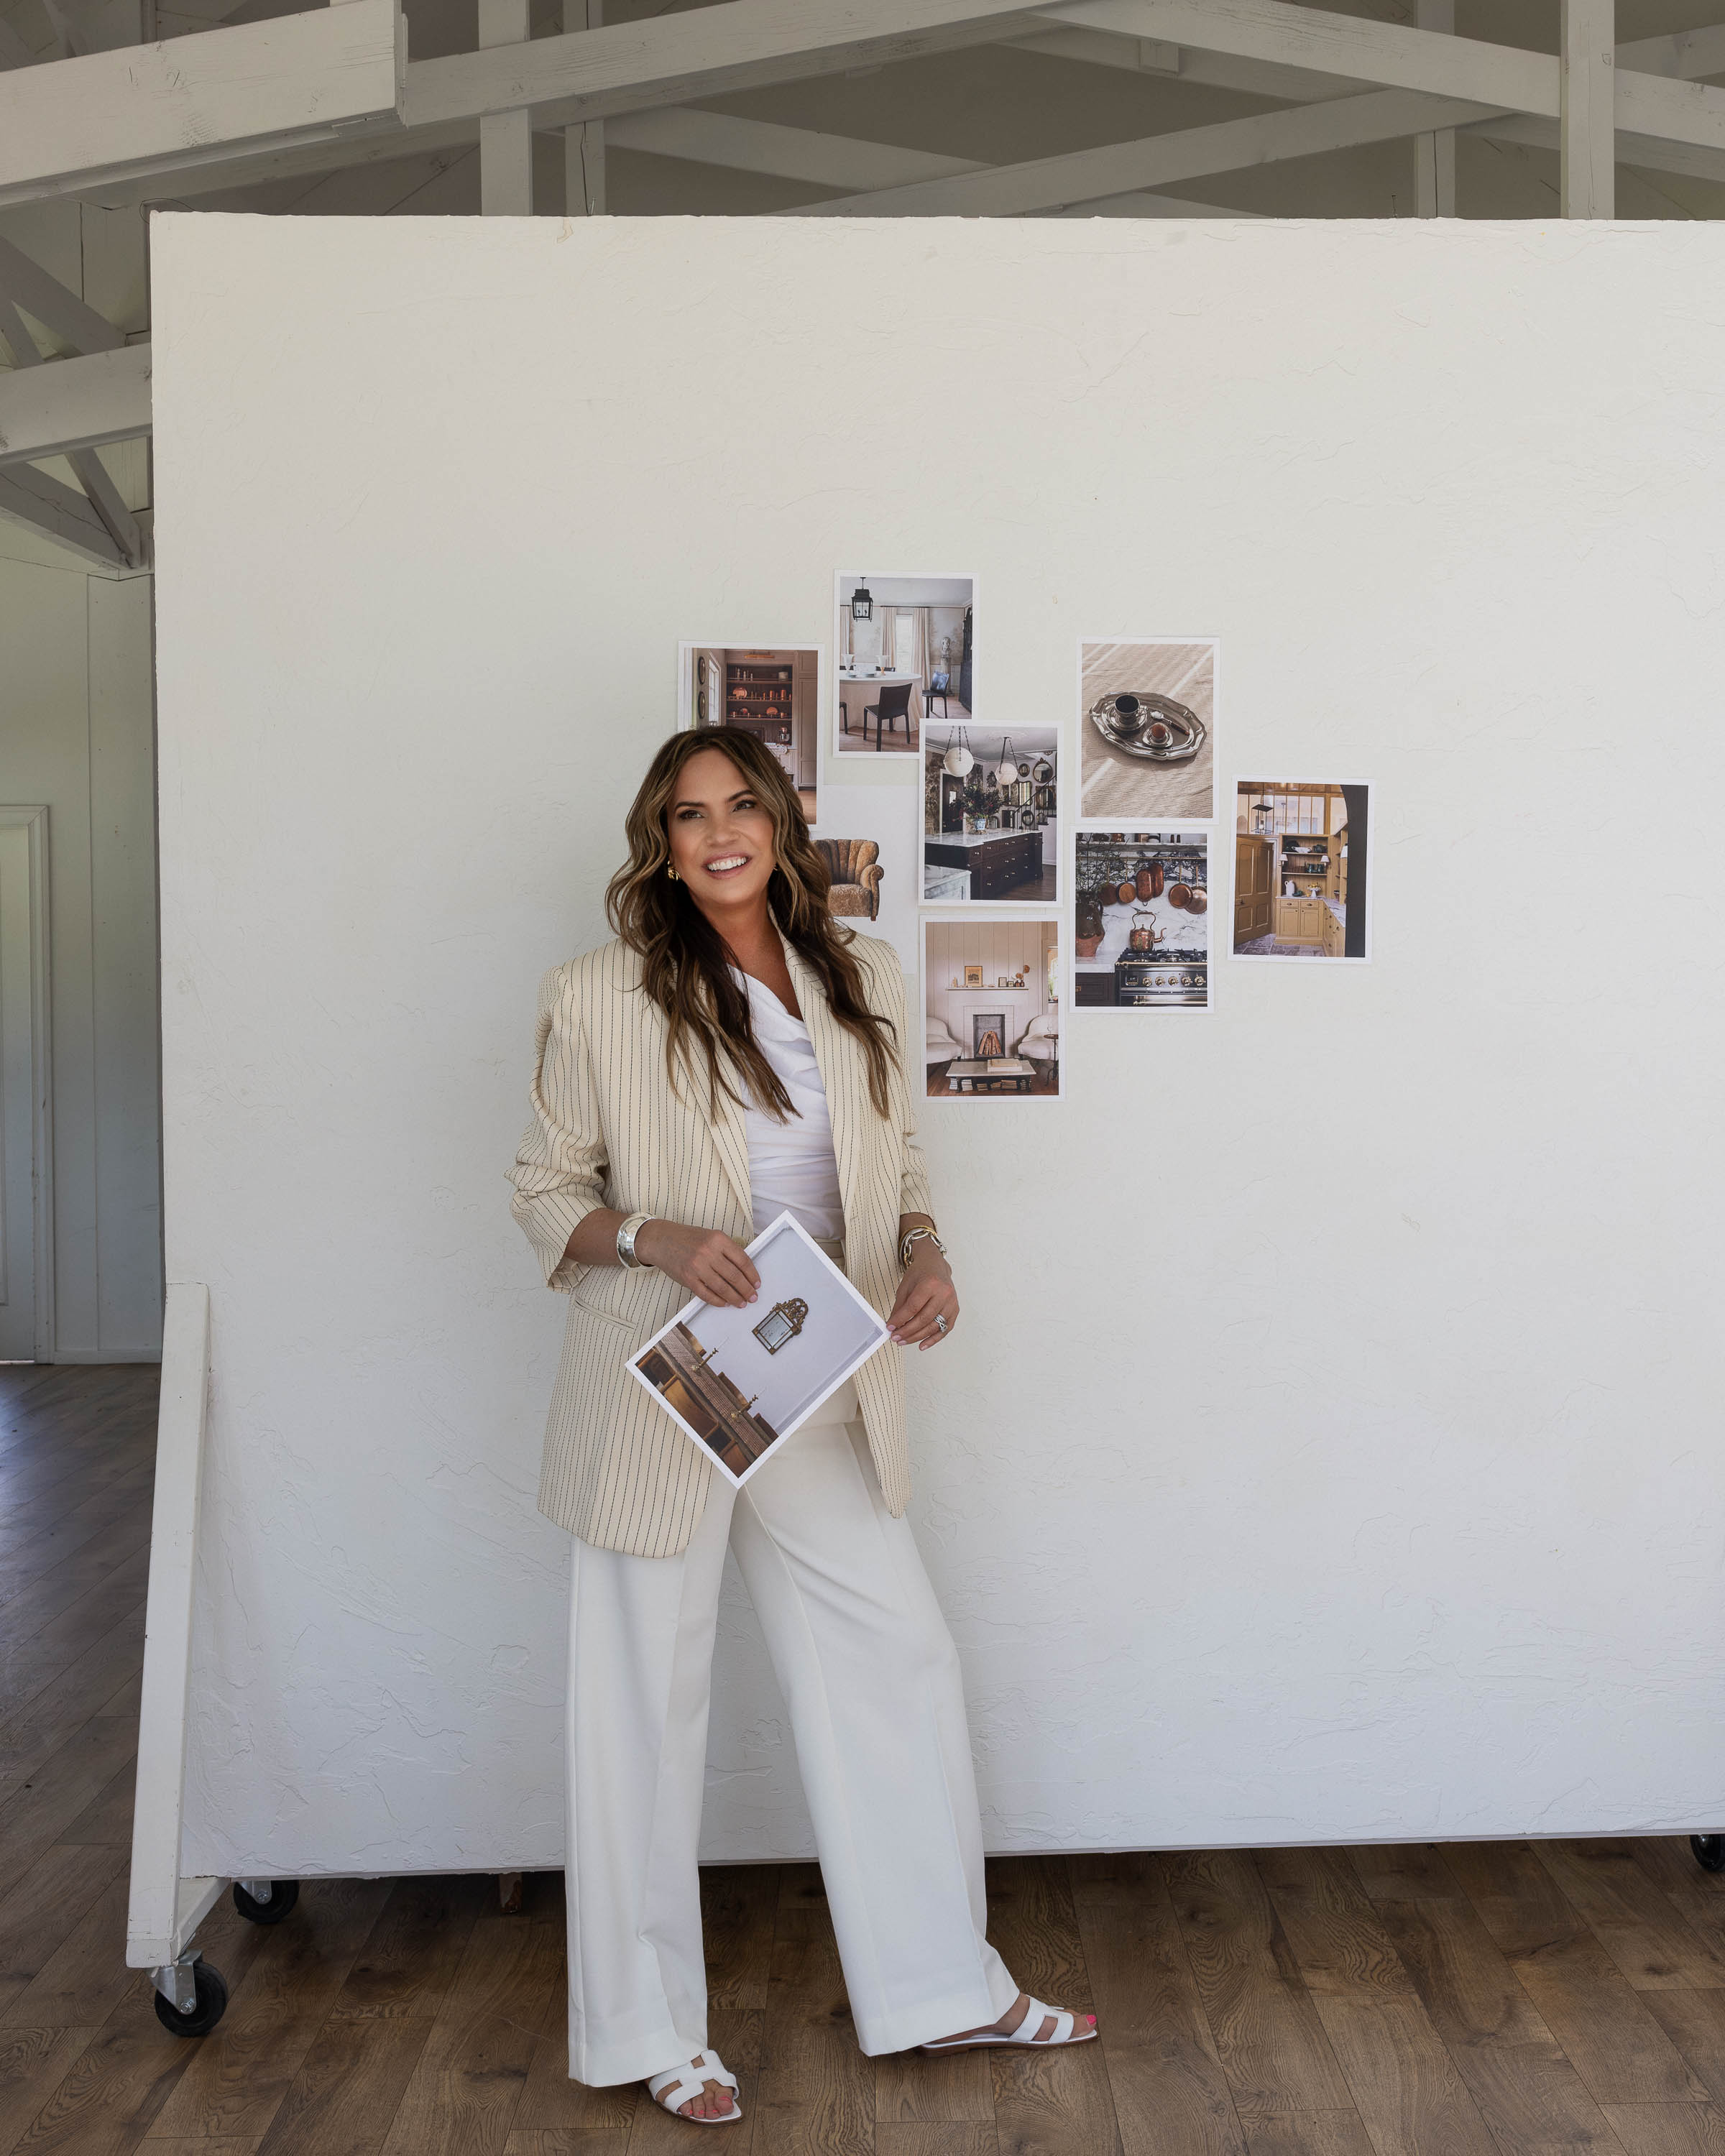
After years of designing and flipping, I’ve learned that no two projects are ever the same. However, the way budgets fall apart is almost always predictable. Here are the guidelines I stick to no matter what:
- Always over-budget for the unexpected.
If you think your project will cost $100,000, add 15–20% for contingency. Older homes? Make it 25%. Something always comes up—electrical, plumbing, mold, you name it. I’ve never regretted padding the budget, but I’ve definitely regretted not padding enough. - Balance the “show” and the “skeleton.”
Buyers fall in love with pretty kitchens and baths, but inspectors fall in love with updated wiring and solid plumbing. If you blow all your money on finishes and ignore the guts of the house, it will come back to bite you. A good flip budget respects both. - Spend where it’s emotional.
People buy homes based on how they feel. That’s why I splurge on things like a gorgeous entry light fixture, natural oak floors, or a powder room with character. These are the spots that make buyers say, “This is the one.” Save on less emotional areas like closets, utility rooms, or spare bedrooms. - Don’t forget the “boring” costs.
> Permits, dumpster rentals, storage, shipping fees, staging, photography… they don’t make it into the glossy reveal photos, but they’re part of the game. Plan for them early so you’re not draining your design budget at the end. - Build in your exit costs.
This one trips people up all the time. Realtor commissions, closing costs, even small buyer credits can eat into your profit if you don’t budget for them upfront. I always set aside a percentage for the selling side before we even start.
At the end of the day, a flip isn’t about cutting corners—it’s about knowing where to put your money so it works hardest for you. If you can master the art of budgeting for both the obvious and the hidden, you’ll avoid those mid-project panic moments. You’ll also create a finished product that feels thoughtful, balanced, and irresistible to buyers.
***
If Part 1 was all about finding the right property, this post is about protecting your bottom line once you buy it. The truth is, a flip is only as successful as the budget behind it. Plan for the hidden costs, spend where it matters, and give yourself breathing room. This way you’ll set yourself up to actually enjoy the process (and the profit).
And, if you still need more guidance, check out our services here. Fill out our inquiry form, and we’ll schedule a “discovery call” to go over your project needs. Of course, we’ll also talk through how we can best help you design your investment.
Need a little more direction?

Are you struggling to define your style or figure out how to pull your space together? That’s exactly why we created our Clouz Houz Design Guides. They’ll help you design a space that feels cohesive, elevated, and personal … without hiring a designer.
Click here to explore the five curated styles. You’ll get inspiration boards, designer tips, and product links that make sourcing simple.

Not sure which one’s for you? Take our free quiz to discover which aesthetic best suits your space.
We’re here to help you move forward with confidence, and create a home that truly feels like yours.
P.S. Are you new to Clouz Houz? If you’d like to be in the know on all things home and lifestyle, subscribe now so you don’t miss a post! As a bonus, you’ll receive our exclusive 42-page ‘Paint Guide.’ This guide will help you select the perfect shades for your home. And, you’ll also receive our weekly newsletter, including special finds that are not on the blog — they’re only for subscribers.
Life is short. Make it beautiful!


