CLOUZ HOUZ DESIGN GUIDES - What’s your style?
TAKE THE QUIZ
Lifestyle

A Weeknight Salad

Roasted Beet and Kale Salad with Maple Candied Walnuts

This healthy and very yummy salad, courtesy of @endlessmeal (which is all about easy recipes for busy people - YES PLEASE), is a go-to in the Clouz Houz! It is delicious, and the perfect accompaniment to any fall entree.

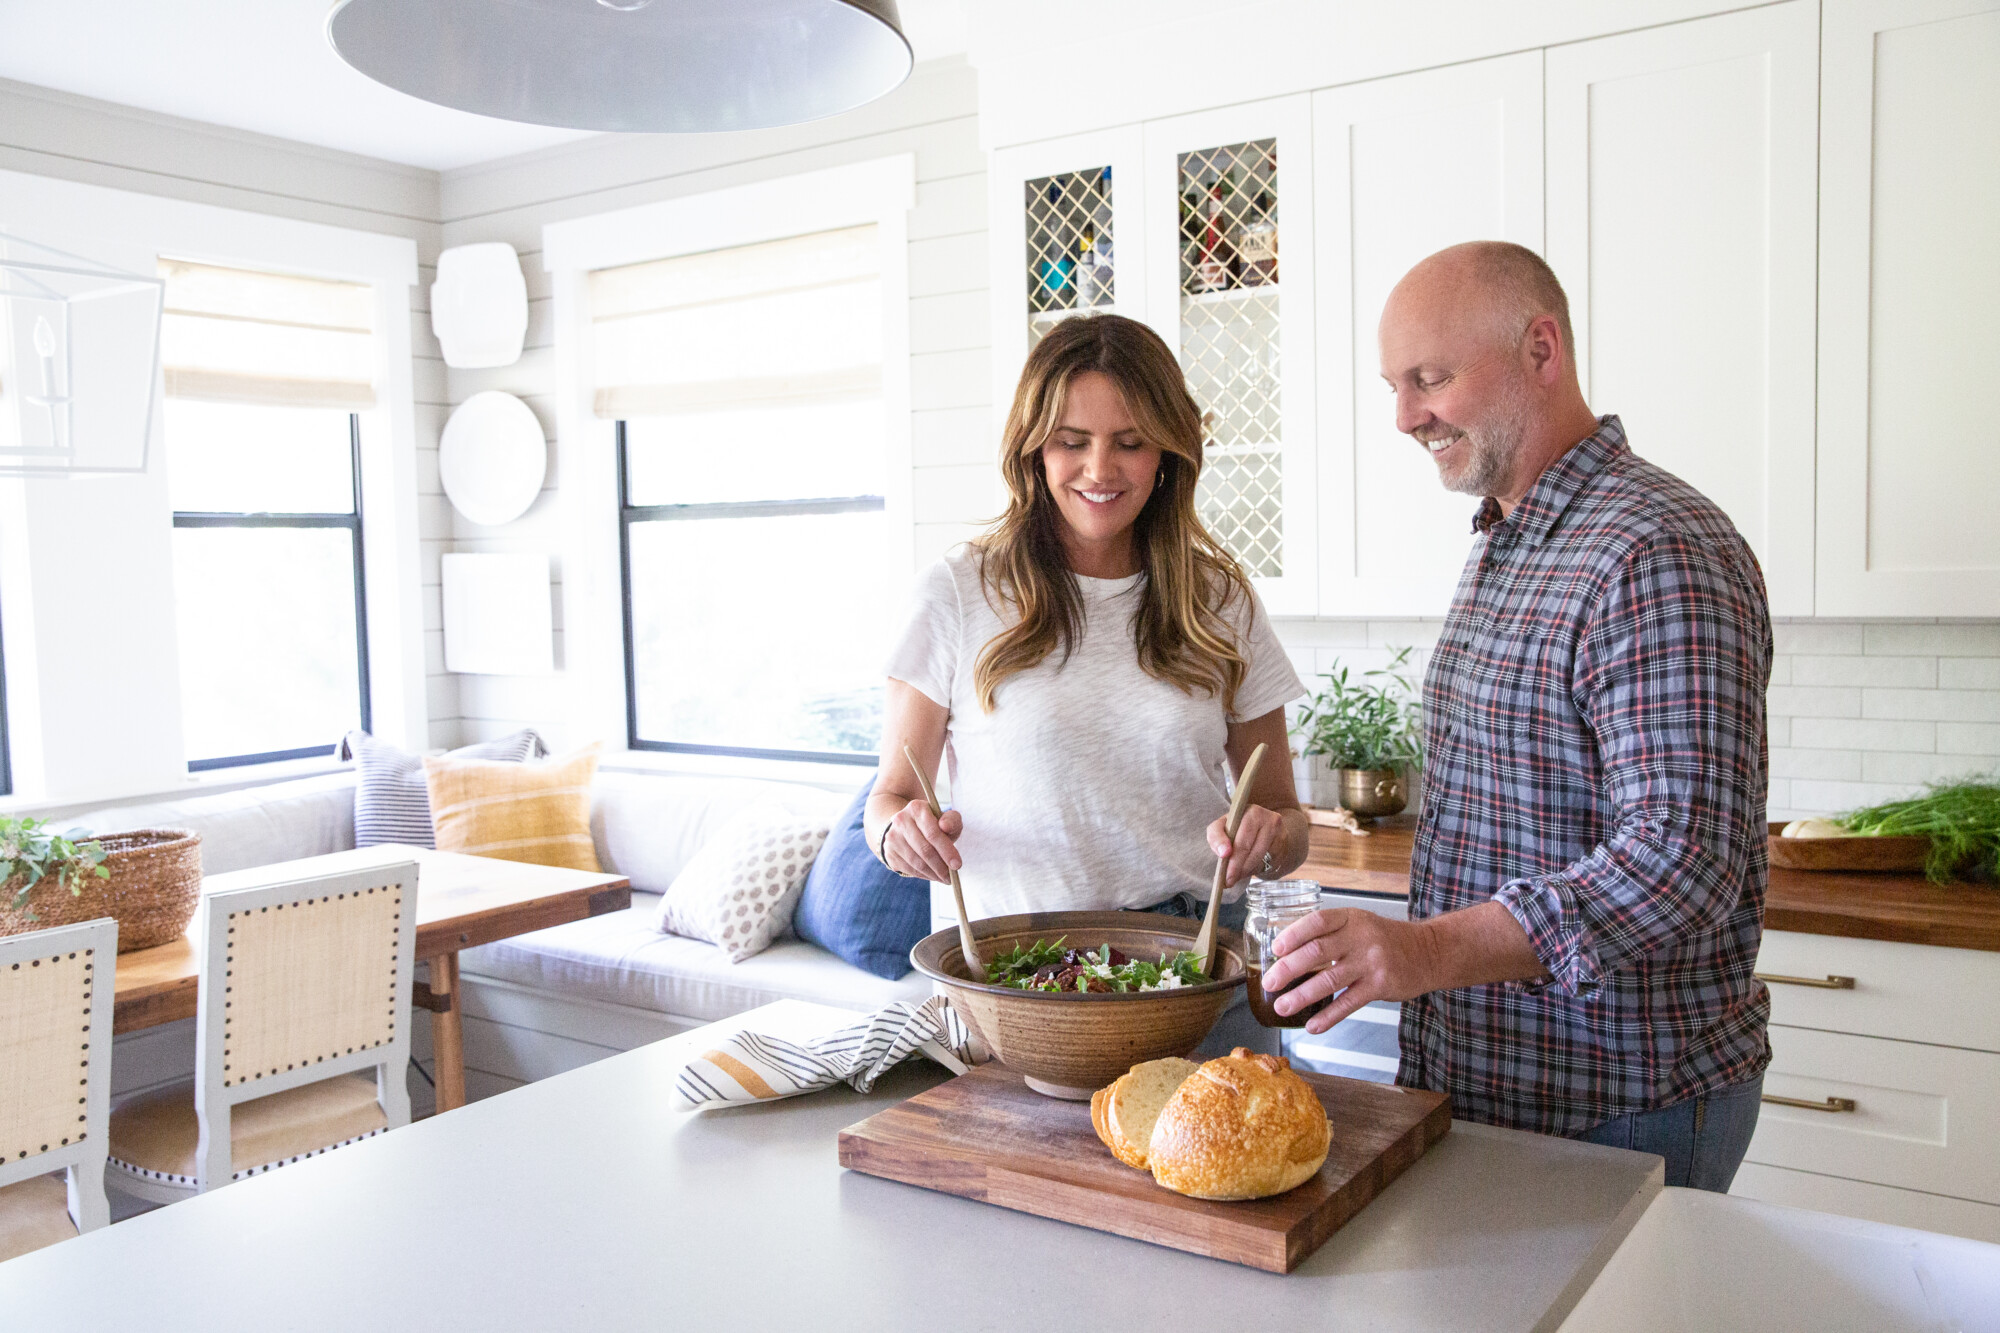
Check out what we paired with our Weeknight Salad for our friends here. Everyone loved it and thought it was so gourmet! Little did they know how truly easy it is!

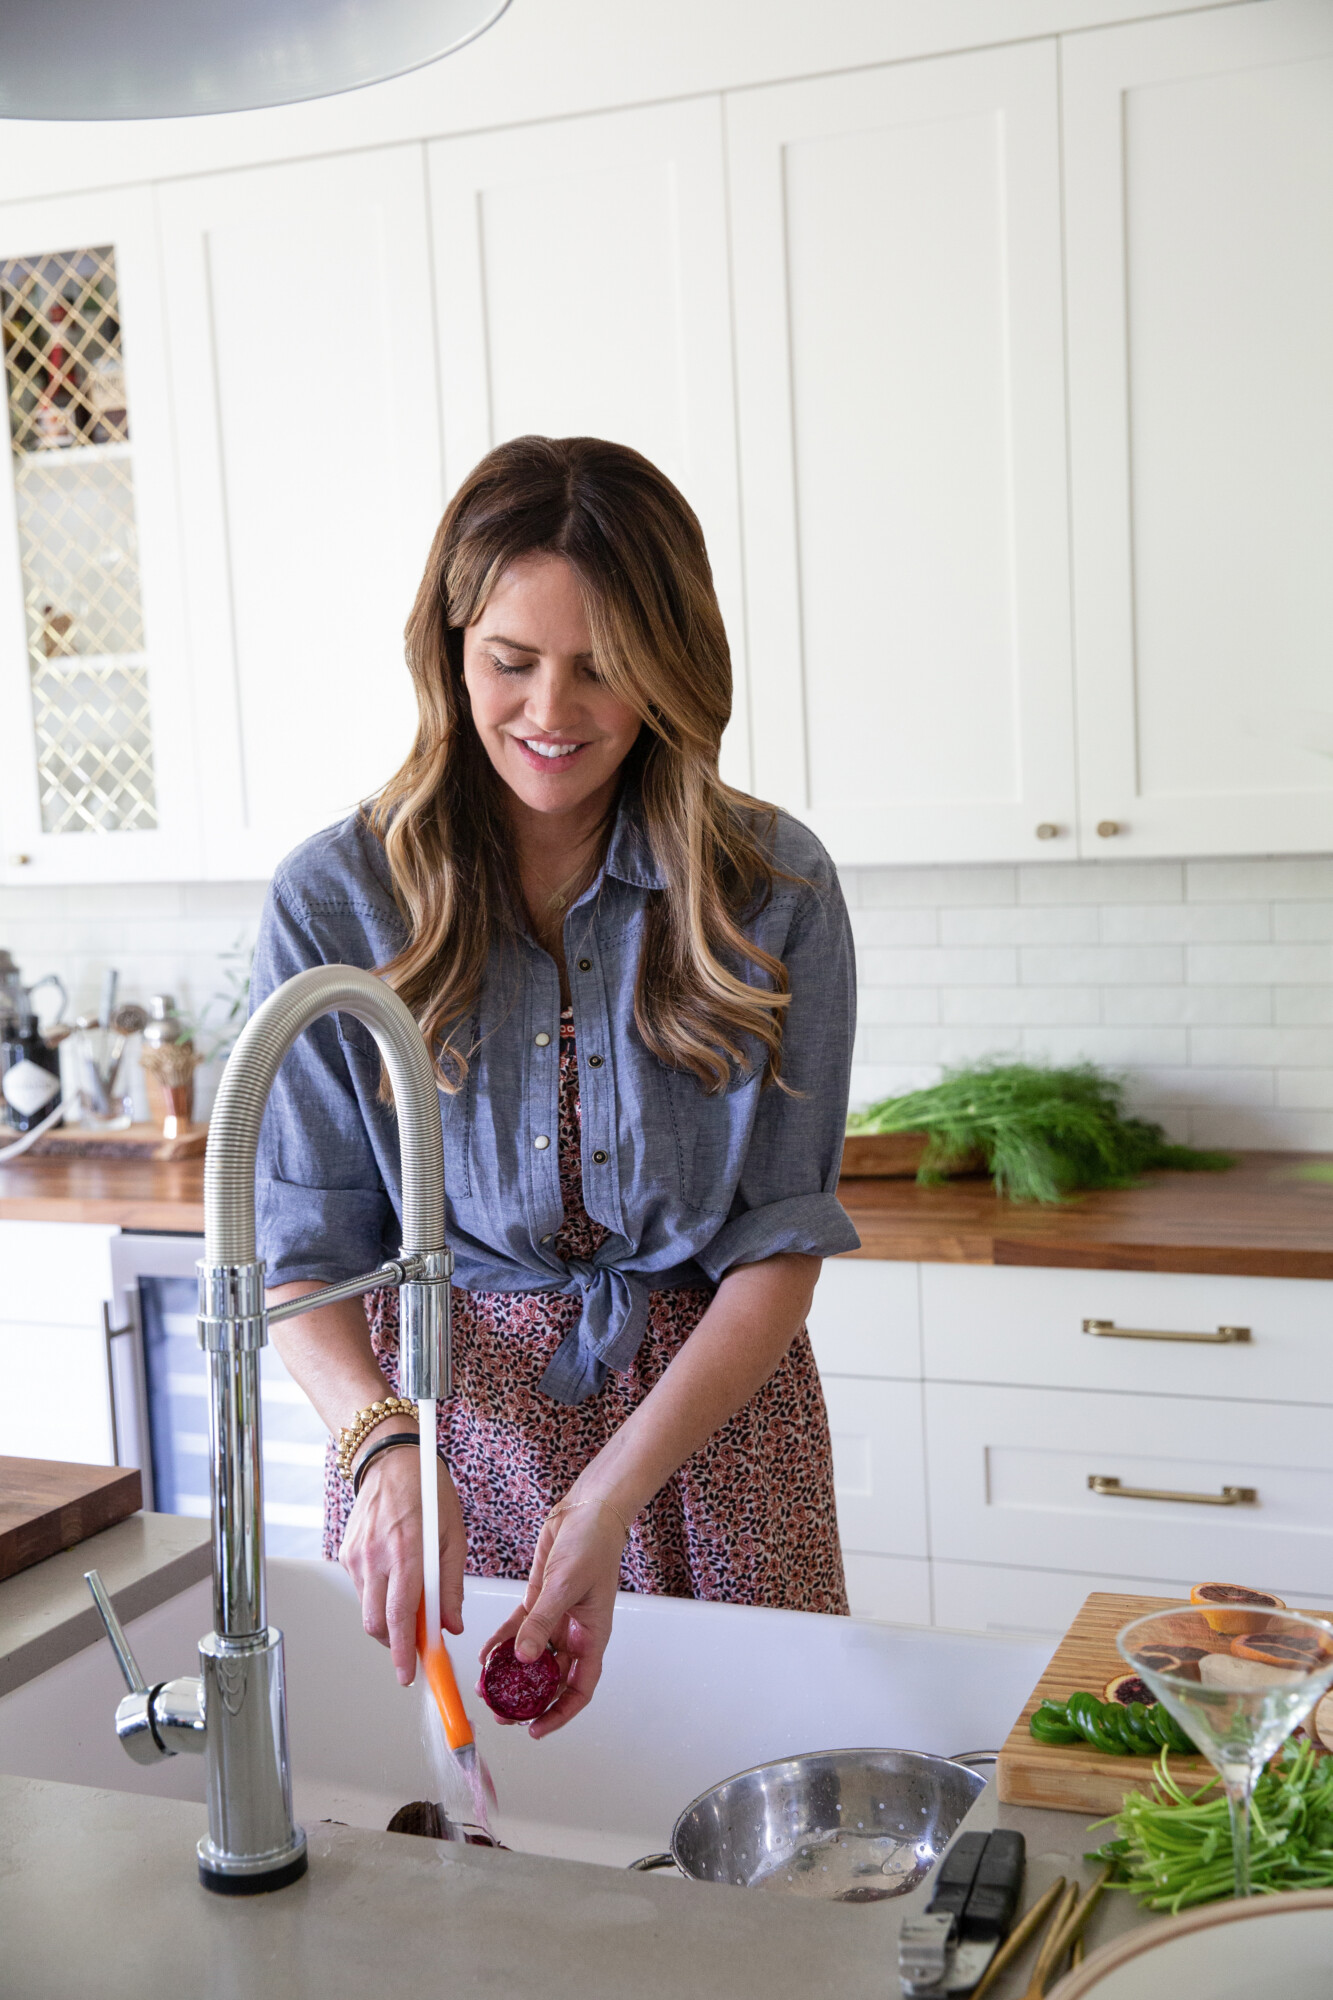
Basically anything with beets, we love. We think this recipe is the perfect contrast between sweet roasted beets and creamy goat cheese and crunchy candied walnuts. Right?! How can you go wrong with these ingredients!

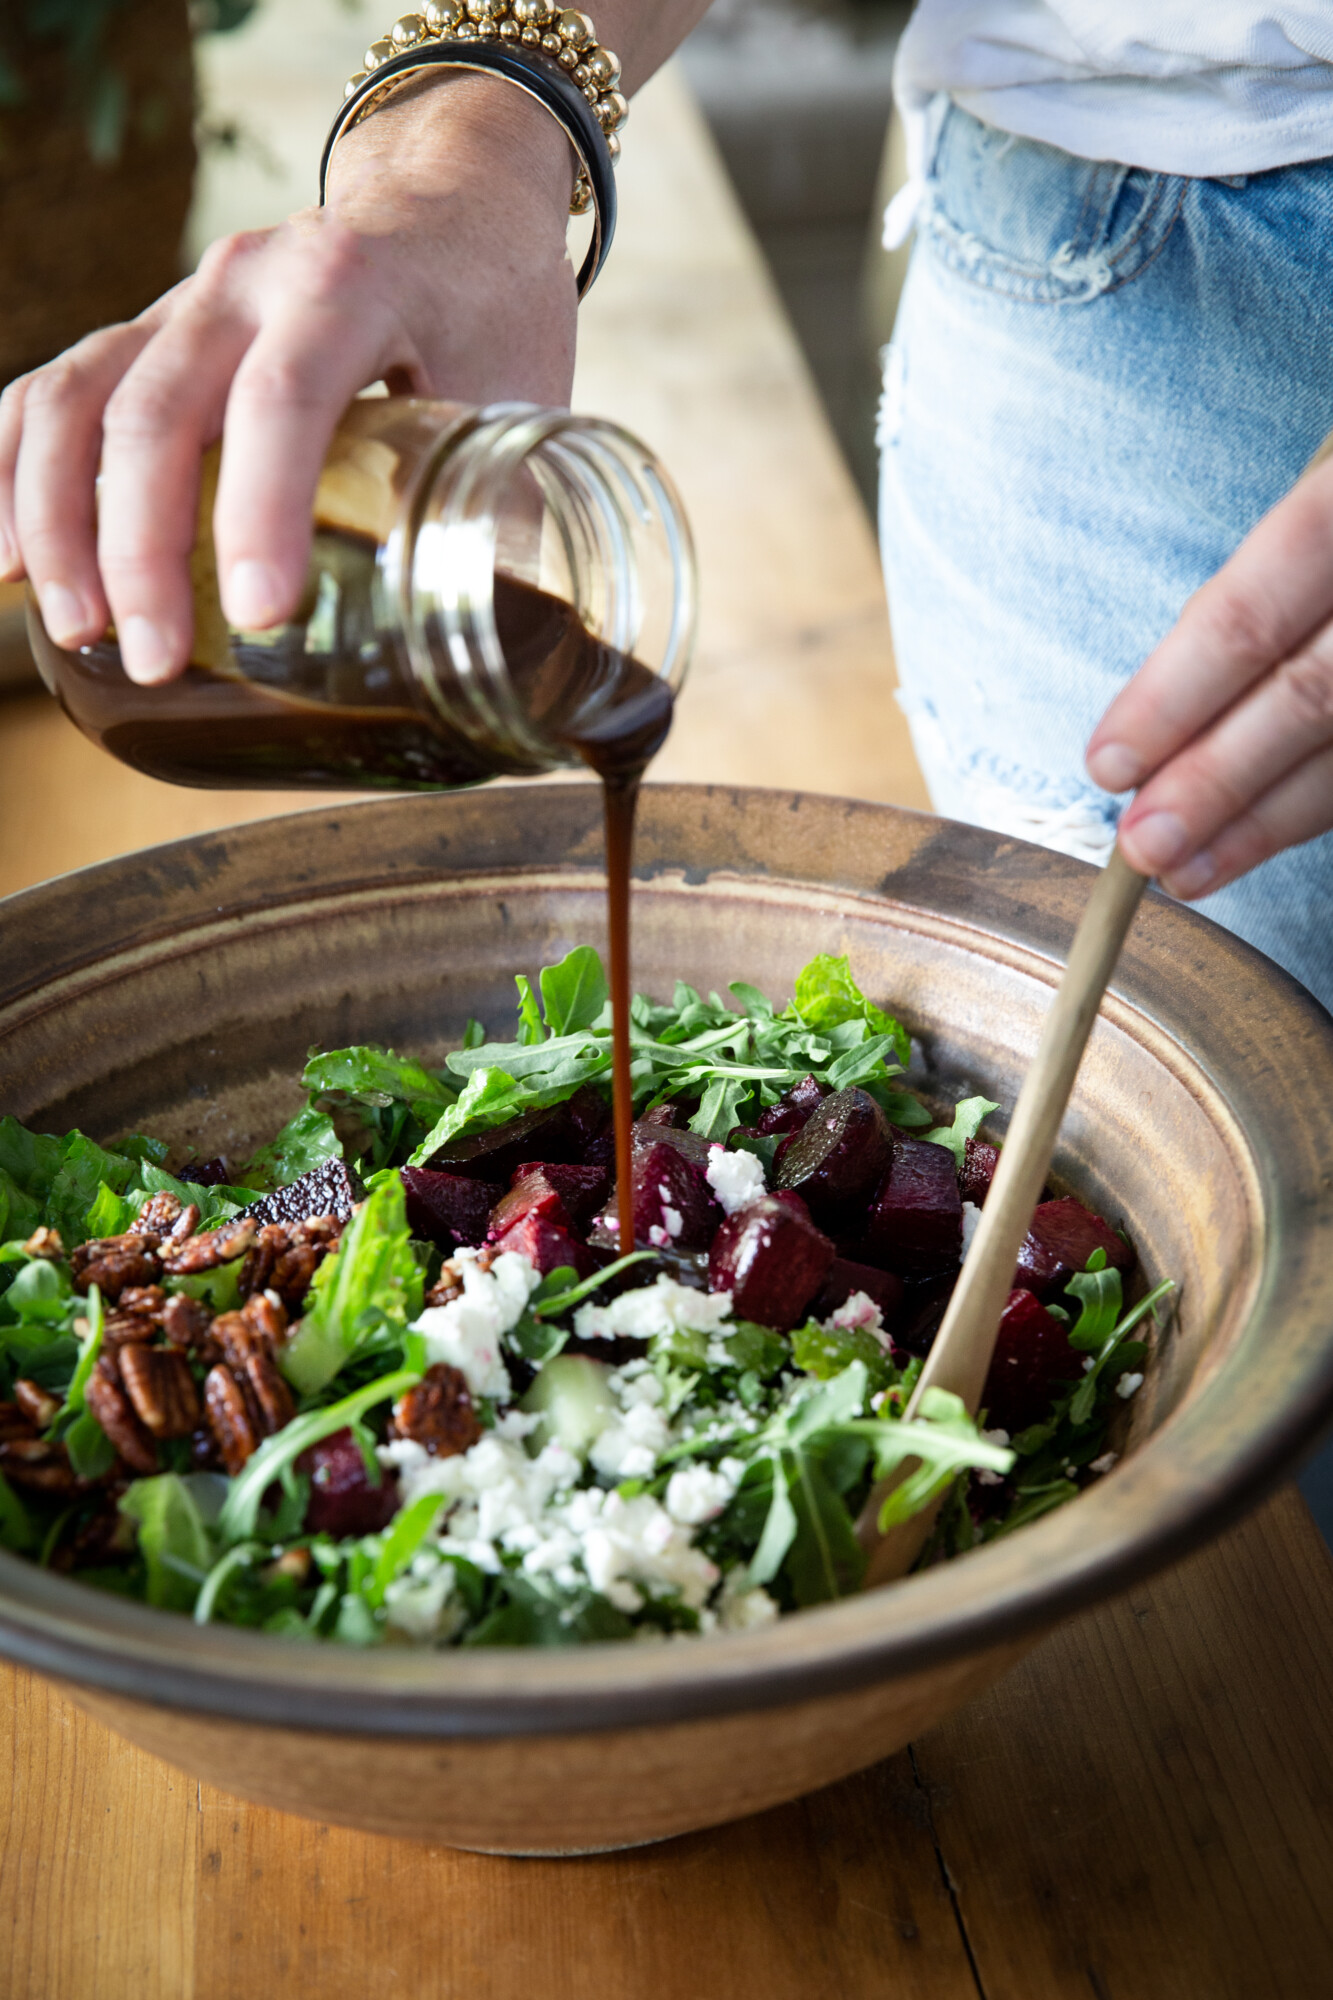
We make the dressing ahead of time, and store in the fridge for up to a week. It works on many salads, but is also amazing drizzled over roasted vegetables. It’s all about versatility — let’s face it, we are all busy, so the more ways one recipe can create different meals for us, the better!

And hey, it wouldn’t be a party without cocktails, so if you are looking for a new one to give a try that is super delish, check out our tasty concoction here and you will have yourself an instant menu for your next gathering!

Roasted Beet and Kale Salad with Maple Candied Walnuts


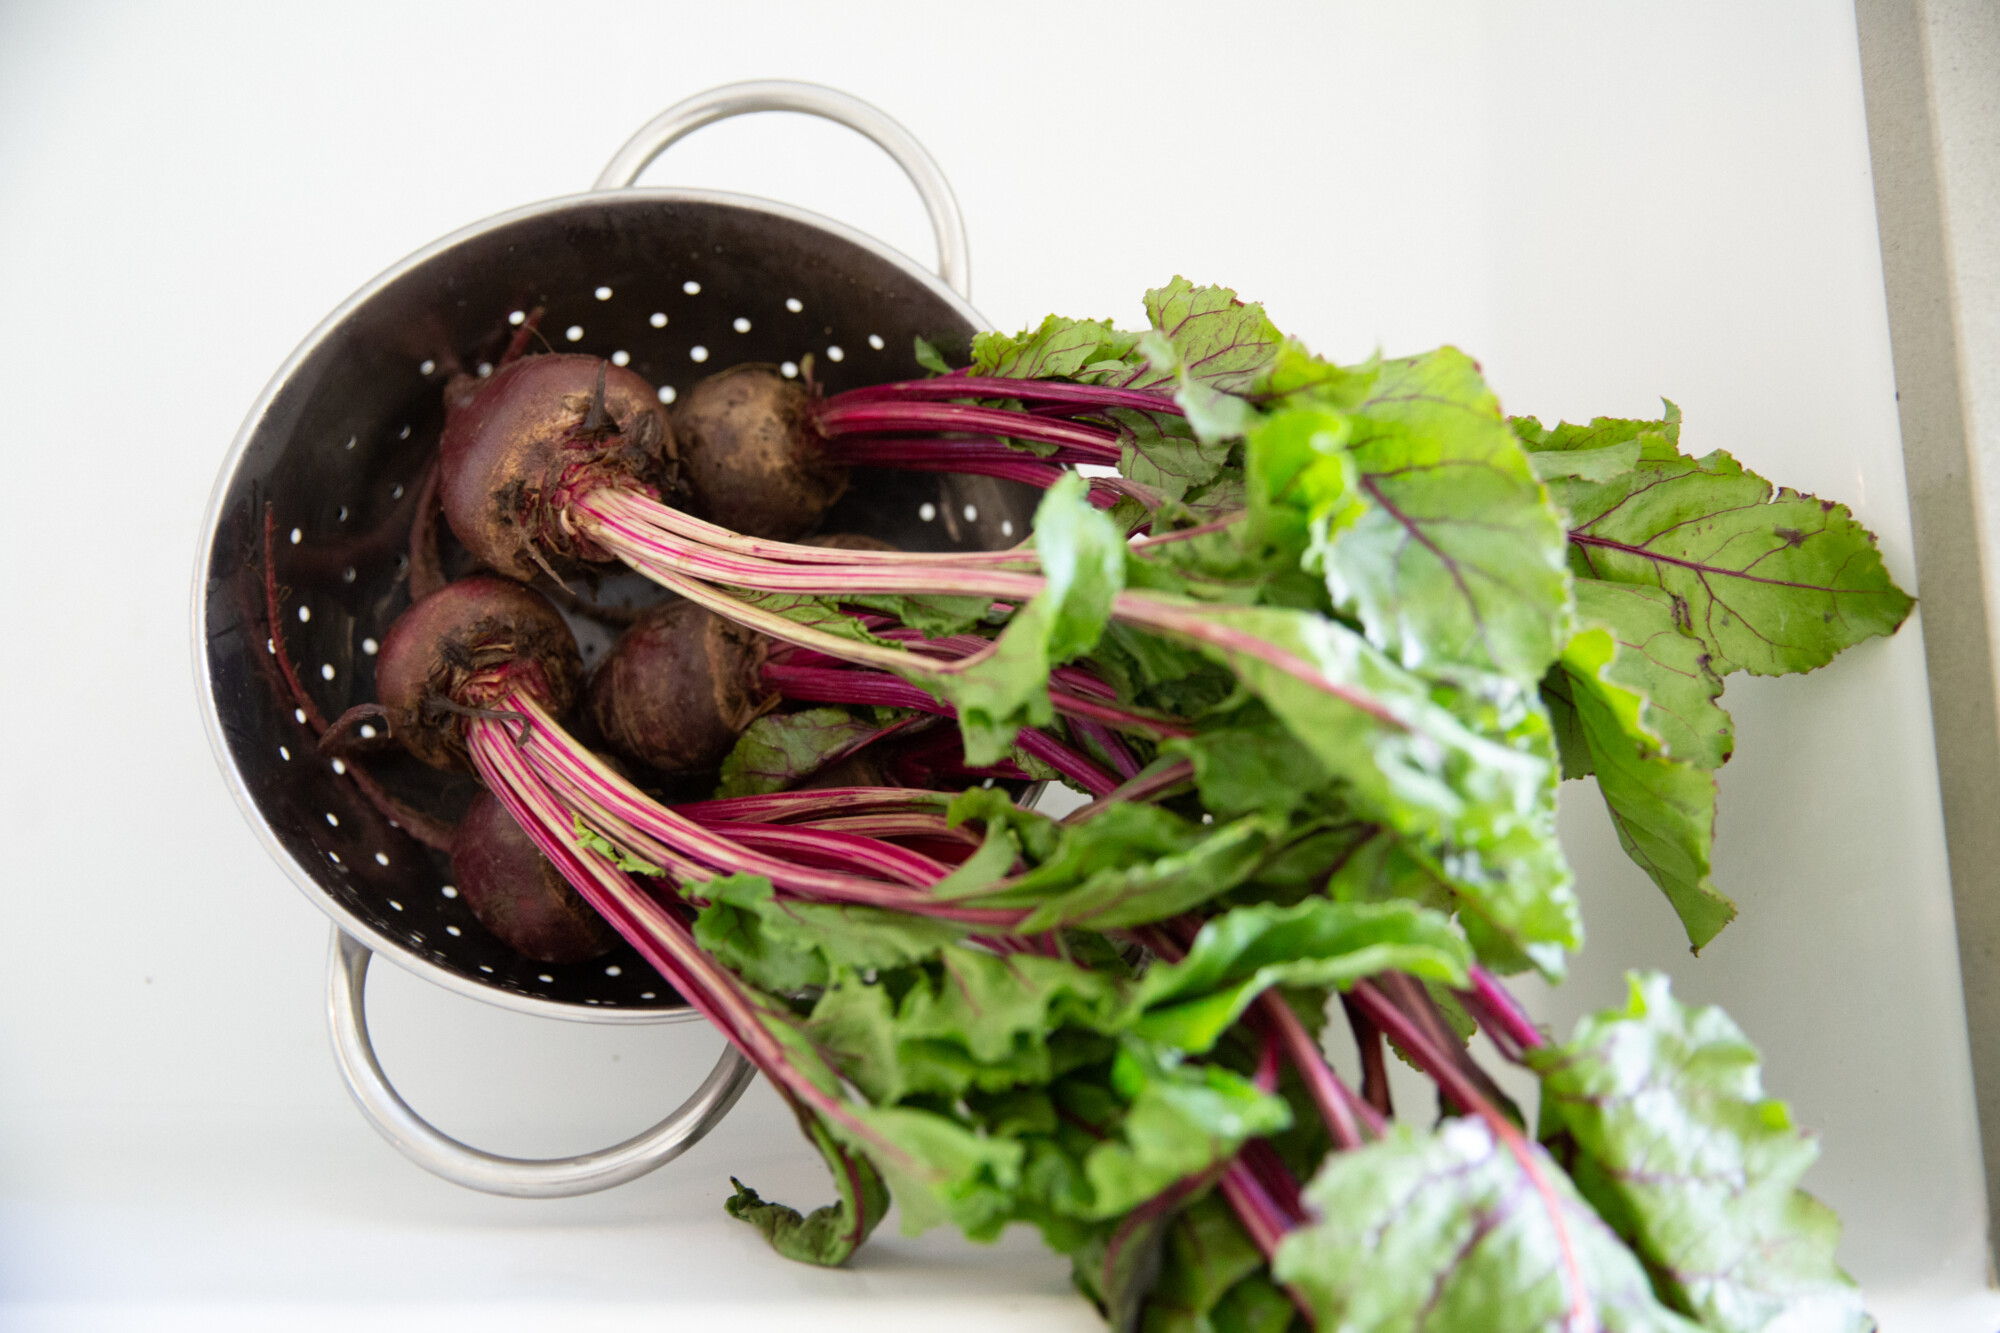
1 1/2 POUNDS BEETS, PEELED AND QUARTERED (OR CUT INTO BITE SIZED PIECES IF YOU’RE USING LARGE BEETS

1 TEASPOON EXTRA VIRGIN OLIVE OIL

1 CUP WALNUT HALVES

3 TABLESPOONS PURE MAPLE SYRUP

1/4 TEASPOON SEA SALT

1/8 TEASPOON FRESH CRACKED PEPPER

4 PACKED CUPS OF CURLY KALE, WASHED AND TORN INTO BITE SIZED PIECES


THE DRESSING:

3 TABLESPOONS APPLE CIDER VINEGAR

2 TABLESPOONS HONEY (USE MAPLE SYRUP FOR VEGAN)

1 TEASPOON BALSAMIC VINEGAR

1/2 TEASPOON DIJON MUSTARD

1 CLOVE GARLIC, GRATED ON A MICROPLANE OR VERY FINELY MINCED

A PINCH OF SEA SALT

1/4 CUP EXTRA VIRGIN OLIVE OIL


  1. PREHEAT THE OVEN TO 425 DEGREES. LINE BAKING SHEET WITH PARCHMENT PAPER.
  2. PLACE THE BEETS ON THE PREPARED BAKING SHEET AND DRIZZLE THE OIL OVER TOP. USE YOUR HANDS TO TOSS THE BEETS IN THE OIL. COVER THE BAKING SHEET WITH ALUMINUM FOIL AND BAKE IN THE OVEN FOR 30-40 MINUTES, OR UNTIL THEY CAN BE PIERCED USING SOME PRESSURE WITH A FORK.
  3. WHILE BEETS ARE ROASTING PREPARE THE REST OF THE SALAD. ADD THE WALNUT HALVES TO A SMALL FRYING PAN OVER MIEDUM-HIGH HEAT. LET THEM COOK UNTIL THEY ARE FRAGRANT AND START TO BROWN IN PLACES, SHAKING THE PAN FREQUENTLY. POUR THE MAPLE SYRUP OVER THE WALNUTS AND SPRINKLE ON THE SEA SALT AND FRESH CRACKED PEPPER. LET THEM COOK, STIRRING CONSTANTLY, UNTIL THE MAPLE SYRUP HAS ALMOST EVAPORATED, ABOUT 1 MINUE. REMOVE THE WALNUTS FROM THE PAN AND PLACE THEM ON A PIECE OF PARCHMENT PAPER, SEPARATING THEM FROM EACH OTHER AS MUCH AS POSSIBLE.
  4. TO MAKE THE DRESSING, COMBINE ALL THE INGREDIENTS EXCEPT THE OIL IN A MEDIUM-SIZED BOWL. SLOWLY ADD THE OIL IN A THIN STEADY STREAM WHILE WHISKING THE DRESSING CONSTANTLY. IF THE OIL STARTS TO BUILD UP AT ALL, STOP POURING IT AND WHISK THE DRESSING VIGOROUSLY. IT WILL TAKE YOU ABOUT 1 MINUTE TO WHISK IN THE OIL. TASTE THE DRESSING AND SEASON IT WITH SALT, TO TASTE.
  5. ADD THE KALE, CANDIED WALNUTS AND IF USING, THE CHEESE OR AVOCADO TO A LARGE BOWL. WHEN THE BEETS COME OUT OF THE OVEN, LET THEM COOL SLIGHTLY AND THEN ADD THEM TO THE BOWL TOO. POUR THE DRESSING OVER THE TOP AND TOSS WELL SO THAT EVERYTHING IS COATED.
Join the Conversation

get inspired
#clouzhouz
follow along
@clouz_houz
Merry Christmas Eve, friends! I’m sharing this from the archives (since our home is still a construction zone 🤪)... wishing you all a very Merry Christmas with your loved ones.❤️
20k. Wow. Feeling a little surreal over here (and right before Christmas!). Emma surprised me with this cake today and it honestly made me pause and take it all in. This journey has been nothing without you all (this community) showing up, supporting, growing with me. I’m so grateful for every message, interaction, and tiny bit of love along the way.
And I’ll be honest... it’s not always easy showing up here every day and sharing so many pieces of our lives. You don’t see everything, and that’s okay. But what’s real is this connection and the people on the other side of the screen.
Here’s to all of you. Thank you for being here, for cheering us on, and for making this space feel like something worth building.❤️
After designing and remodeling so many bathrooms, here are 5 mistakes I’ll never make again:
1. Stopping tile too low on the wall.
Tiling only part way up can make a bathroom feel choppy and visually shorter. Taking tile higher (or all the way up in key areas) instantly feels more custom and elevates even the smallest space.
2. Choosing form over storage.
A pretty pedestal sink with nowhere to hide anything... I’ve learned my lesson. Vanities with drawers, medicine cabinets, and smart niches keep your counters clear and make your bathroom actually livable. For example, pretty pedestal sinks have my heart — but they have zero secrets. If you truly love the look, add a tailored sink skirt to hide essentials, or do what we’re doing in our own project: bringing in an entire wall of IKEA PAX built-ins for overflow storage. Desianers think hard about lifestyle... because a beautiful bathroom that doesn’t actually work never stays beautiful.
3. Using the wrong grout color.
Bright white grout on a busy floor or in a shower is a cleaning nightmare. A softer, mid-tone grout is more forgiving, ages better, and lets the tile shine instead of the lines.
4. Cheap, overly shiny hardware and fixtures.
Nothing dates a bathroom faster than ultra-shiny, lightweight hardware. A tip I give clients: always look for weight and finish depth. Polished nickel with a warm undertone, unlacquered brass that patinas beautifully, or even aged bronze instantly elevates a space. Spend once and avoid upgrading again in two years.
5. Relying only on overhead lighting.
One can light = harsh, flat, unflattering. Layered lighting changes everything. Add sconces at face level (ladies... this is a game changer for getting ready), plus a decorative fixture or even a candle for a softer, moodier feel.
If you’re planning a remodel or want help avoiding these mistakes in your own home, send me a DM — we’d love to help you design a bathroom you’ll love for years🤍
“Designers are expensive.” That’s the public opinion... and sometimes, it’s true. But it’s also the reason we exist. 
A designer’s fee is almost always less than the cost of redoing things that weren’t done right the first time.
We see it all the time. Clients come to us after plans are finalized, materials are ordered, and the space is already under construction. By then, it’s much harder (and more expensive) to course-correct. Details like lighting placement, ceiling heights, tile layout, and even outlet locations all impact the final design. And when we’re part of the process early, those decisions work together instead of against each other.
Working with a designer isn’t just about how your home looks.. It’s about how it feels and functions. Our role is to bridge the gap between vision and execution, to make sure every decision supports the next one.
If you’re in the early stages of building or renovating, this is your sign to bring design in from the start. It’s an investment in doing it once, and doing it beautifully.
Inquire through our site (link in bio) to start your project!
Headed back to Oregon today and scrolling through old Christmas clips like the nostalgic, obsessed person that I am.😂 It truly never fails to be the coziest place during the holidays.
We chose the PNW this year partly for the peaceful vibes... partly because our renovation is unhinged right now. And MOSTLY because I wanted to put up a tree. 
Luckily we have a fake one in storage. No ornaments, just twinkle lights and vibes. I’ve got a few simple tricks to make it feel special for our family.
Where are you celebrating this year? Traveling? Staying home? I love hearing what this season looks like for everyone.